Login

Help

Automatically align a 3D model with a point cloud

In this article, you will learn how to automatically align a 3D model with a point cloud.

pointcloud
tools
viewer
models
aligne

In order to use auto-align, you must already have a 3D model present in the viewer.


Select your model from the Project menu, then open the Actions tab and click the Align button.


This will open a window now, you can decide to align another model if you wish, by default the model you selected in the project menu will be used. Click the arrow to proceed to the next step.


First, click on one of the + icons to start placing your points. You will be asked to place 3 dots in recognizable locations on your model. In the next step, you will be asked to select the same places on the scatterplot, which is why they should be easily recognizable.


Once you have deposited your 3 points, click on the arrow to move on to the next step. You can click one of the retry arrows or use the X, Y, Z positions to move the points.


Now do the same thing on the scatter plot, with squares this time.


Once you have placed your 3 squares, click on the arrow to move on to the next step. You can click one of the retry arrows or use the X, Y, Z positions to move the squares.

Remember to drop the squares in the same places as on the template and match the colors, the green dot on the template is at the top of the barrel stand, so the green rectangle should also be at the top of the barrel stand on the point cloud.


Once everything is set up, click Align to align the model with the point cloud, you can Adjust Scale to make sure the model fits the point cloud perfectly, we recommend using this option only if the model was not created with a correct scale, otherwise leave it as default.


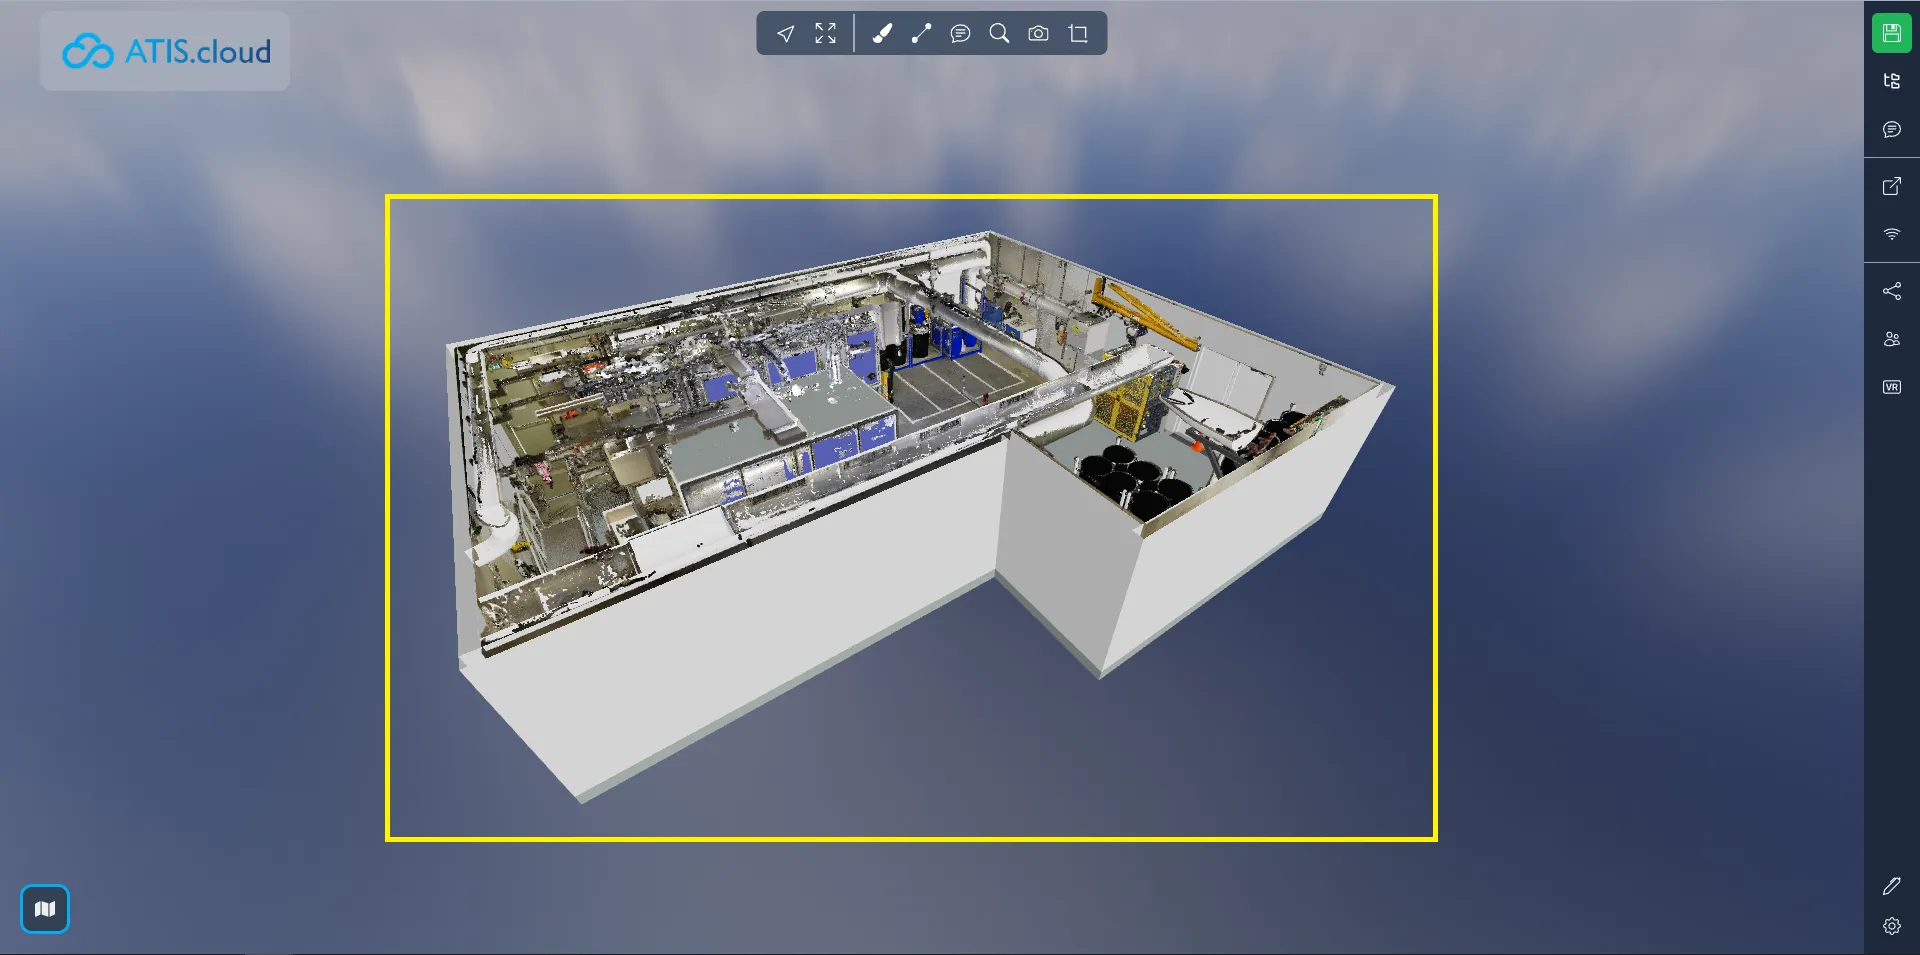
Here you can see the result after aligning the model with the point cloud. Even though this solution exists, we still recommend using georeferenced data to ensure a perfect fit and eliminate errors that can occur if the alignment tool is not used carefully.


If you run into any issues, our support team is here to help. Happy exploring!

Were these informations useful to you ?
Editor : Alexis Helper
Creator : Alexis Helper
Last modification : 20/02/2024

Better understand E57 files

Appearance settings

Accepted file types

Load resources in the viewer

Save visuals in the viewer (Animations, camera positions and images)

Point of view

Measuring tools

Navigation modes

Zone export

Interact with 360° images

Point cloud properties

Clipping Box

Point cloud attributes

Keyboard shortcuts

Adding files

Compare your point cloud with a 3D model

Download 360 ° images from a source

Import NavVis dataset with panoramic images

Import a ReCap project on the platform

Interact with resources

XYZ files

Calculate Density

Cutting plane

Automatically align a 3D model with a point cloud

Height Profile

Calculate Density

Navigation modes

Exporting zones

Point cloud properties

Point cloud attributes

Clipping Box

Load source/resources in the viewer

Interact with resources

Compare your point cloud with a 3D model

Version system

Features (settings menu)

How to analyse a diagnosis

Collaborative mode

Point of view

Viewer map, compass/cube and performance indicator

Measuring tools

Save visuals in the viewer (Animations, camera positions and images)

Public sharing

How to use the viewer with a mobile device ?

Exporting 360° images from Trimble RealWorks

Projection

Interact with DXF files

Version system

Export an orthoimage

Cutting plane

Interact with DXF files

Collaborative mode

How to manage annotations in the viewer ?

Edit the project hierarchy

Visualize your projects and take measurements in VR

Import / Export measures

Simulate your projects with Sketchfab

About cookies on this site

We use cookies for the proper functioning of the website and to analyse website performance and usage information