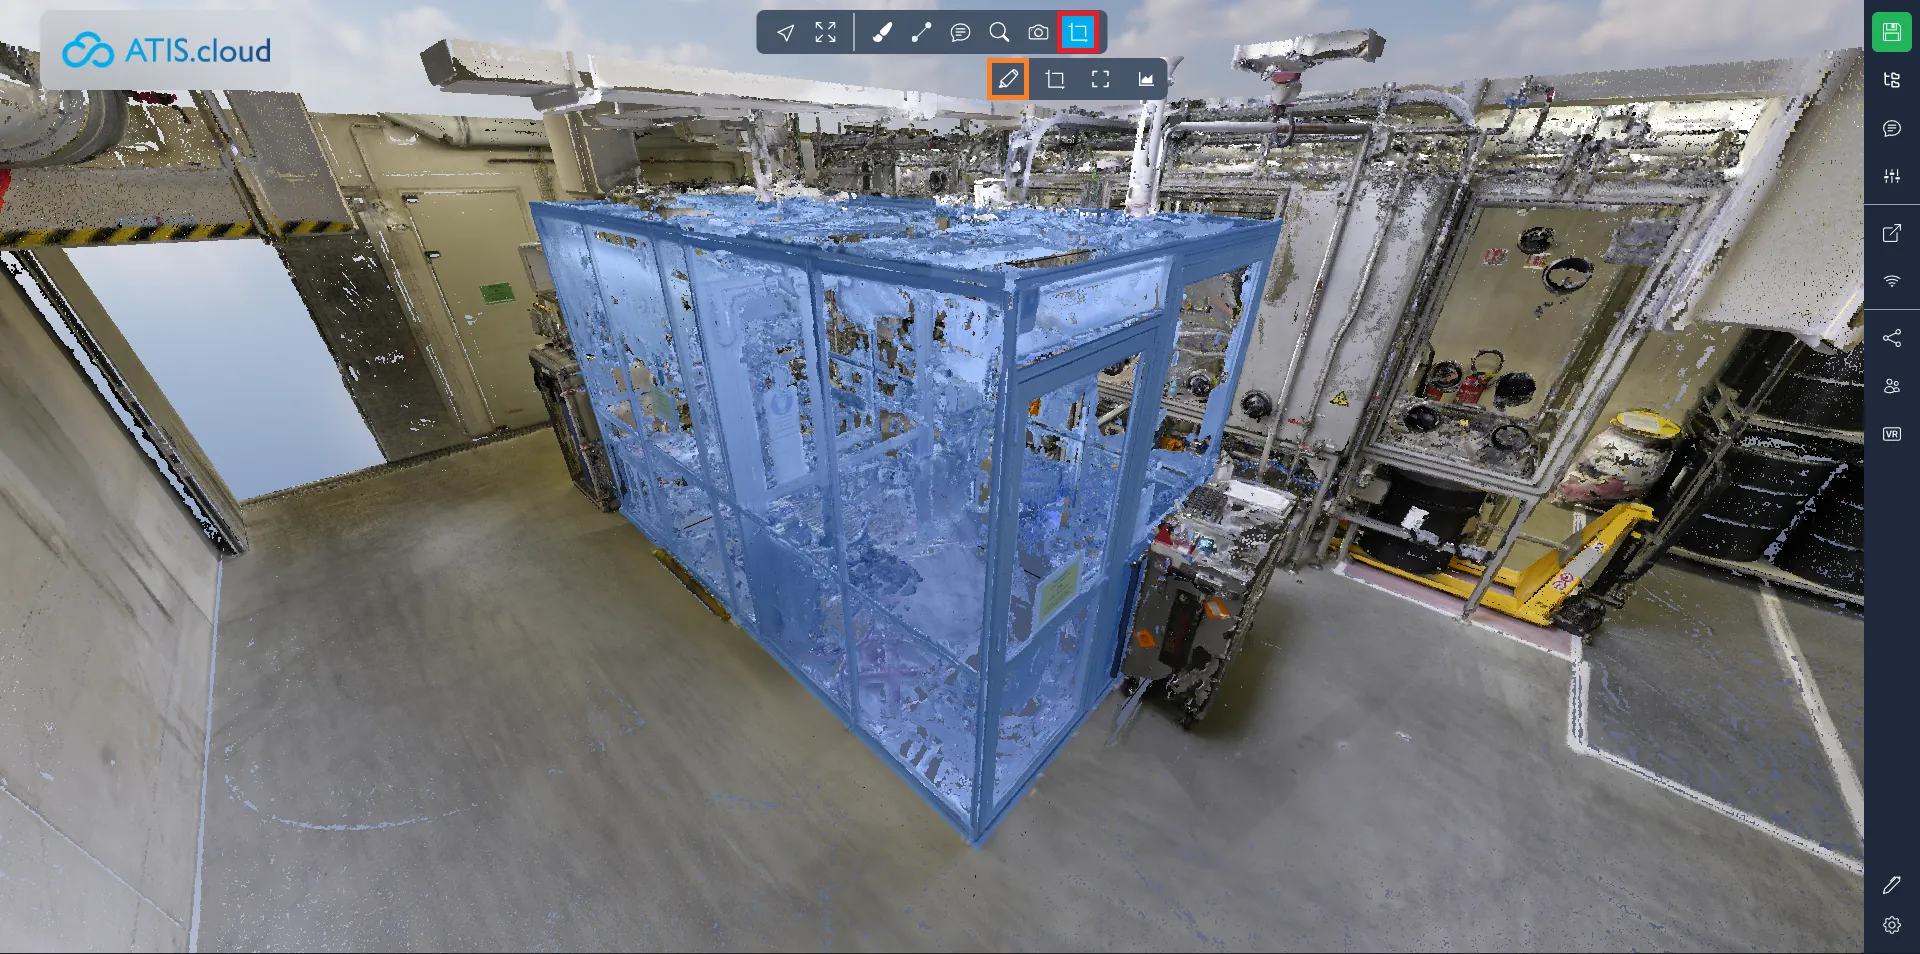
Clipping Box
Creating a clipping box involves three different types.
The first type is the highlight, which illuminates all points within the box. This mode is optimal for initially placing the box before transitioning to one of the other two modes.
The second mode is the clip-in, which retains all the points within the box while concealing those outside of it.
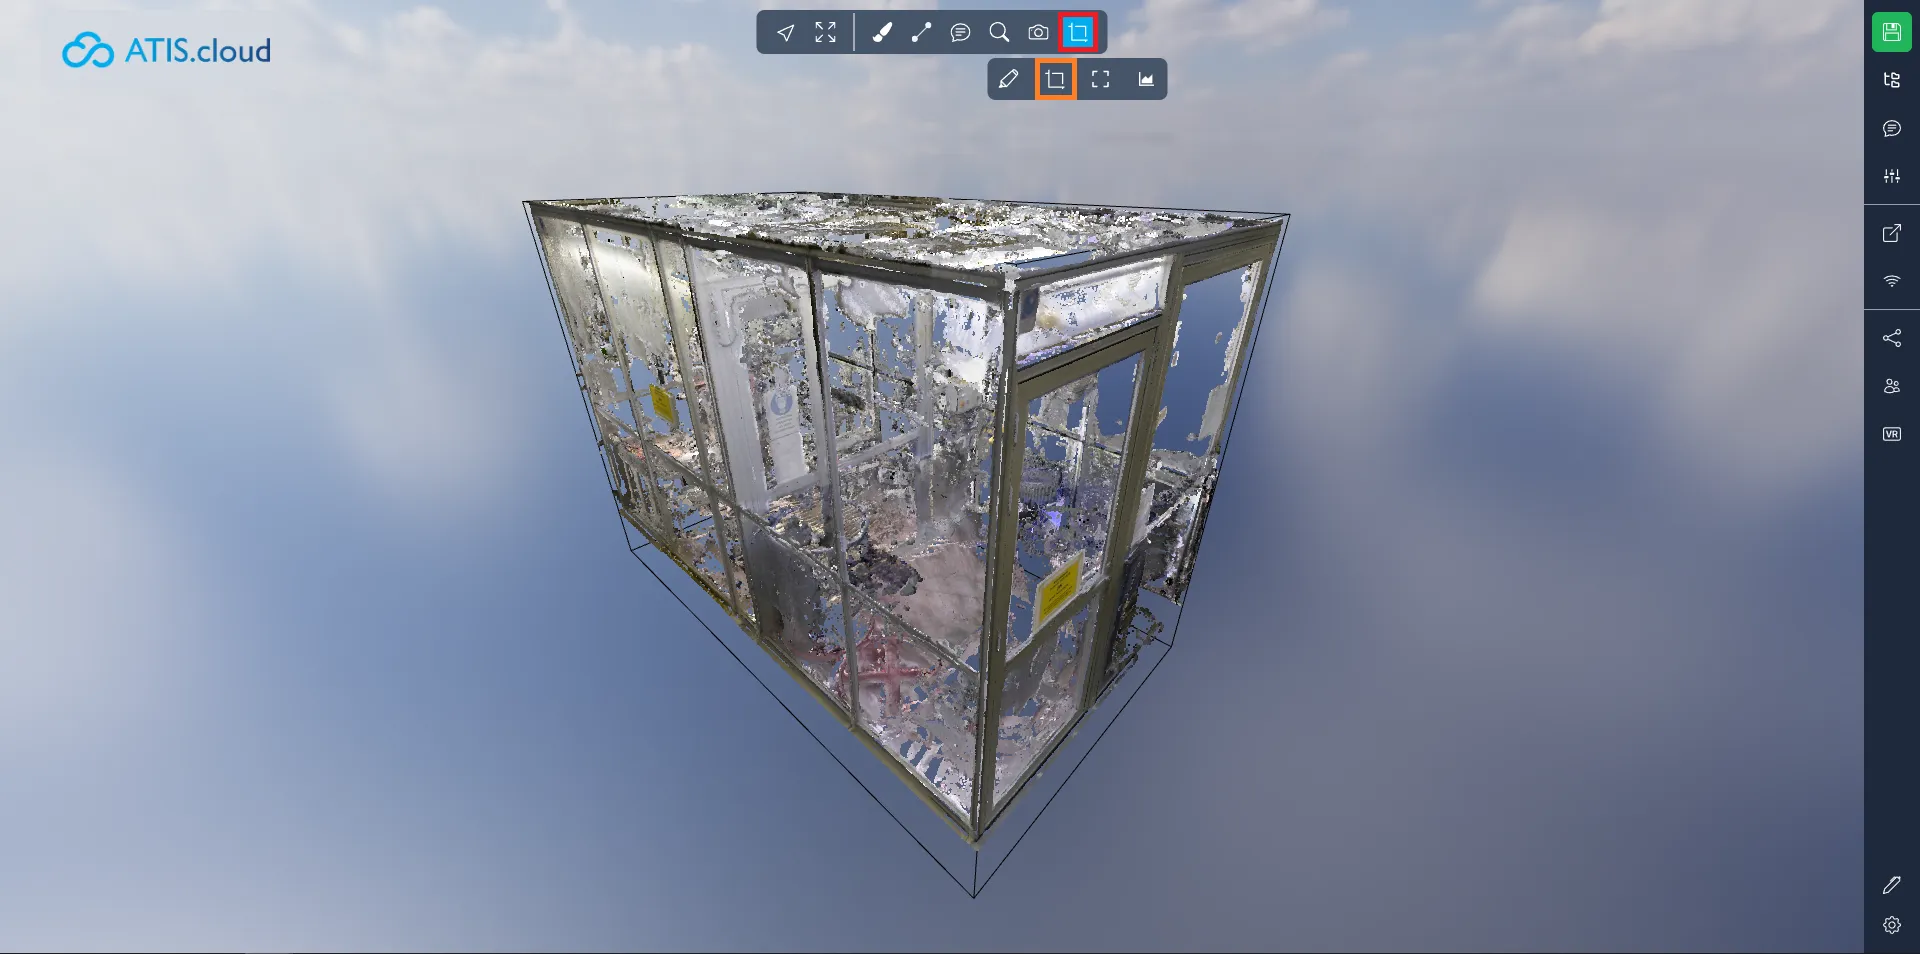
The final mode is the clip-out, hiding the points inside the box while preserving those outside of it.

Various handles are available to position your box as desired. The first set includes the balls located at the end of each straight line. These balls enable you to adjust the box size. Pulling or pushing the green ball, for instance, will respectively extend the box's width or reduce it.
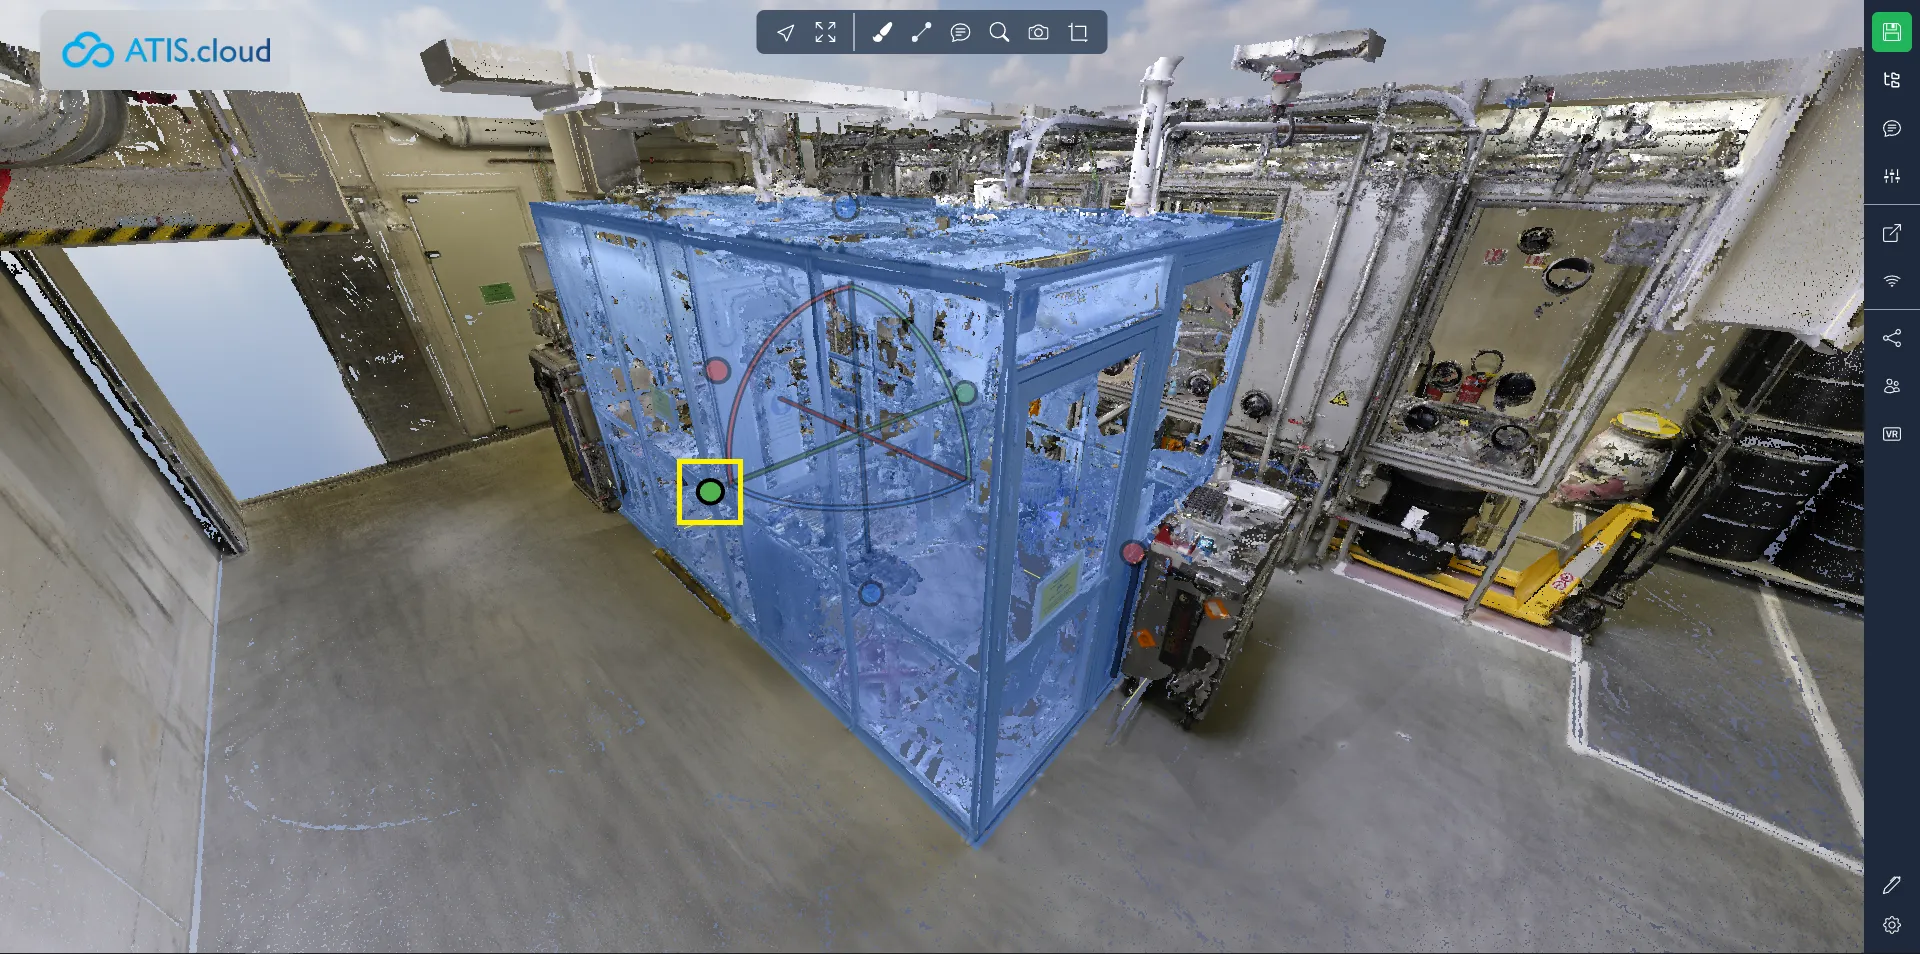
The second handle type consists of straight lines. These lines enable you to move the box along the axis defined by the line without altering the box size.

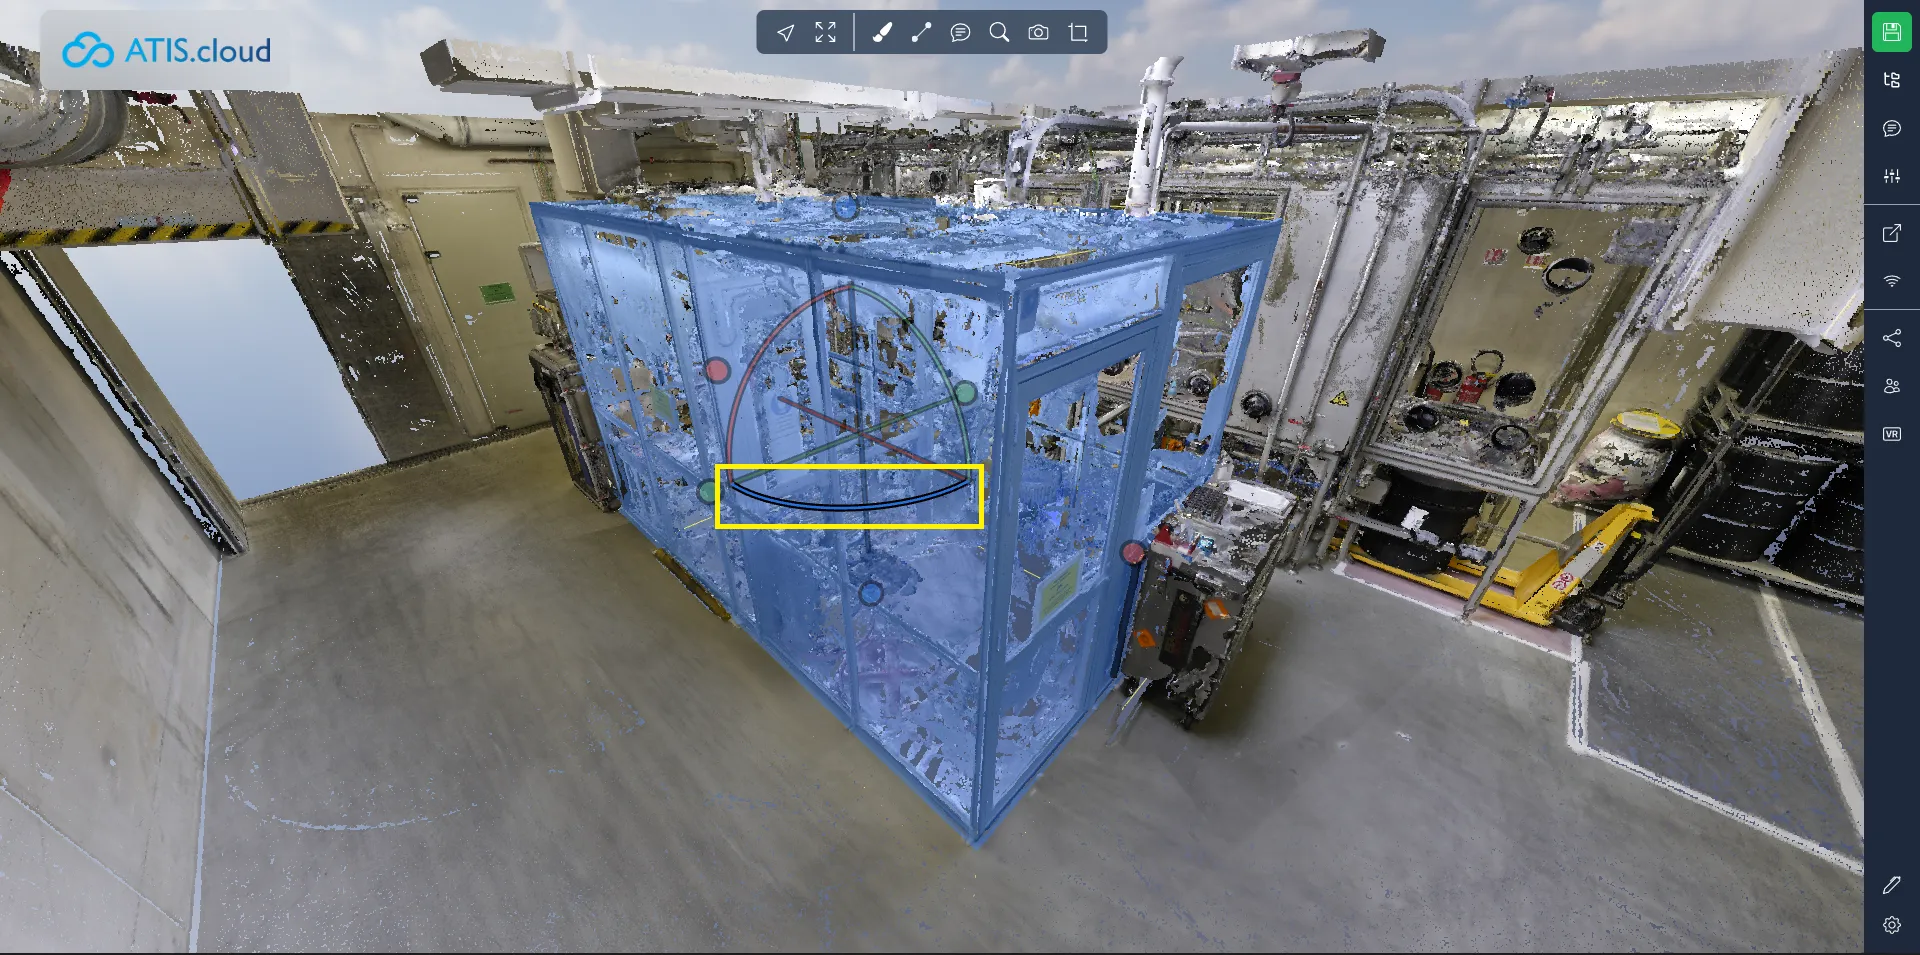
The last handle type is the bent line. These lines facilitate the rotation of the box around the axis defined by the corresponding straight line. You can identify the matching lines by observing their colors.
After placing your box, you can access additional settings by opening the project menu and clicking on your box.
Firstly, there are the classic properties such as position, rotation, and scale. You can directly input values if you prefer not to use the handles.
Next, you'll encounter two crucial switches. The first allows you to lock the box. When the lock switch is enabled, you cannot modify the box's position, rotation, and scale. The second switch determines whether the frame is displayed or not, which can be useful for presentations, for instance.
Finally, you have the option to change the clipping mode after placing a box. Here, you'll find the three modes discussed at the beginning of the article. Additionally, there's a list of all resources in the viewer, allowing you to choose which are affected by the box and which are not. This provides the flexibility to cut only your model, only your point cloud, or both, depending on your preferences.

In the second tab, you will find several buttons enabling various actions:
- Export point cloud: Export the portion of the point cloud within the box. For more details, refer to this link.
- Reset Orientation: Reset the orientation of the box. If you made a rotation error, this action will level it back. Note that this won't alter the box size, only its rotation.
- Duplicate: Duplicate the box, creating a new identical box adjacent to the current one.
- Delete: Delete the box. Please be aware that this action is irreversible. However, you can find the box if it was saved in an earlier version of your project.

If you wish to create vertical profiles, you can check out this article.
If you run into any issues, our support team is here to help. Happy exploring!