Add 360° Images to a Project
The platform is compatible with 360° images. If you have a ReCaP project and you have 360° images, you just have to compress the ReCaP project and send it; 360° images will be retained.
In some cases, if you have an e57 file, depending on the tool used to export the e57 file, 360° images may be included inside. In this case, the platform keeps the 360° images (for example, Cyclone Register 360 keeps the images if the e57 file is structured, and NavVis and Geoslam also keep the images in the e57 file).
Othewise, you will be able to upload the images on the side, after your point cloud is uploaded and active, re-open the upload page and drop a .zip file containing your images.
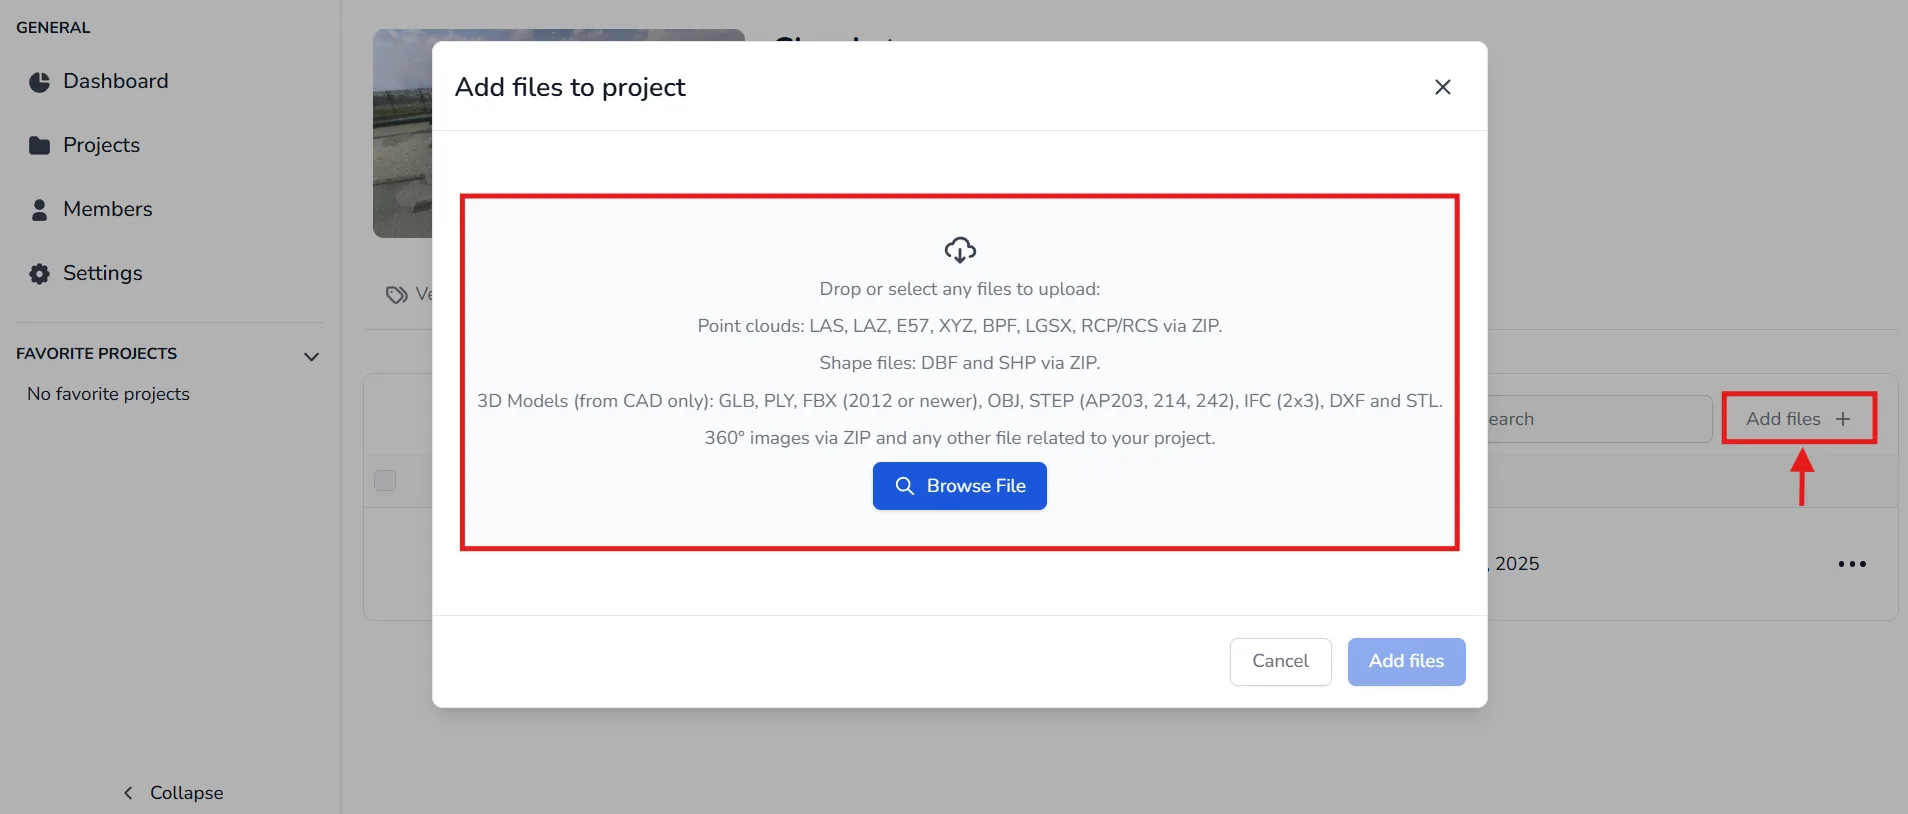
Learn about the different .zip files depending on the scanner used below. To upload your images, drop your .zip file , the platform will automatically recognize the images type you uploaded.
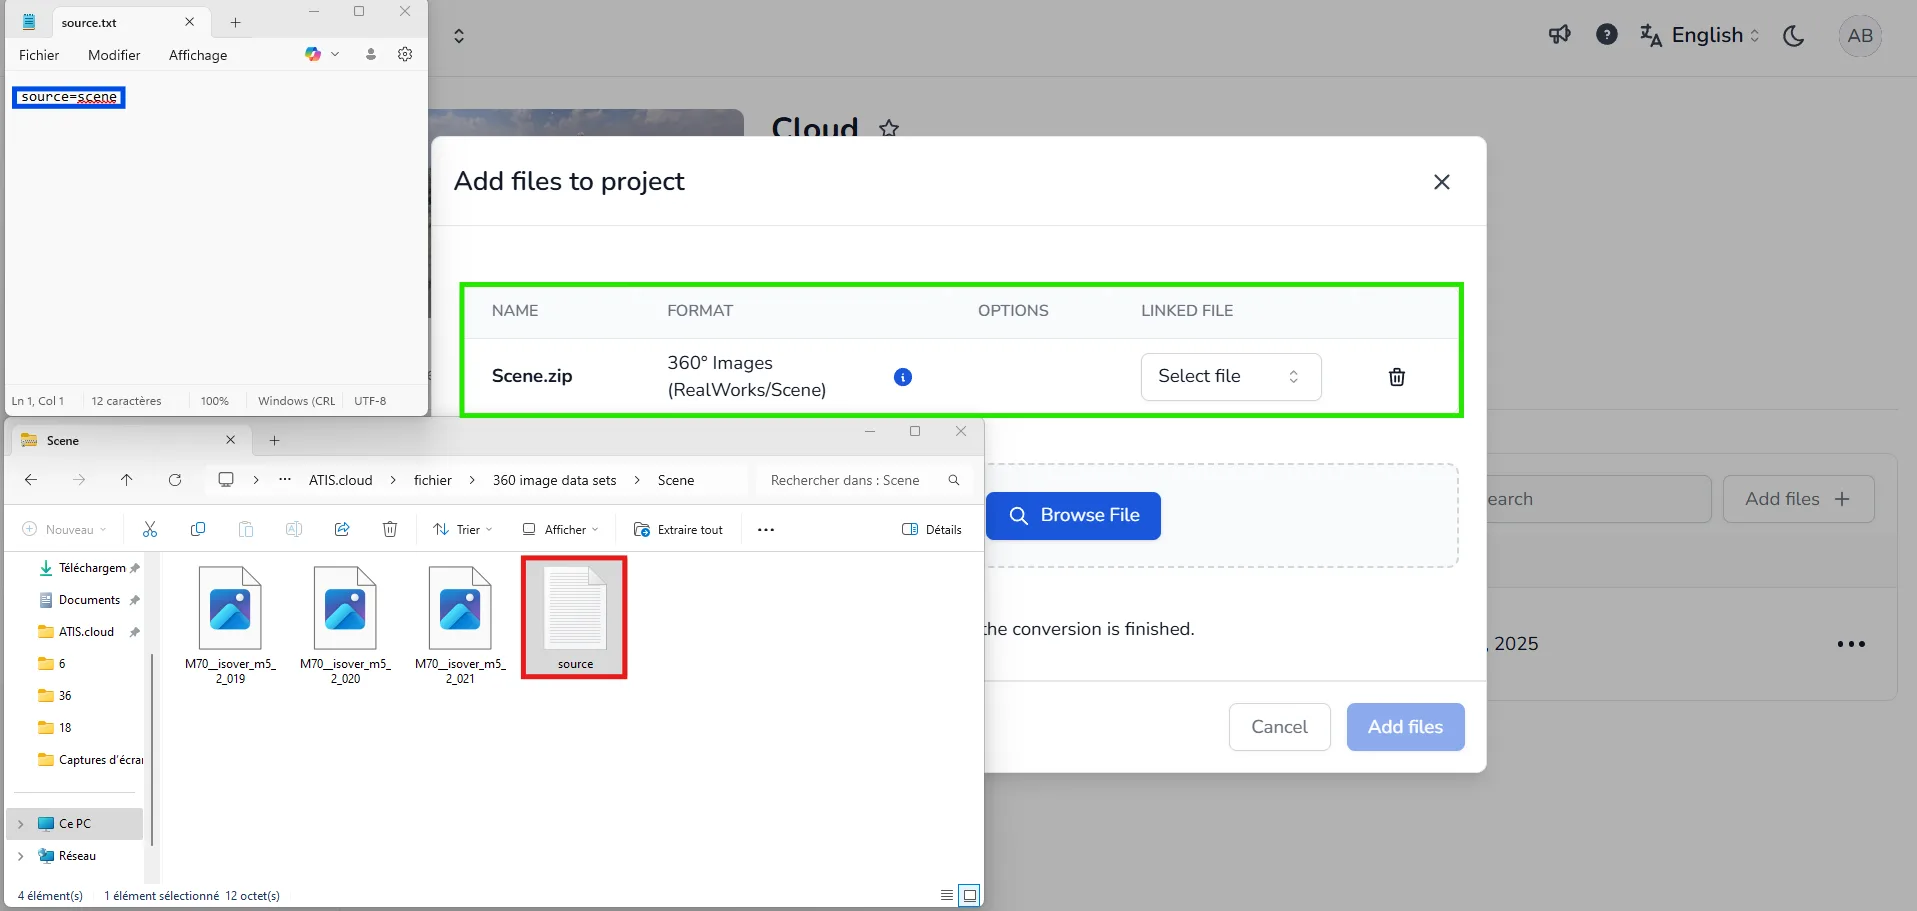
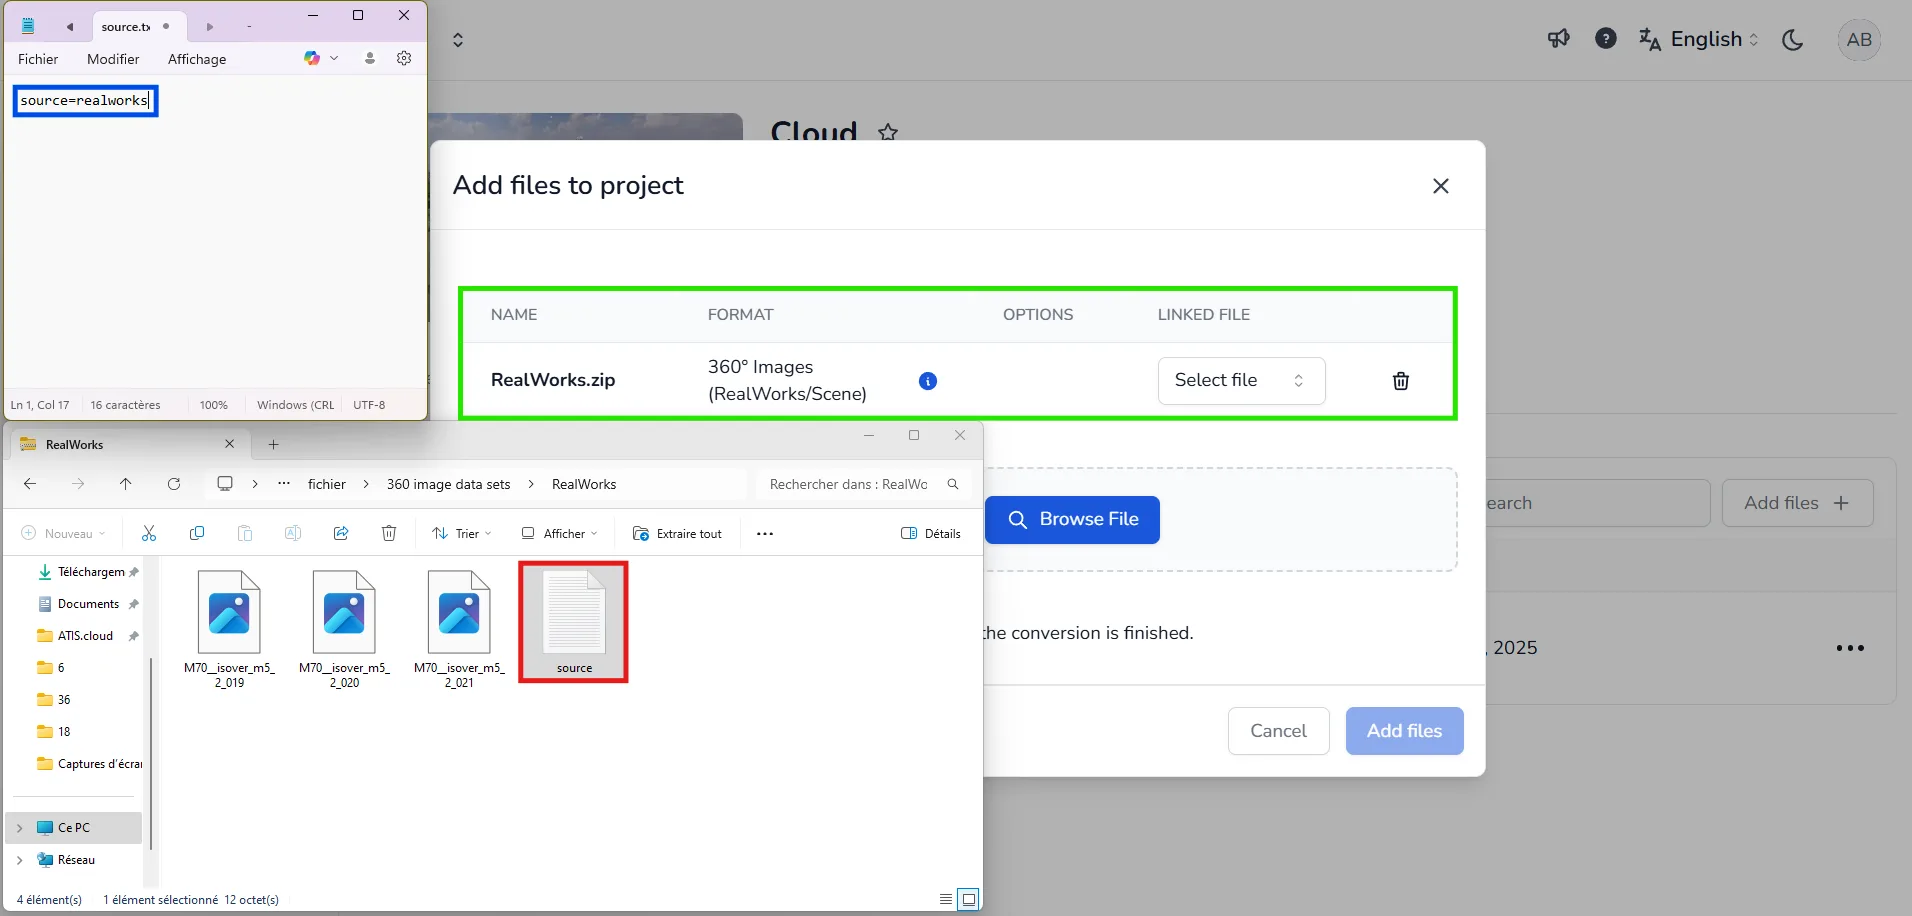
For fixed scanners, there is no need for a CSV file that would contain positioning information, because the data is coming from a terrestrial scan and is therefor structured, we only have to link the images with their station. All we need is a TXT file telling the platform which software the images are coming from. The images and the TXT file should be zipped into a file, that will be uploaded onto the platform.
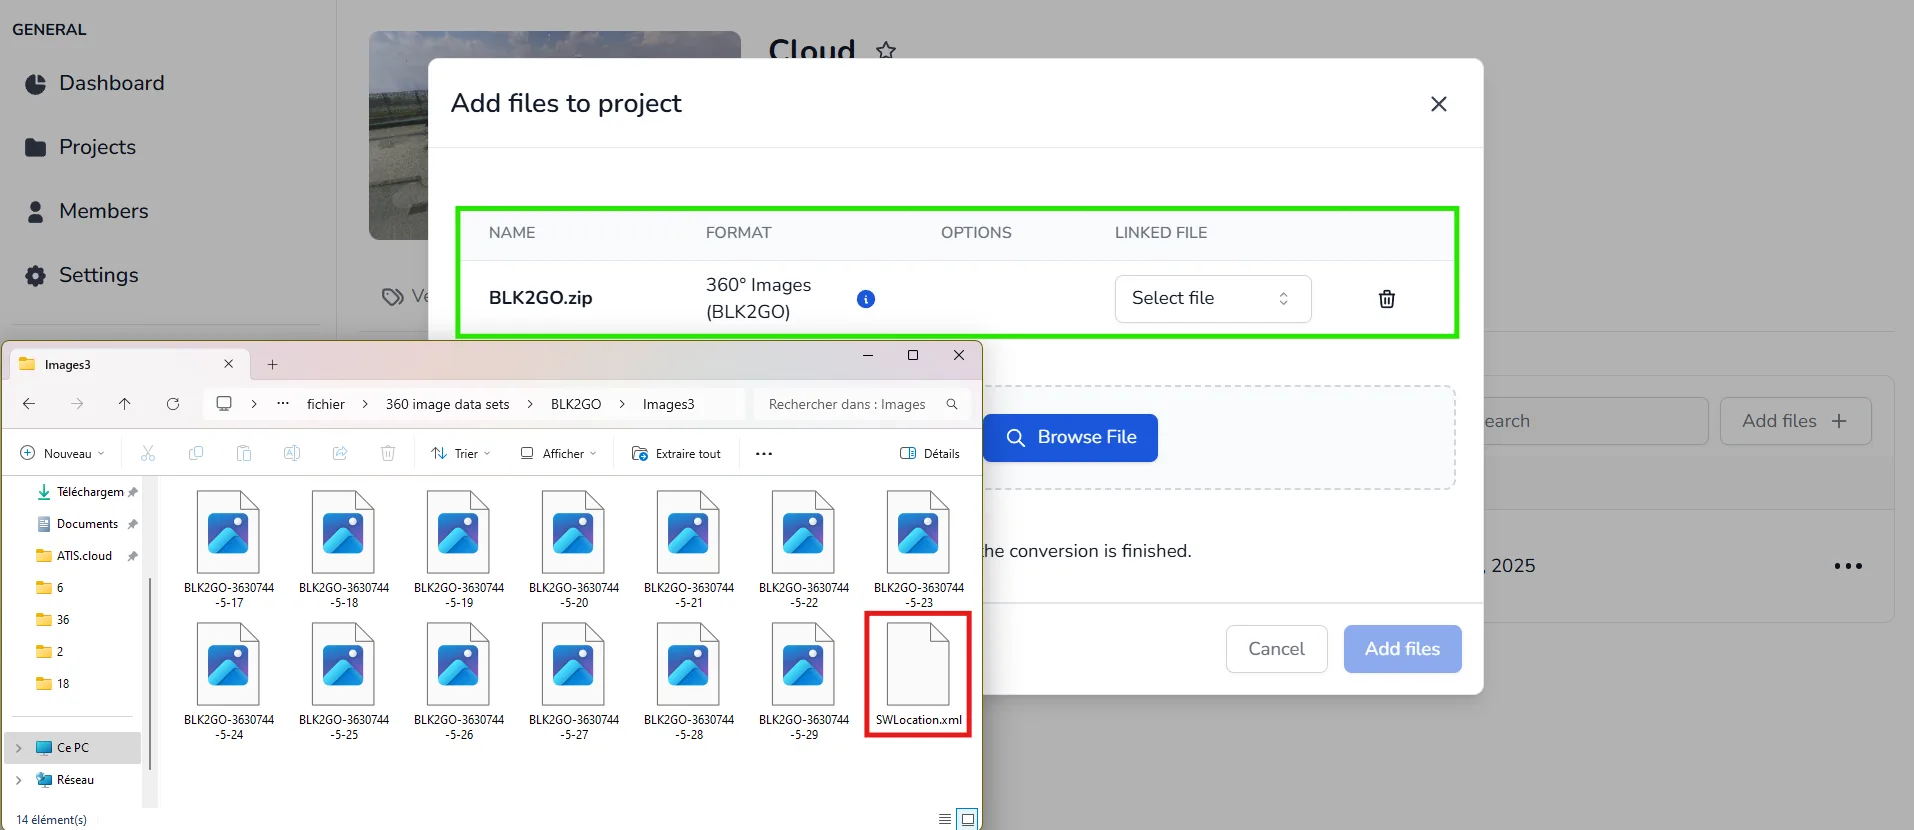
- Leica BLK2GO
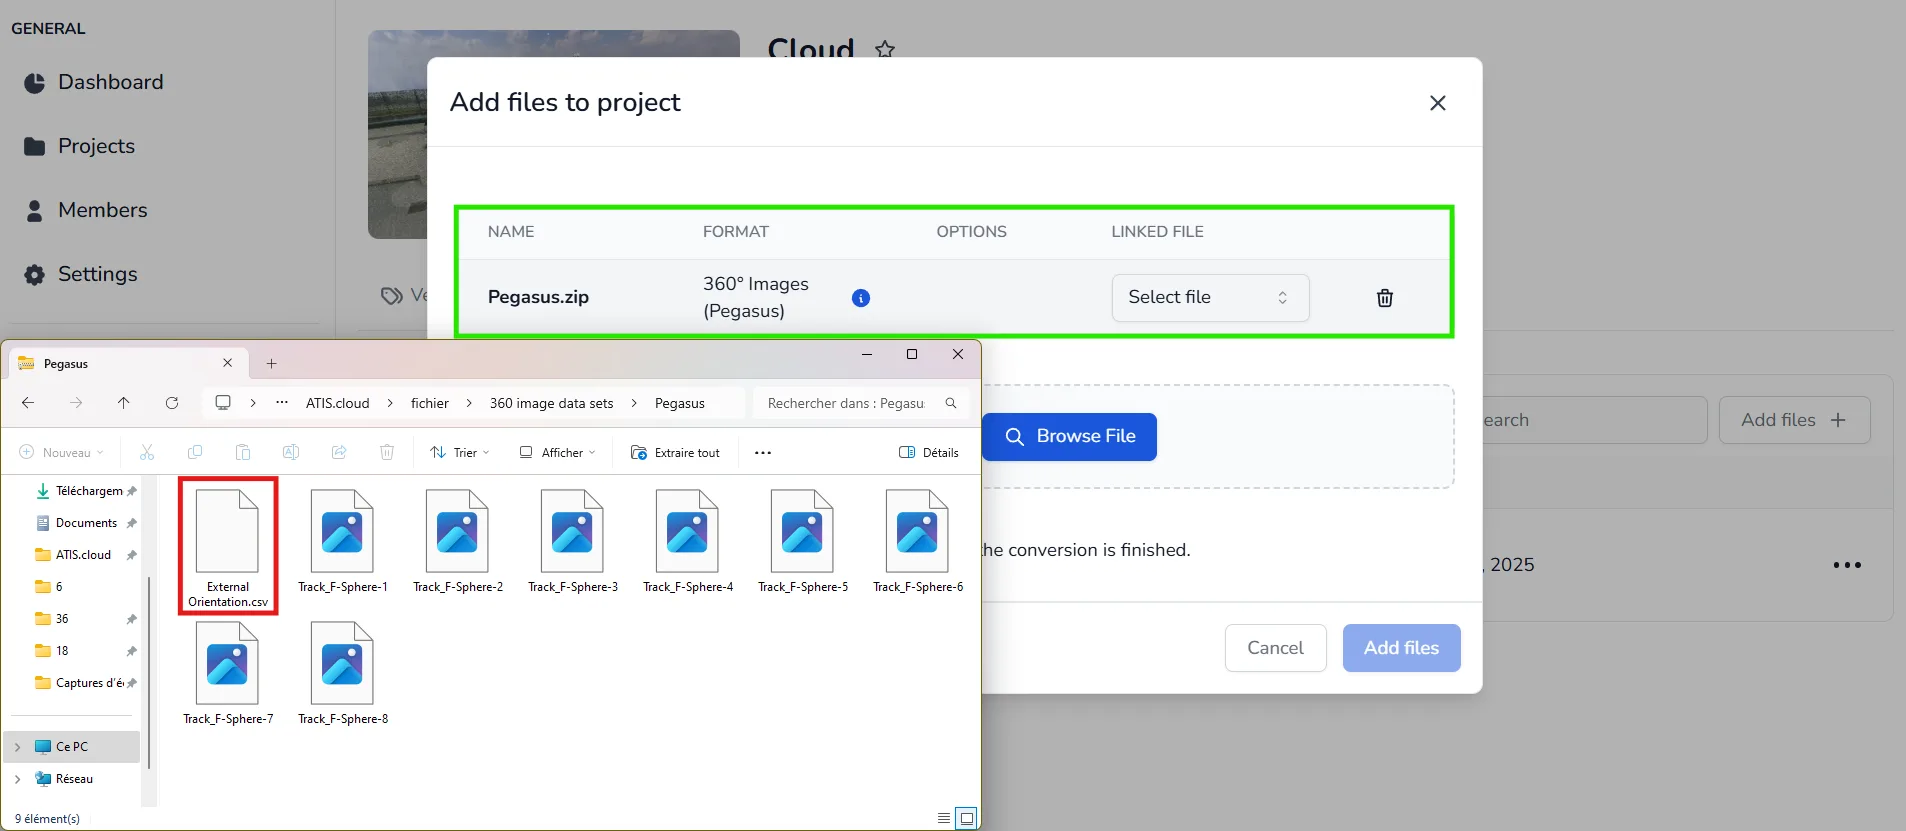
- Leica Pegasus
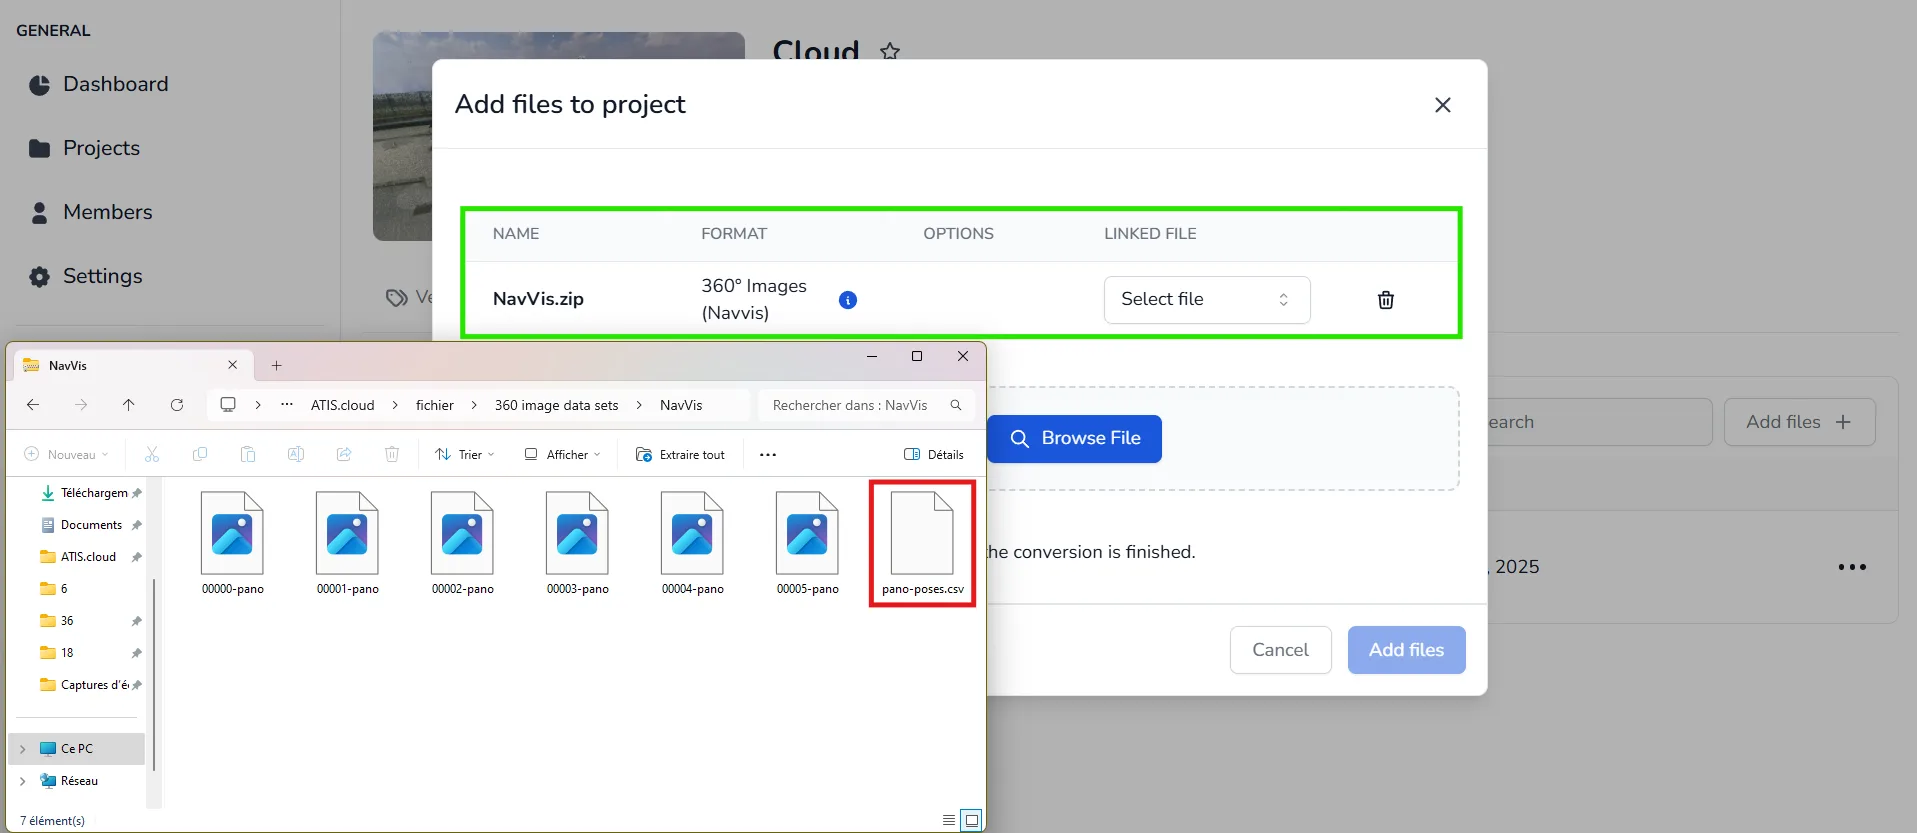
- NavVis
- FARO
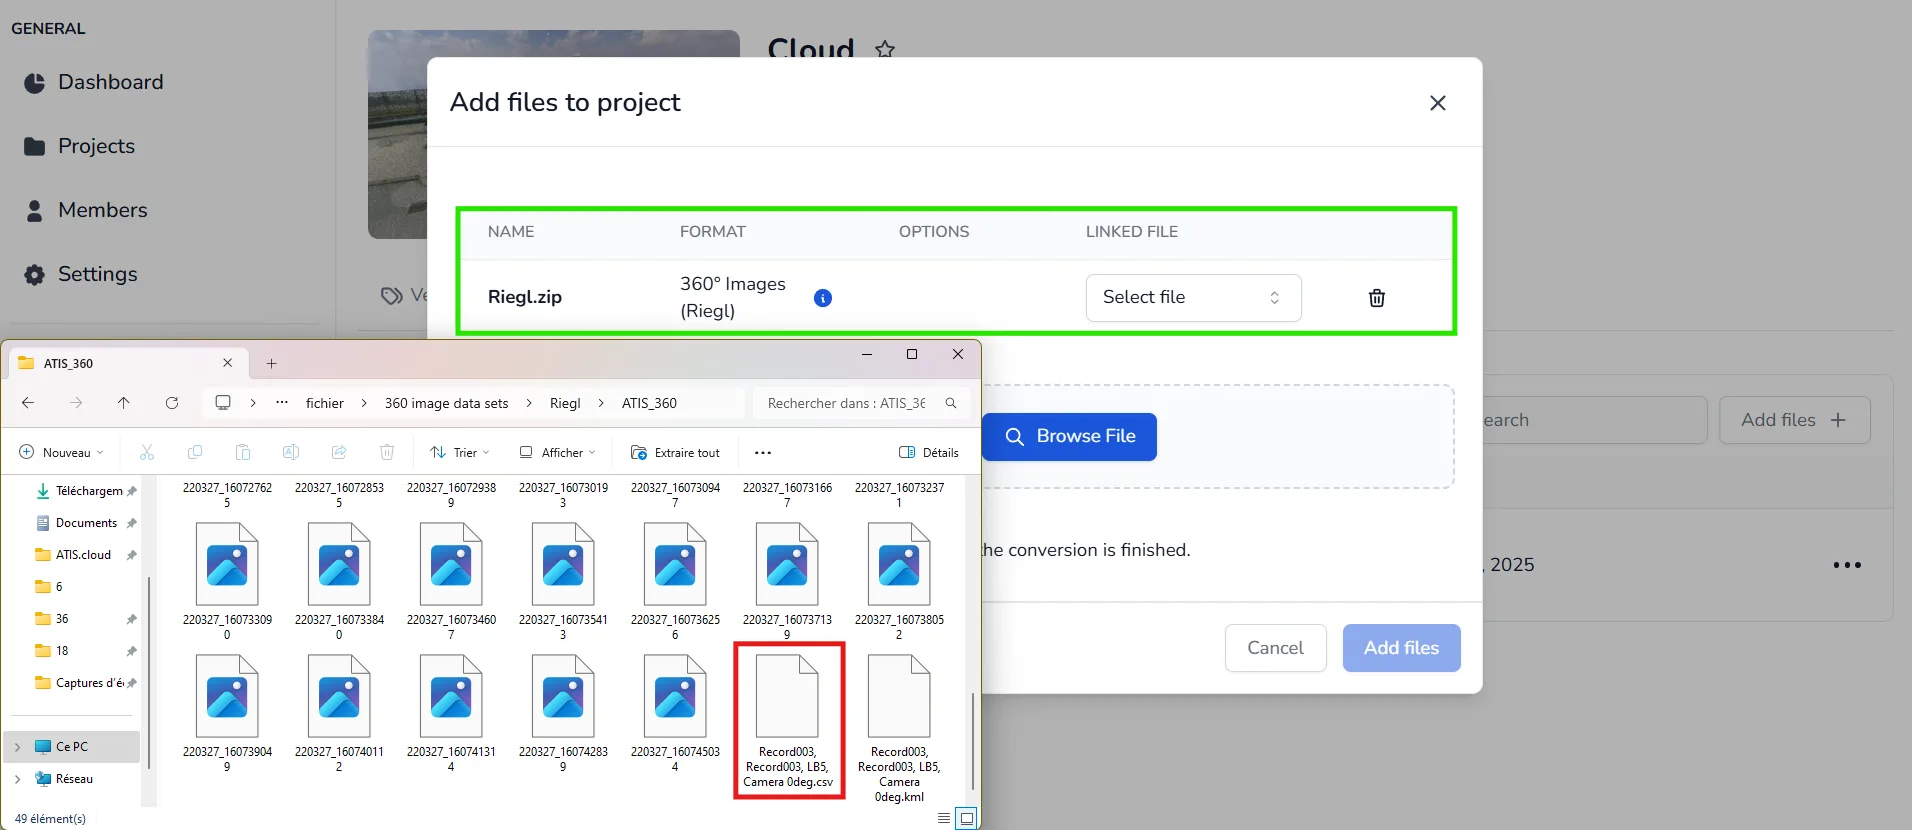
- Riegl
- Trimble MX9
- Viametris
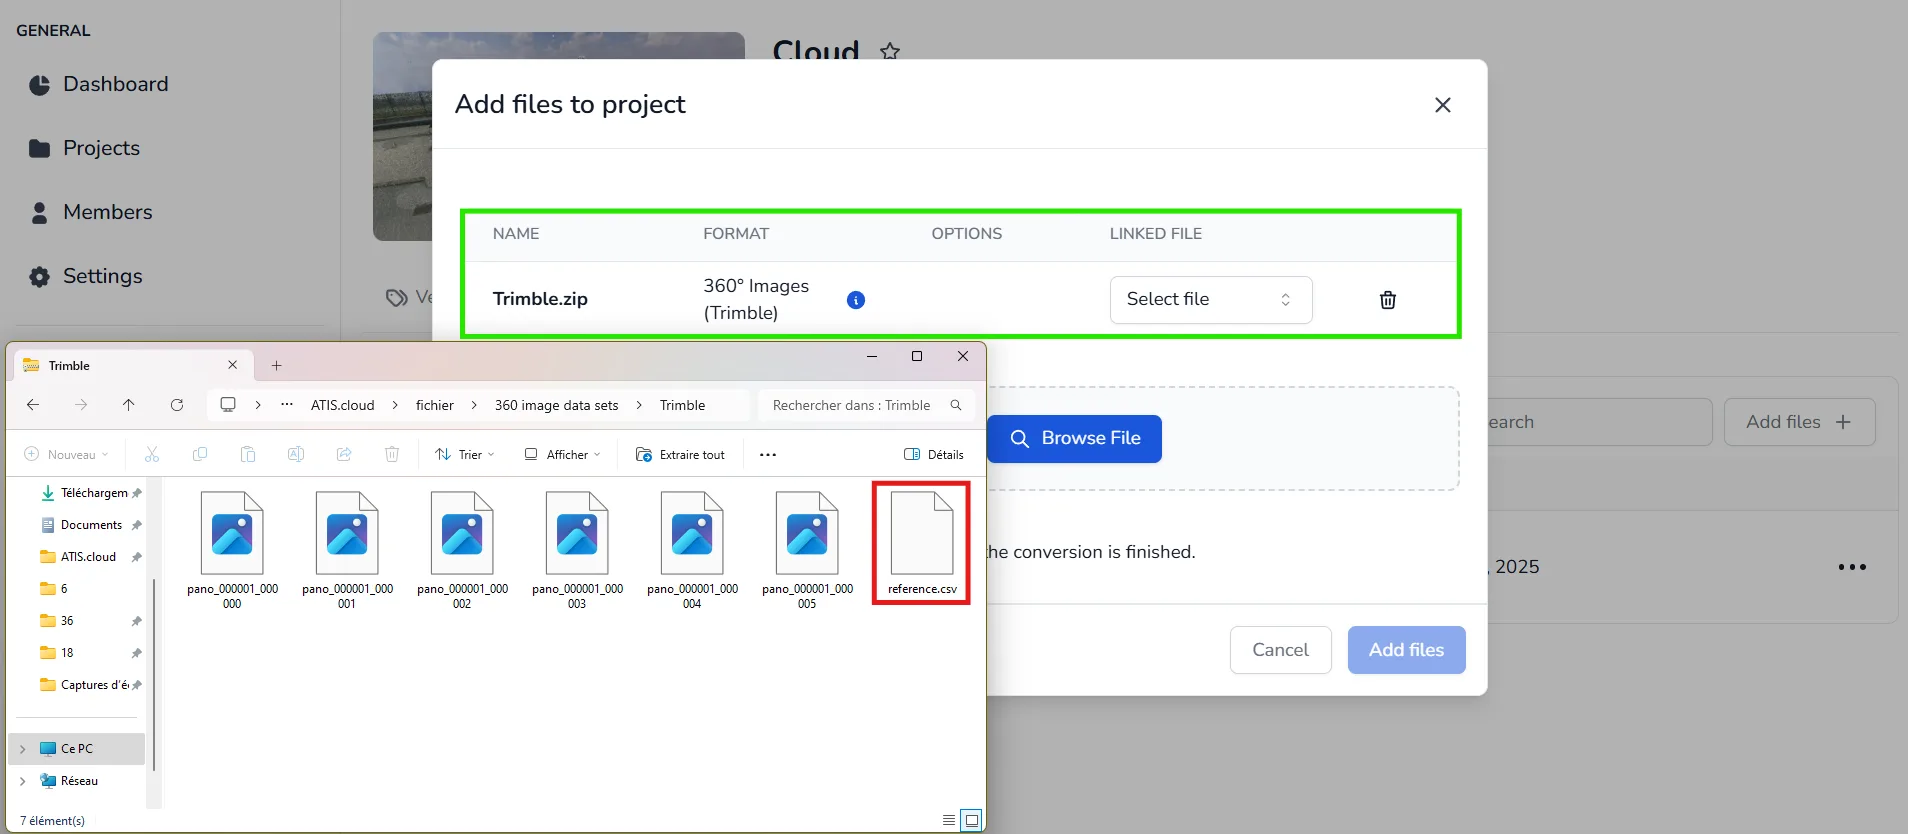
- Realworks
- Mosaic
- XGRIDS
- CHCNAV
- 📂Use the XML file along your images and zip all of this together.📥
- Alternatively, you can import a .LGSx file that includes your 360° images, as this file type is supported.
- 📂Use the "External Orientation.csv" file along your images and zip all of this together.📥
- Alternatively, you can import a .LGSx file that includes your 360° images, as this file type is supported.
- 📂Use the CSV file along your images and zip all of this together.📥
- Alternatively, you can import an E57 file from NavVis that includes your 360° images. You can refer to this dedicated article
- 📂Once your ZIP archive is ready, upload it to your project. The system will automatically detect whether it originates from FARO Scene. Please refer to the example image to verify the presence of the required
.txtfile within the ZIP, which is essential for correct recognition and processing..📥 - Alternatively, you can import an E57 file from Faro Scene that includes your 360° images. You can refer to this dedicated article
📂Use the CSV file along your images and zip all of this together.📥
📂Use the CSV file along your images and zip all of this together.📥
-
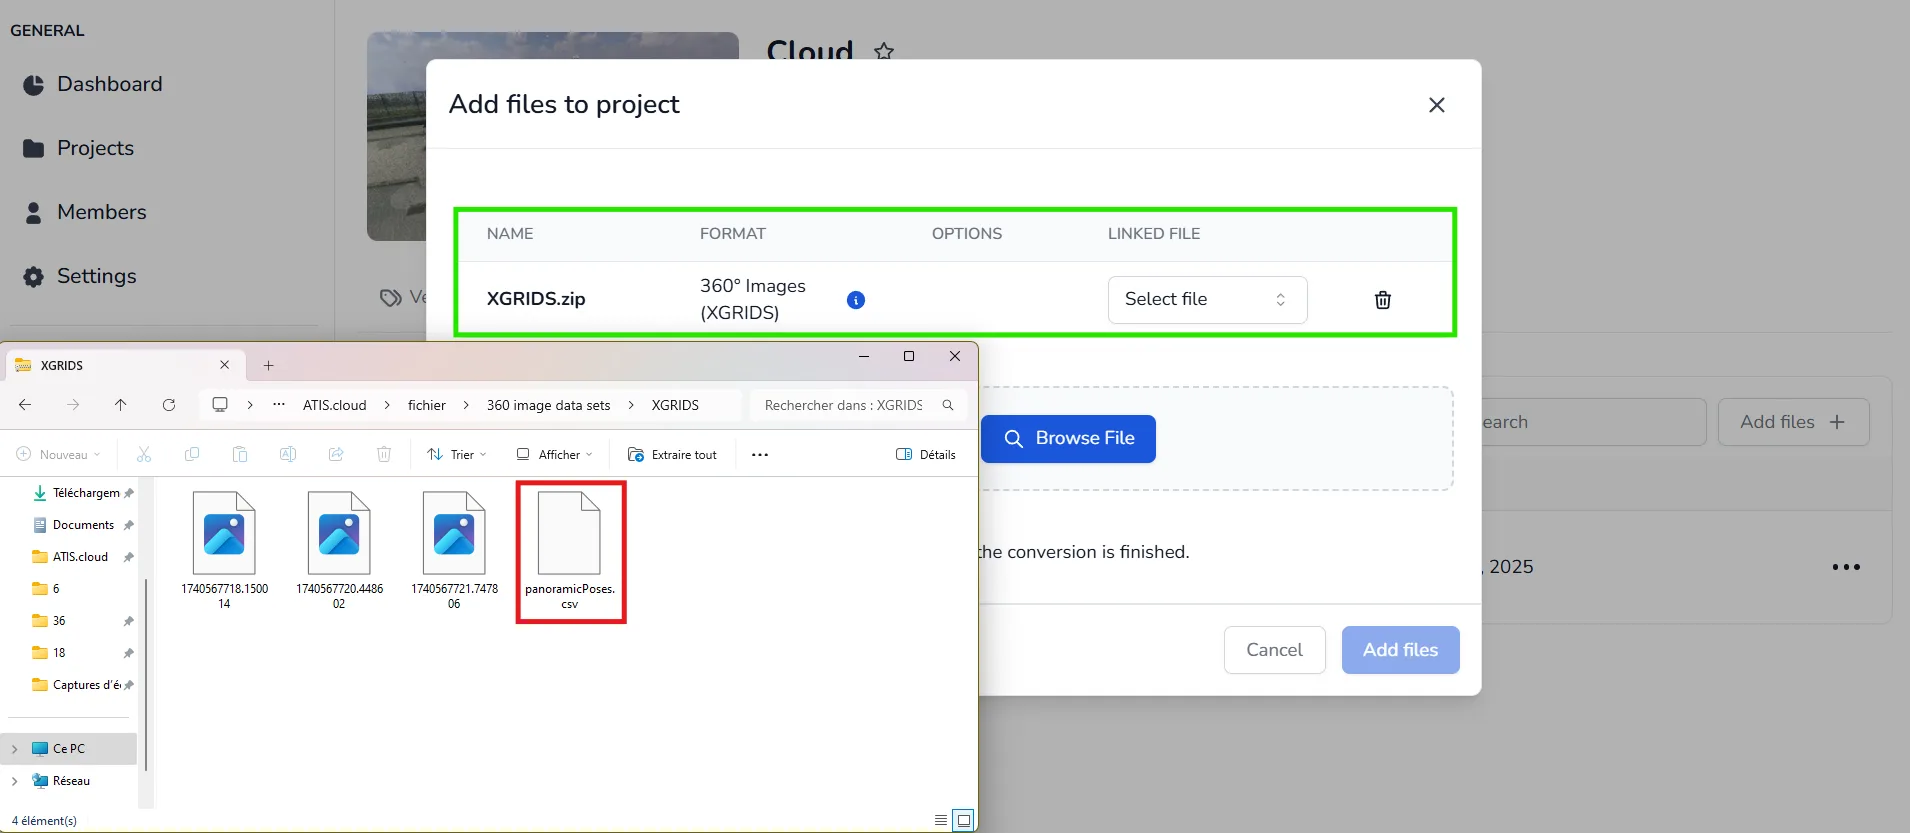
📂Use the XYZ file along your images and zip all of this together.📥
⚠️ Image naming convention : All 360° images must follow the required naming format, for example: image_000000.jpg, image_000001.jpg, image_000002.jpg, and so on, using a continuous incremental numbering sequence.
-
Alternatively, you can directly import an E57 file that includes your 360° images.
Please note that with the latest version of PPiMMS software, you can select the MultiCams Trajectory Orientation. The platform is currently compatible with the "y front, x right, z up (legacy)" option. Make sure that you have this option selected before exporting the images from PPiMMS .


📂Once your ZIP archive is ready, upload it to your project. The system will automatically detect whether it originates from Trimble Realworks. Please refer to the example image to verify the presence of the required .txt file within the ZIP, which is essential for correct recognition and processing.📥
📂Use the CSV file along your images and zip all of this together.📥
⬇️ Please Download the CSV template file to prepare your Mosaic images import.
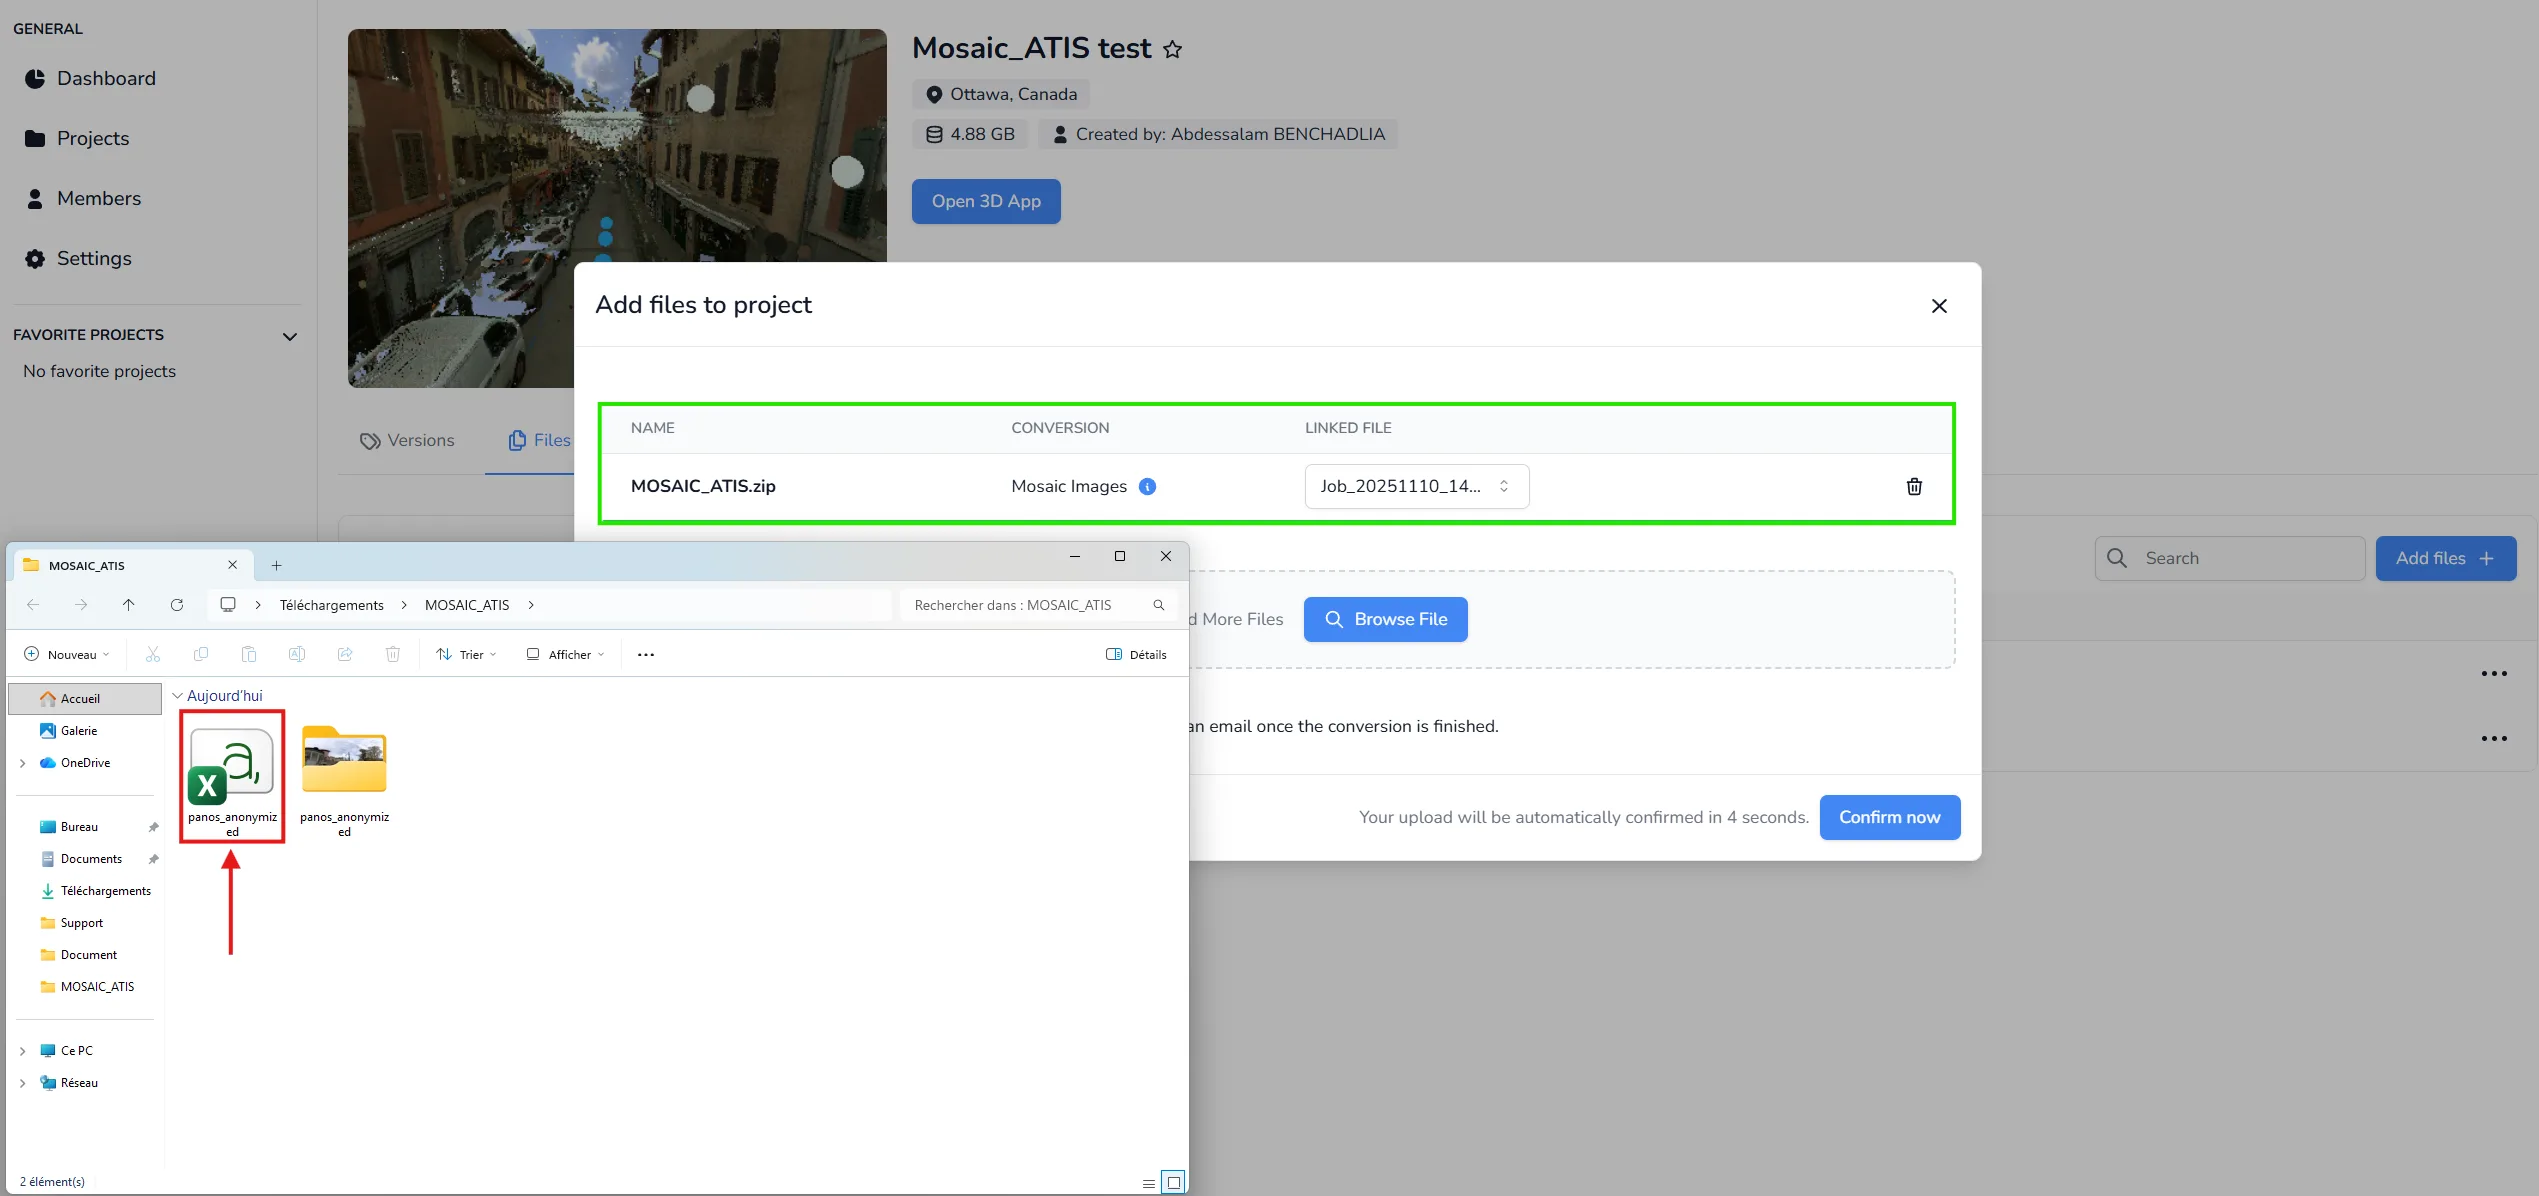
📂Use the "panoramicPoses.csv" file along your images and zip all of this together.📥
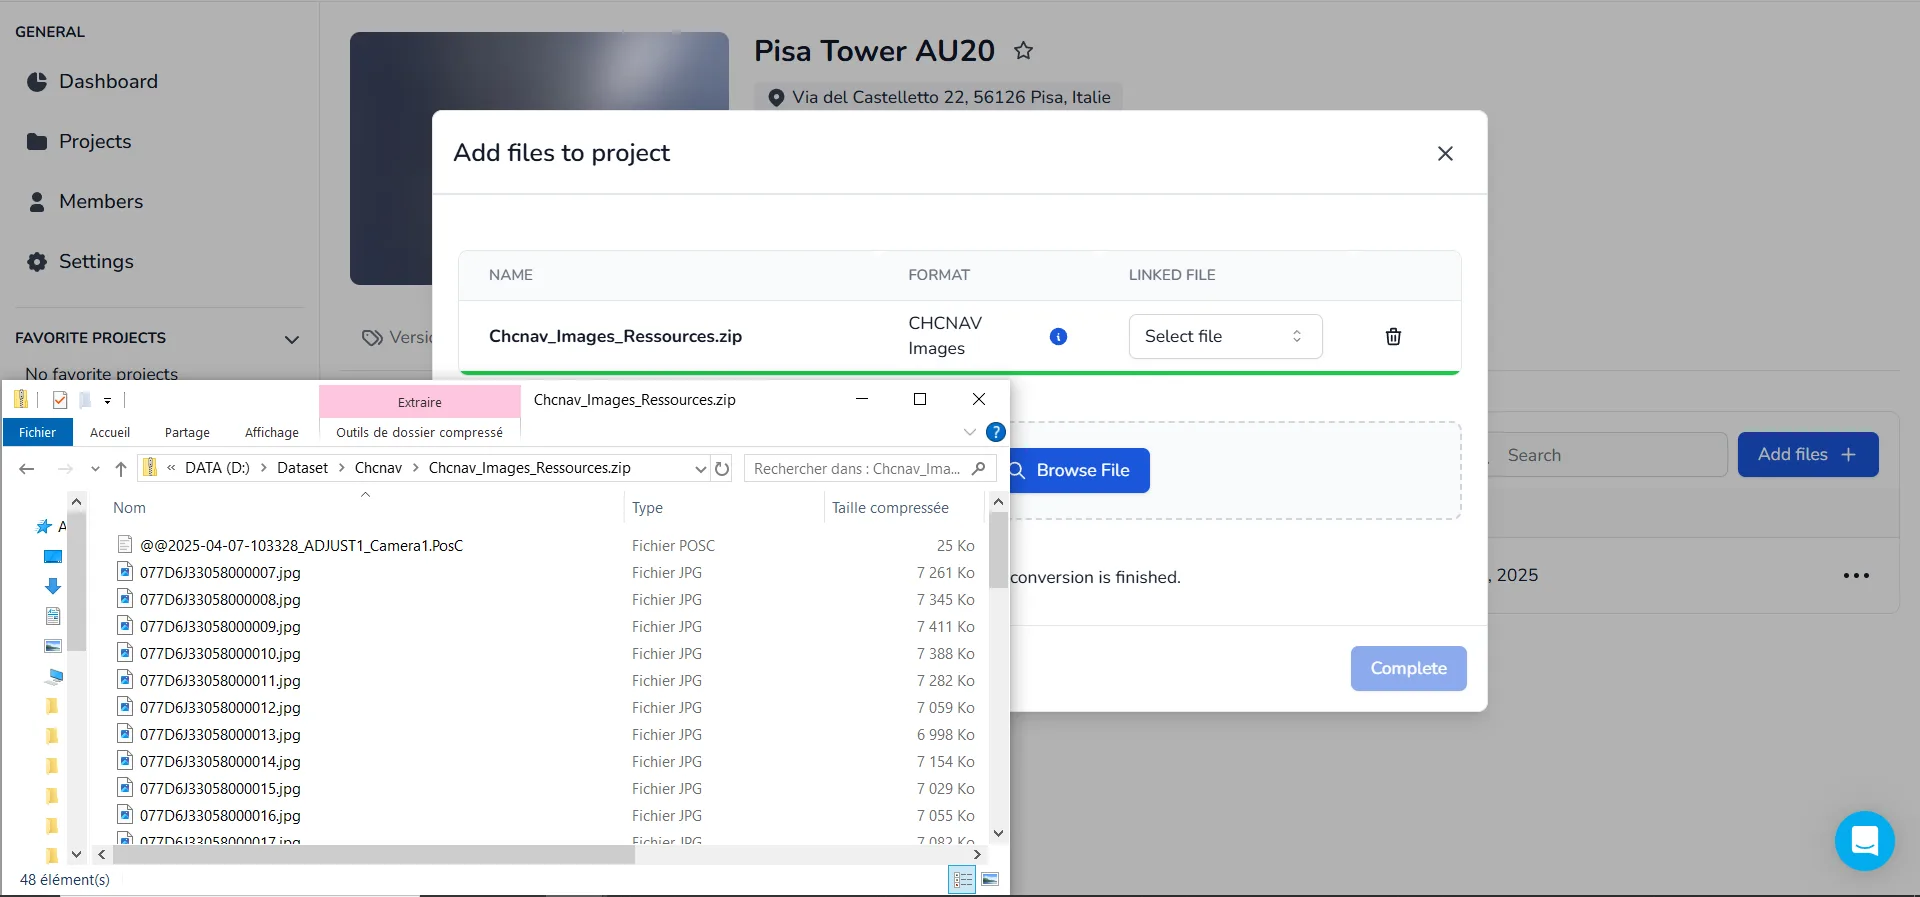
📂Use the PosC file along with your images and zip all of this together. The PosC file follows a format of "@@yy-mm-dd-id_ADJUST1_Camera1.PosC". The system will automatically detect whether it originates from CHCNAV.📥 You can refer to this dedicated article.
In case of problem or difficulty, do not hesitate to contact the platform team.