Navigation Modes
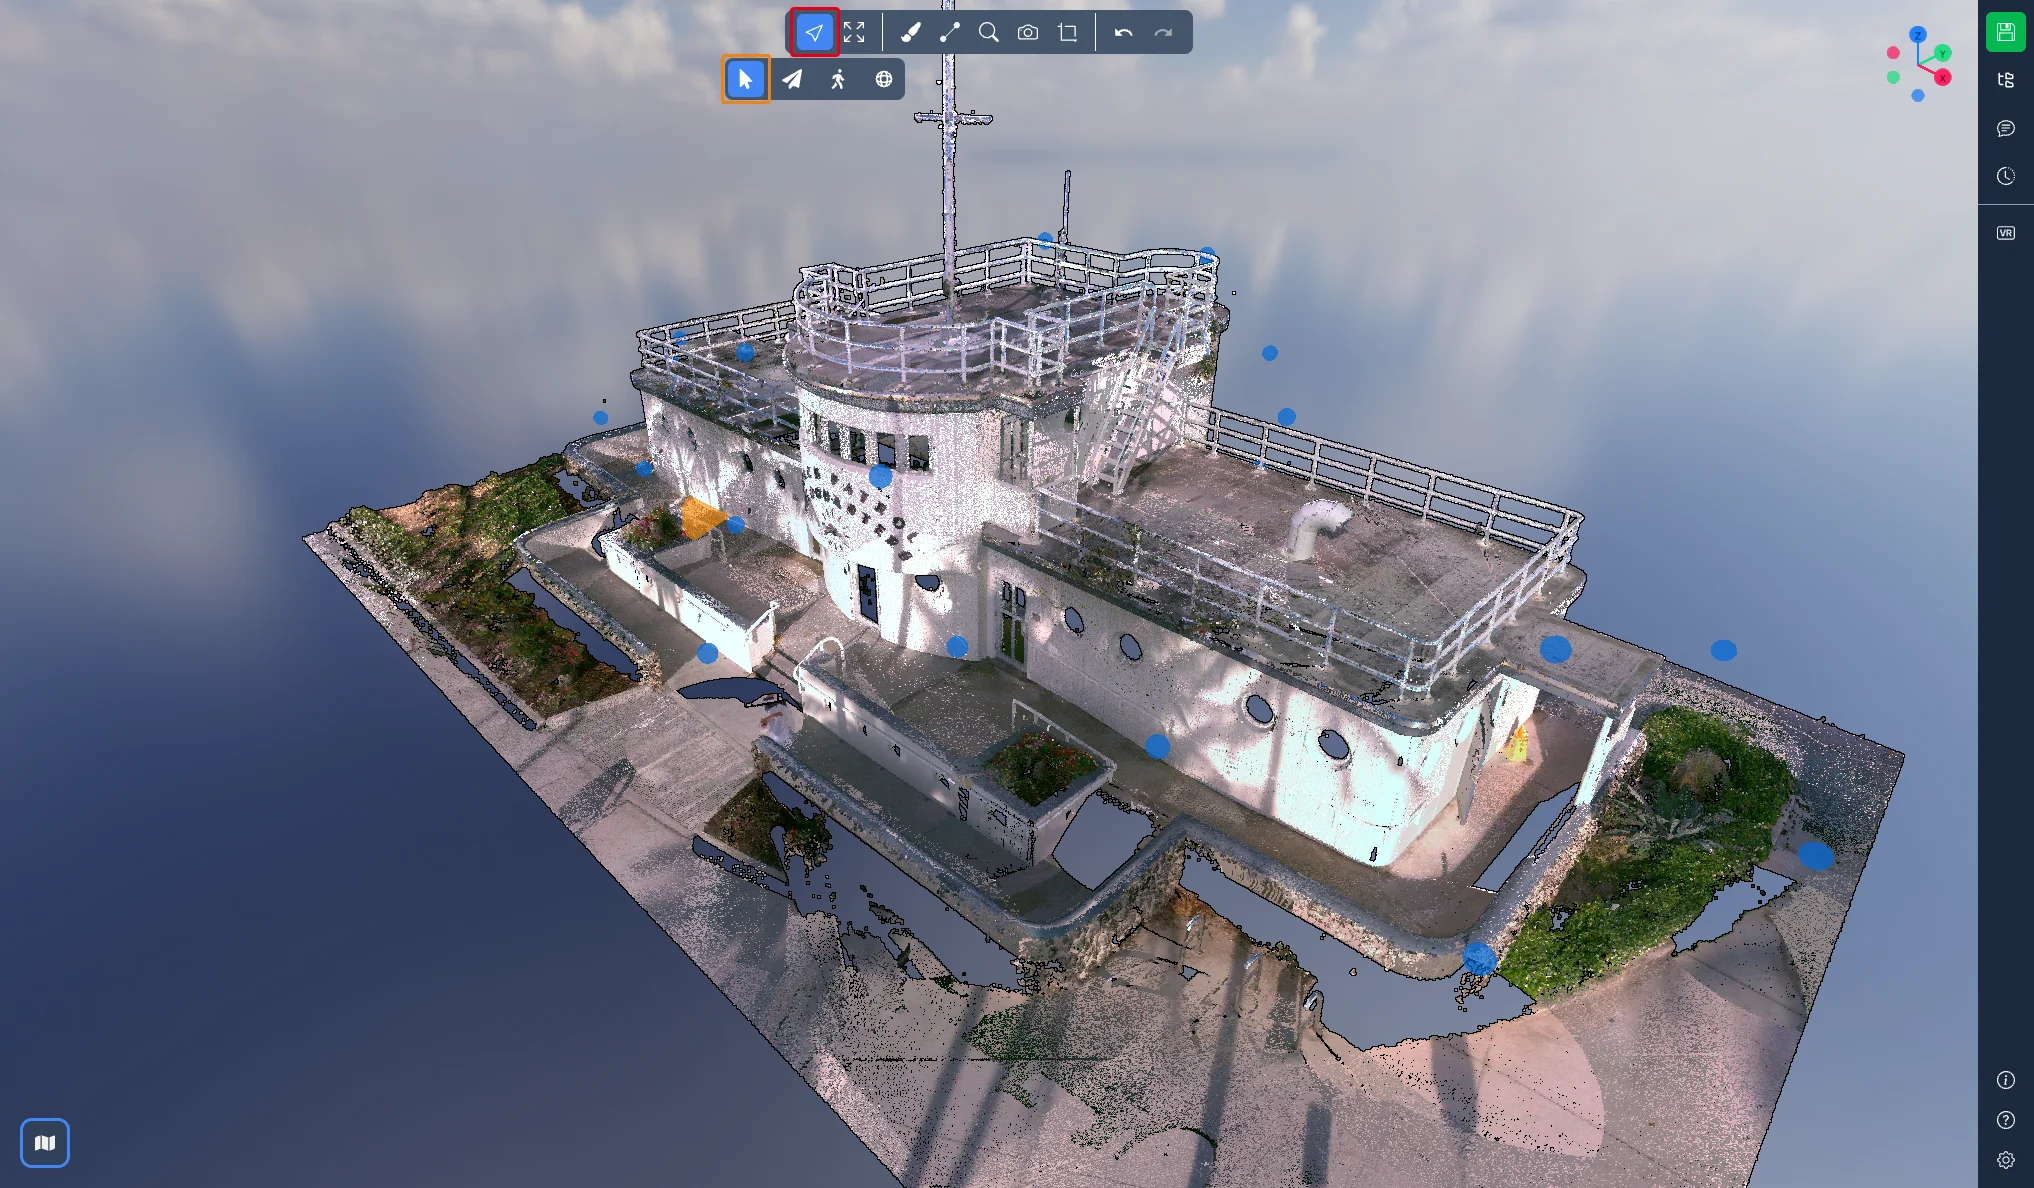
In the 3D Application, the navigation tools are grouped under the first button of the toolbar. Click the navigation button to display the four modes: User defined, Fly, Walk and Panoramic.
The mouse behavior is no longer fixed per mode. It comes from a navigation preset that you choose in the settings, and you can build your own. Presets are covered in the second part of this article.
The four navigation modes
User defined
This is the default mode. The mouse does exactly what the active preset says. With the default preset, ATIS.cloud (Recommended), you can:
-
Orbit: rotate the camera around the point under your cursor by holding the left click
-
Pan: move the camera sideways and vertically by holding the right click
-
Zoom: use the scroll wheel to zoom towards the cursor, or hold the middle click and drag
-
Field of view: hold Ctrl and use the scroll wheel
-
Focus: double-click anywhere on the point cloud to move the camera to the clicked point
-
Fit view: double-click the middle button to see the whole scene again
-
Select: hold Ctrl and left click an object
Choose another preset and every line above changes, see Navigation presets below.
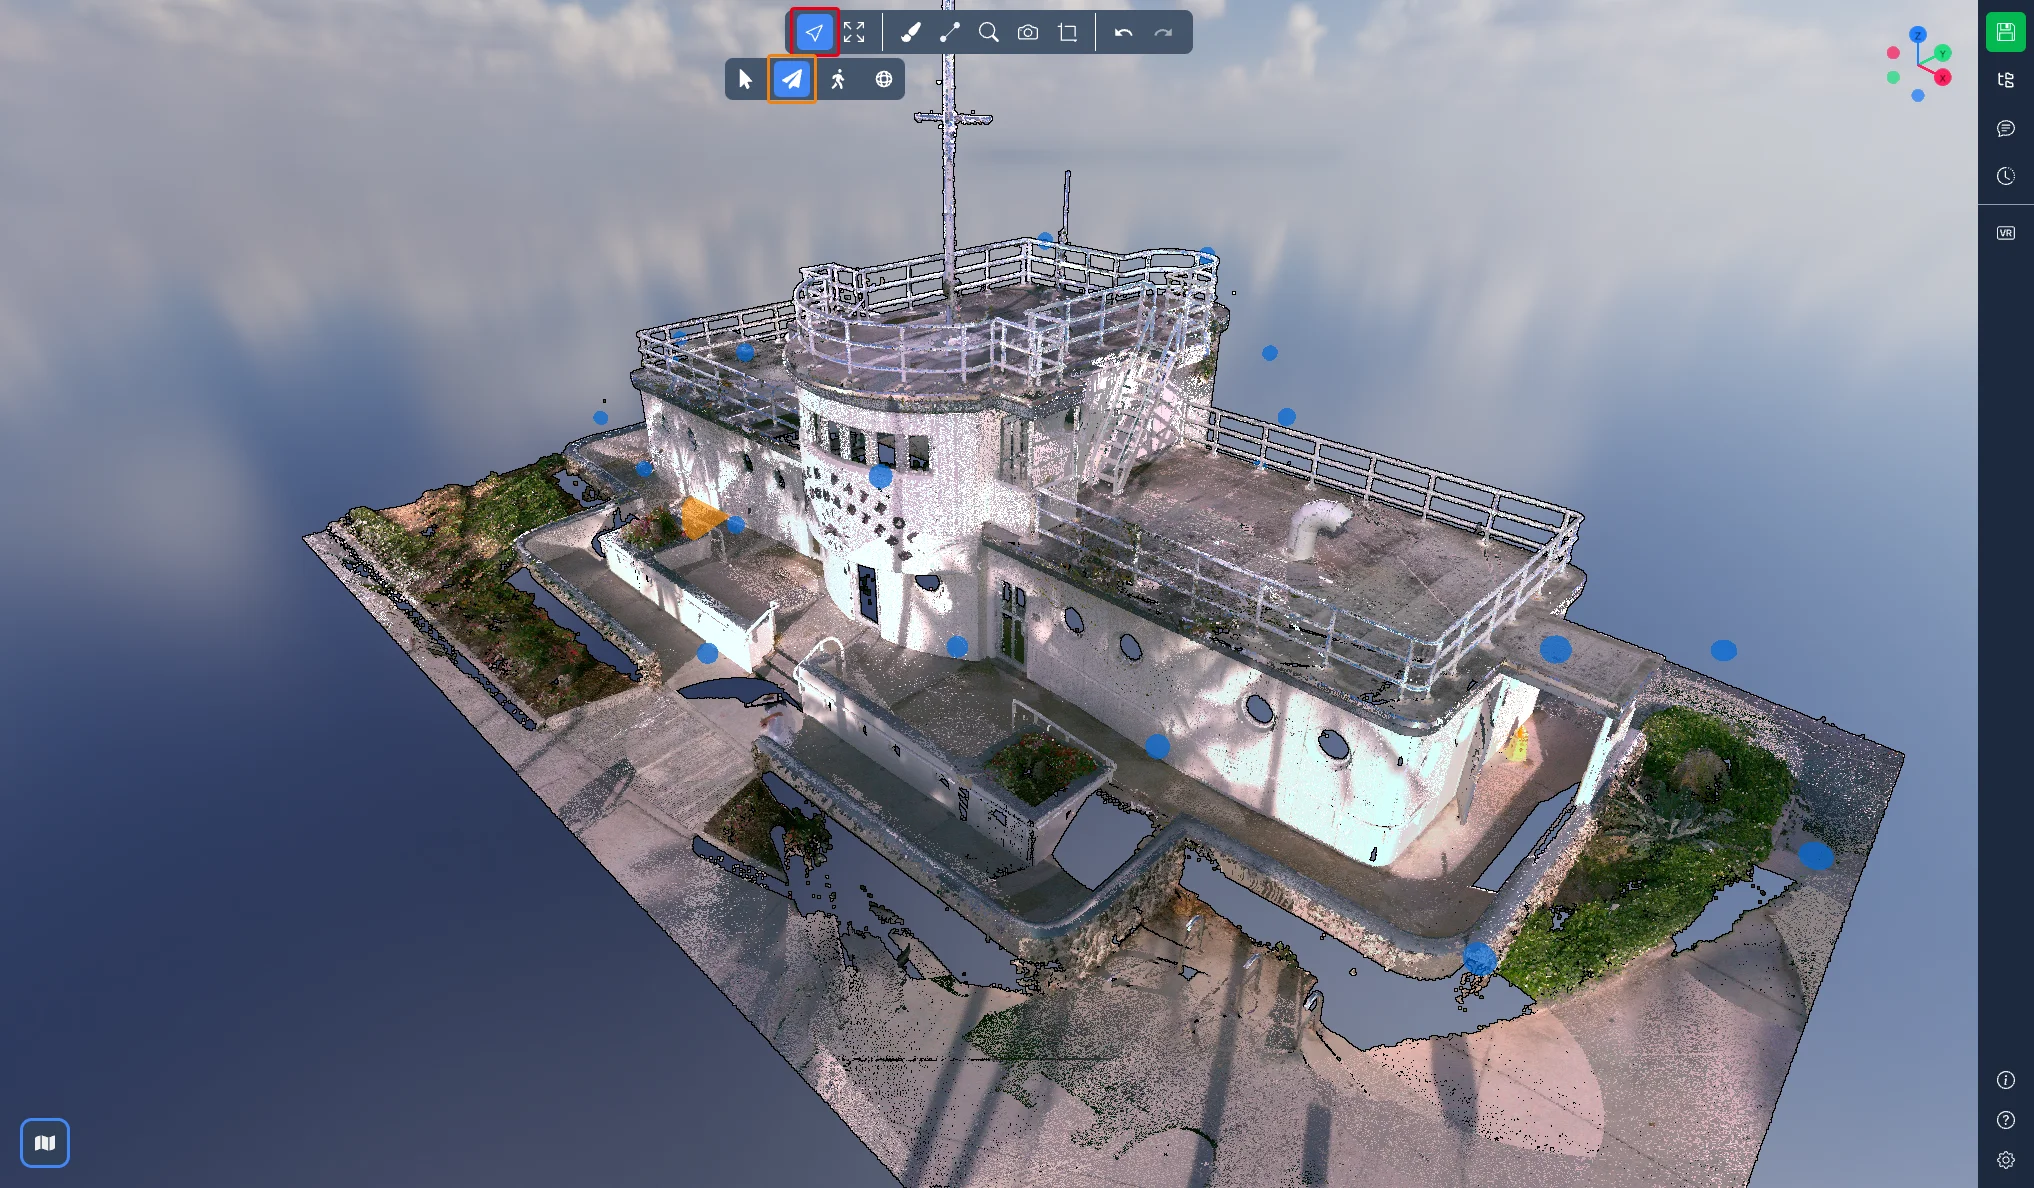
Fly
The Fly mode lets you move in any direction, altitude included, like a drone. Here you can:
-
Look around by holding the left click and dragging
-
Move continuously by holding the left click without moving: after a short delay, the camera starts flying and follows your pointer. Release the button to stop
-
Move with the keyboard: W forward, S backward, A left, D right, E up and Q down
-
Use the scroll wheel to move towards the cursor
-
Hold Ctrl and use the scroll wheel to change the movement speed. The current speed is displayed on screen while you adjust it
-
Keep using the right and middle buttons as defined by your preset, to pan for example
Double-clicking a point still moves the camera to it, as in the other modes.
Walk
The Walk mode uses the same controls as Fly, with one difference: the camera stays at a constant height, as if you were walking through the model. Looking up or down does not change your altitude when you move forward. Use E and Q to go up or down a level.
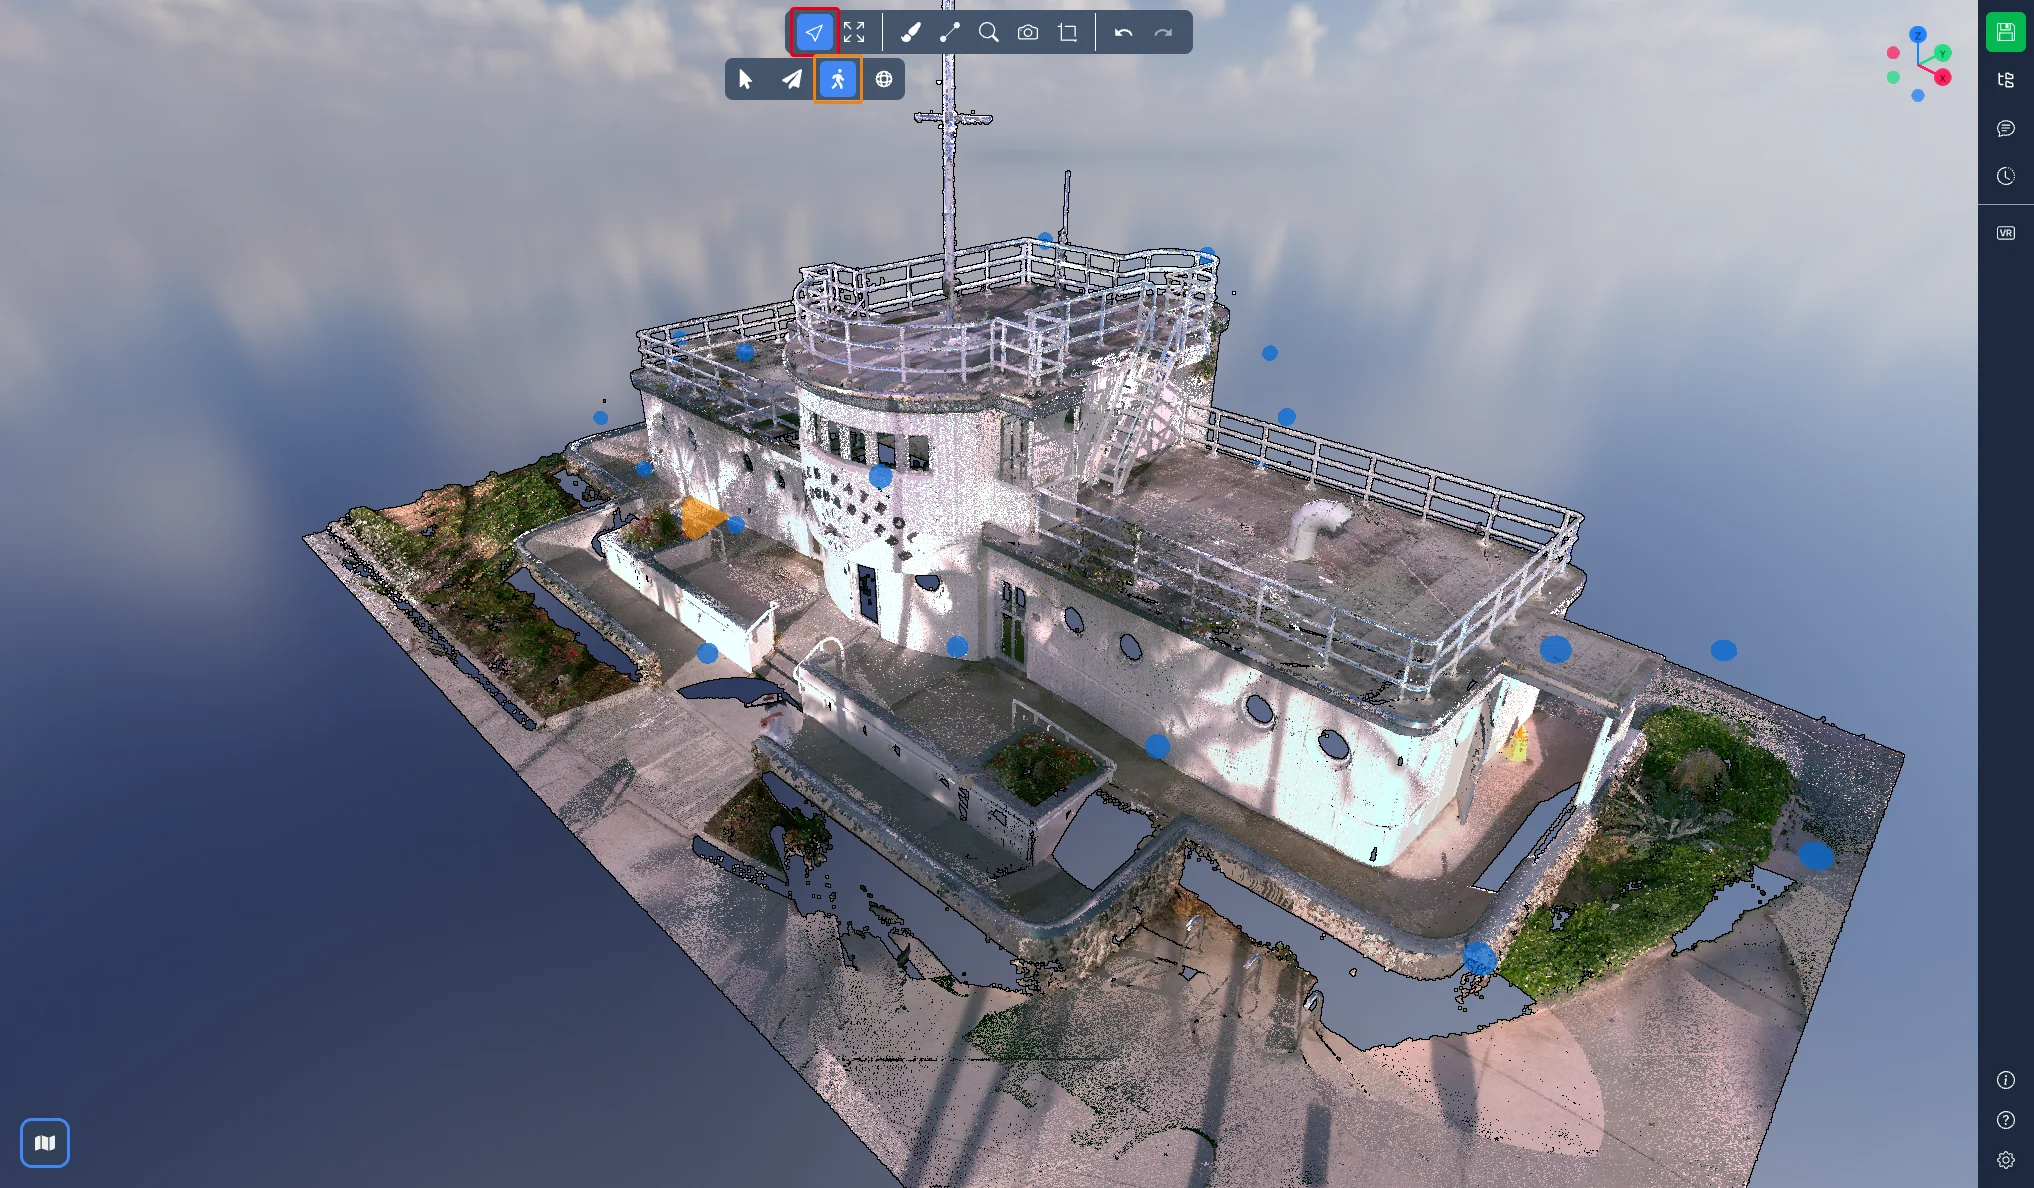
Fly and Walk are only available on desktop. On a mobile device, the toolbar offers User defined and Panoramic.
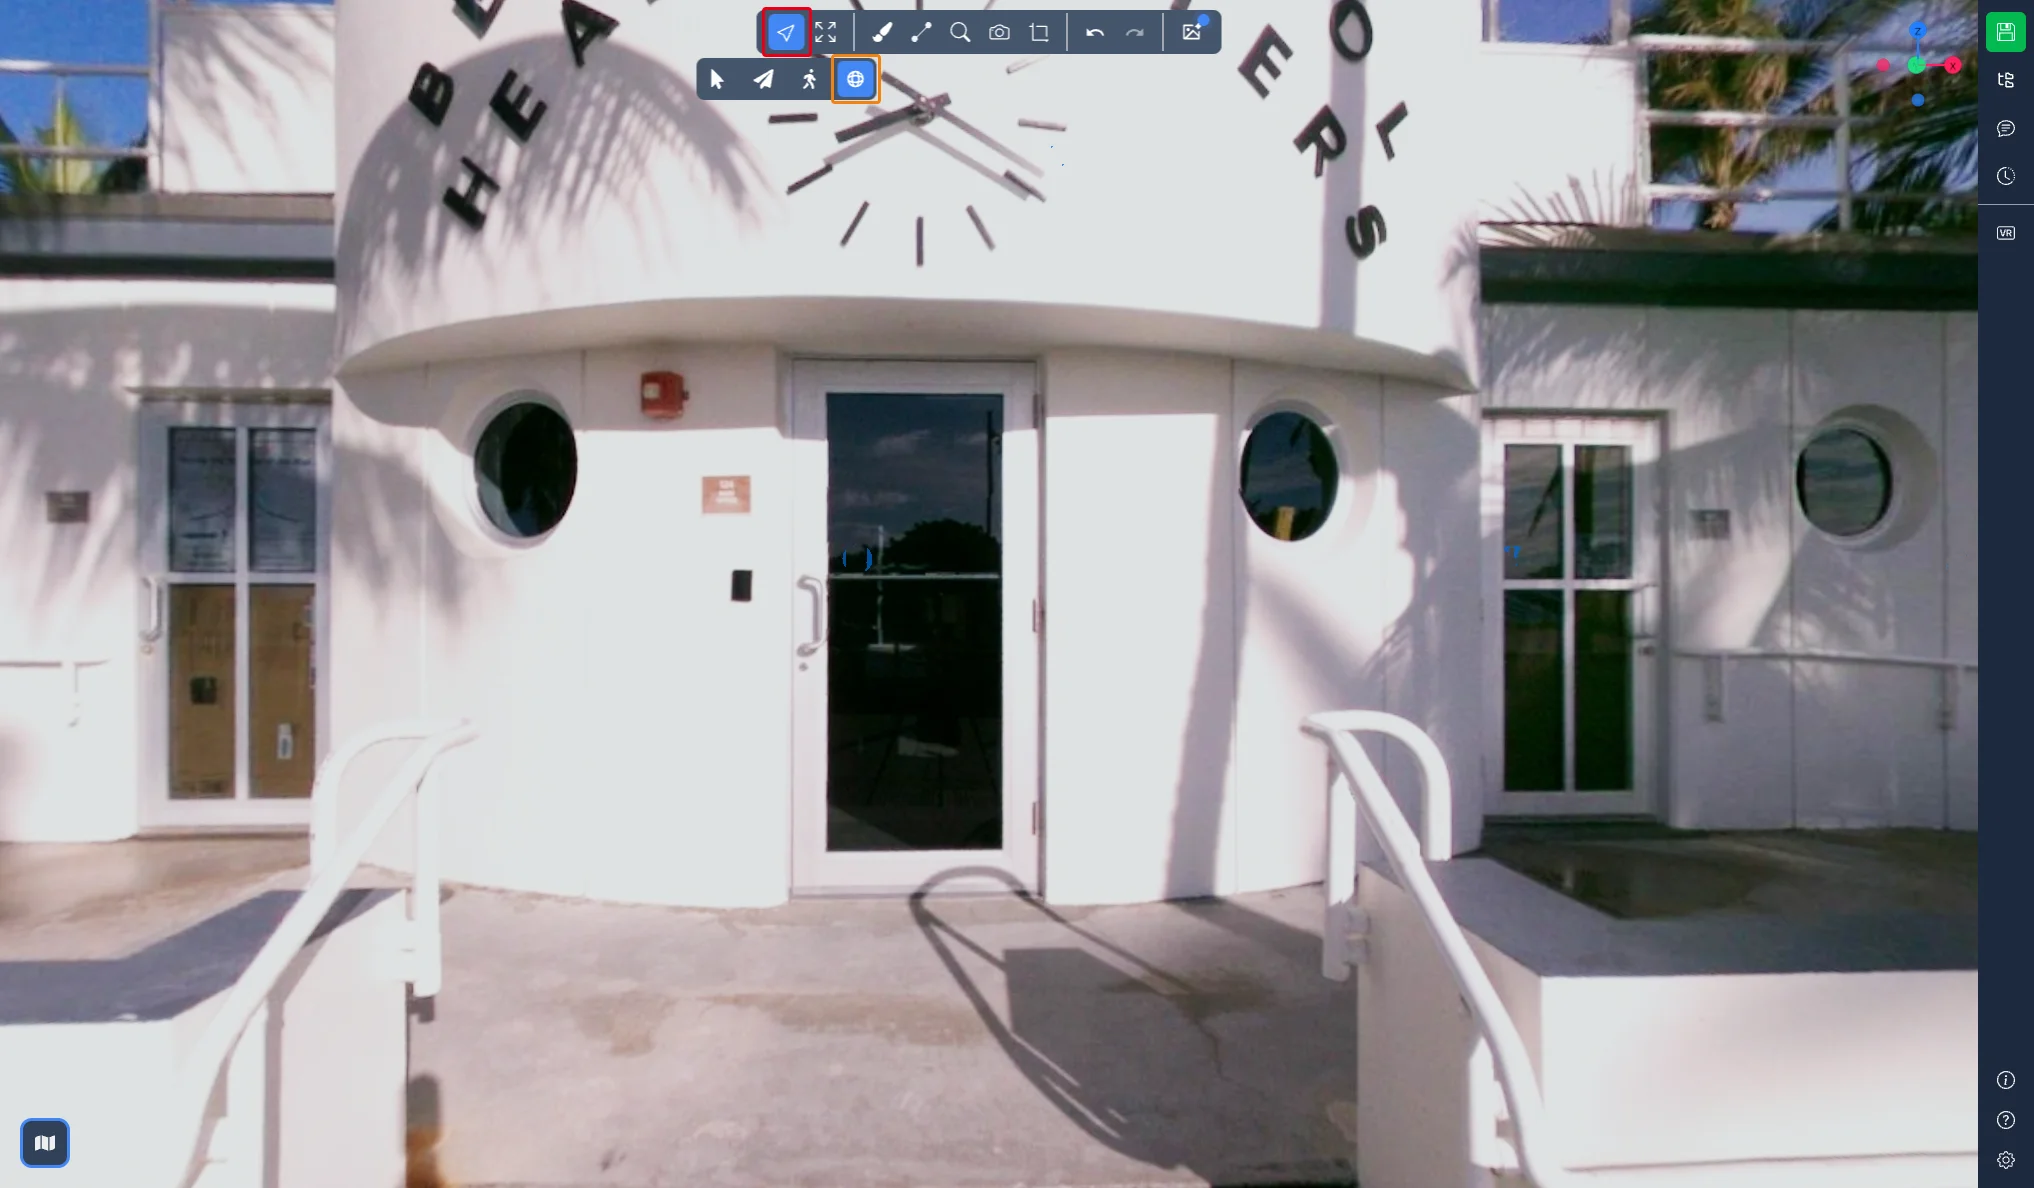
Panoramic
The Panoramic mode is only available in projects that contain 360° images. Select it to enter the nearest 360° image, then:
-
Hold the left click and drag to look around
-
Use the scroll wheel to zoom in and out
-
Hold Ctrl and use the scroll wheel to change the opacity of the image over the point cloud
-
Double-click anywhere to jump to the nearest 360° image from that point
-
Press Esc to leave the 360° view
Navigation presets
A preset defines which mouse button, with or without a modifier key, triggers each navigation action: orbit, pan, zoom, focus, fit view and select. The 3D Application ships with presets that reproduce the navigation of other software, so that you can keep the habits you already have.
To change your preset, open the Settings from the bottom right of the screen and go to the Navigation tab. In the 3D Navigation section you will find:
-
Camera smoothness: Smooth, Standard or Snappy, how the camera settles after a move
-
Movement speed: the speed used by Fly and Walk, the same value that Ctrl + scroll wheel adjusts
-
Preset: the selector, with the bindings of the selected preset listed below it
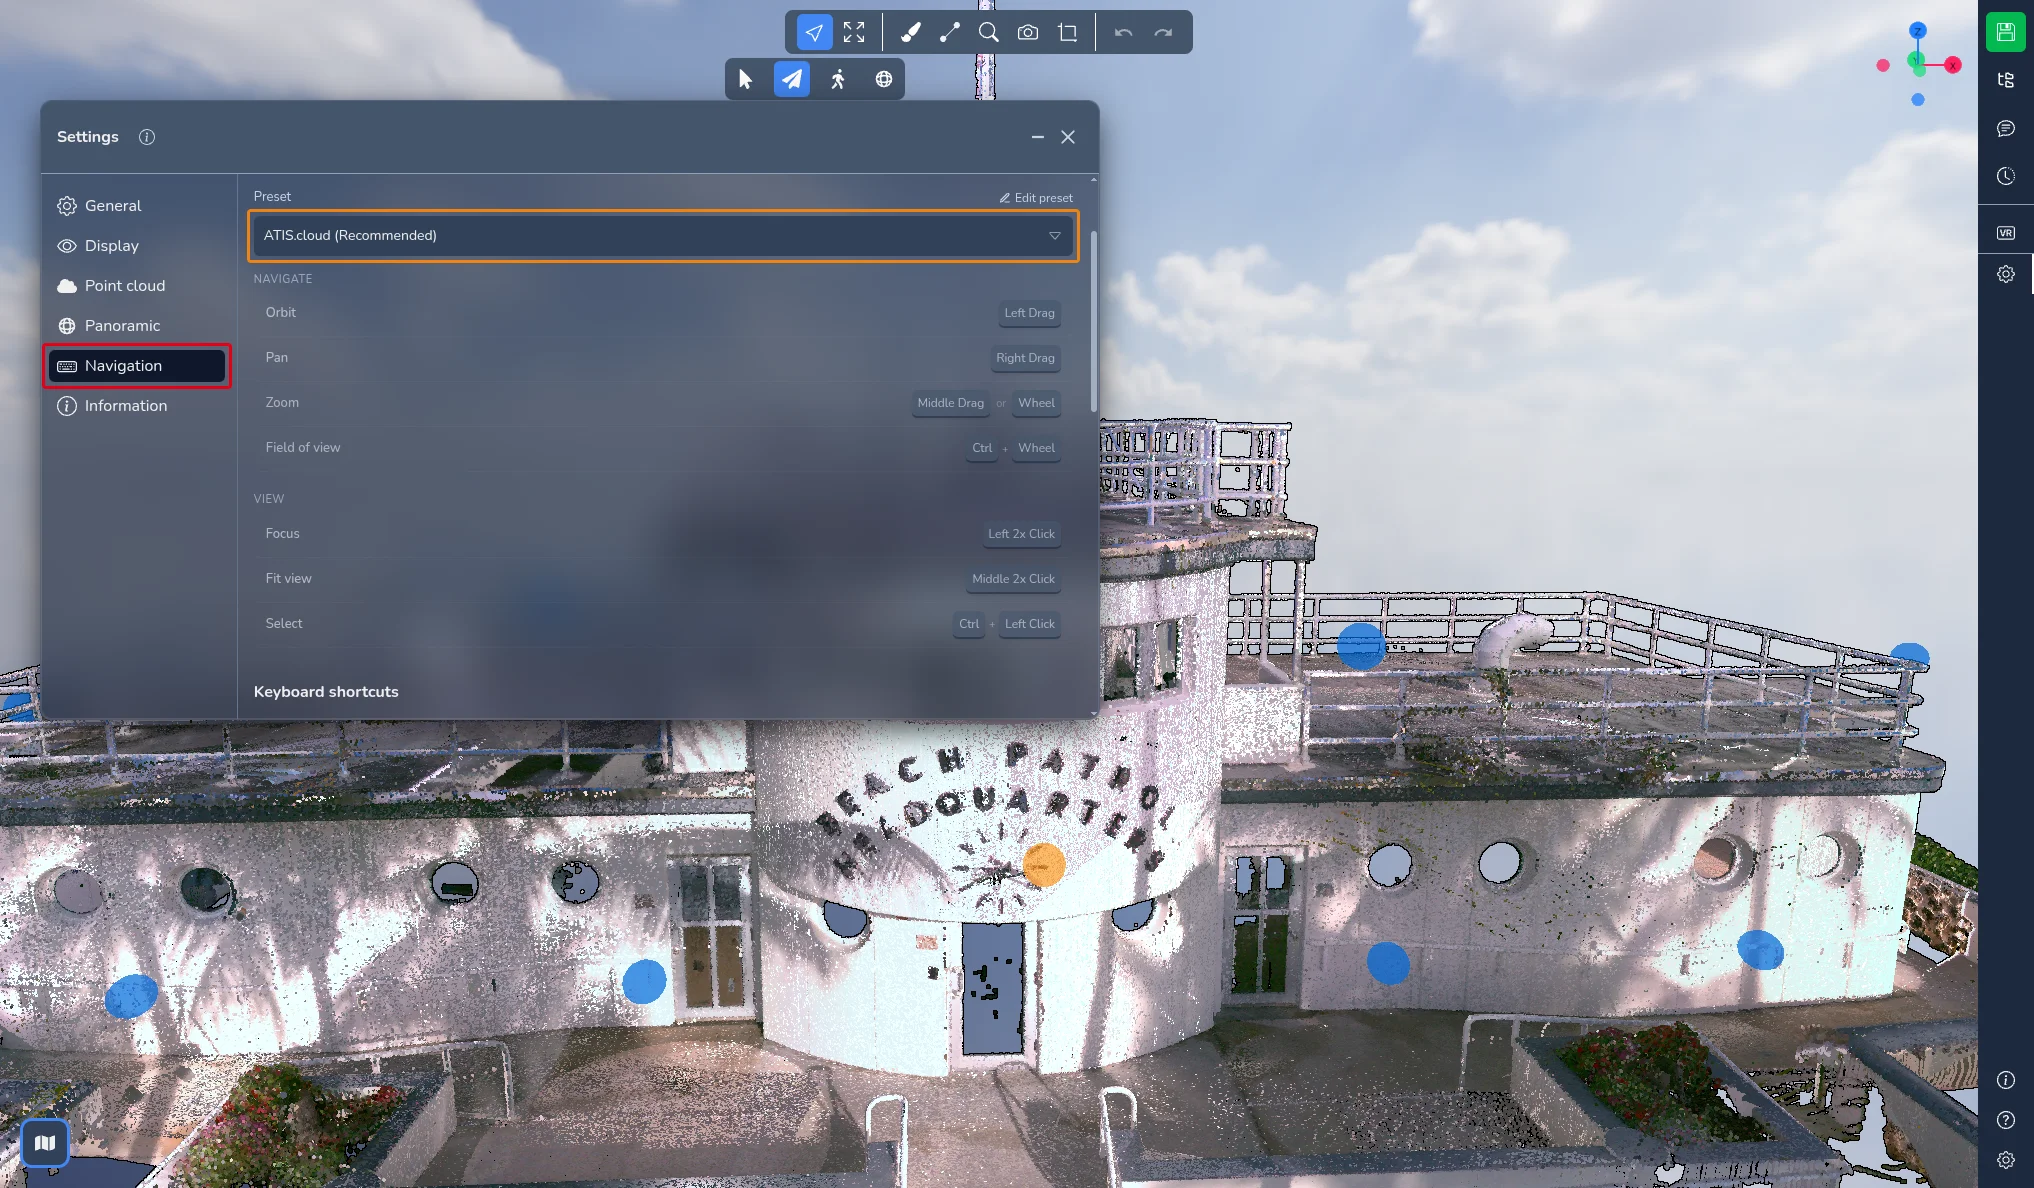
The available presets are: ATIS.cloud (Recommended), Blender, Maya, Leica Cyclone 3DR, Leica 3DReshaper, Fusion, Alias, SolidWorks, Tinkercad, Drone/GIS, Nemetschek Allplan, Creative 3D and Earth (legacy).
Two of them deserve a note:
-
Earth (legacy) reproduces the former Earth control mode: holding the left click grabs the ground and slides it under your cursor, the right click orbits and the middle click pans. If you were using Earth control before, this preset is selected for you automatically
-
Drone/GIS uses the same ground grab on the left click, with orbit on the right click, which is the usual behavior of GIS and drone mapping software
The former Orbit mode is not a mode anymore: orbiting is now an action that every preset assigns to a gesture of its own. The former Flight and Helicopter modes are covered by Fly and Walk.
The Custom preset
If no preset matches your habits, select Custom, or click Edit preset next to the selector to start from the current preset. Each action can then be edited:
-
Pick the mouse button, Left, Middle or Right
-
Add a modifier key if you want, Ctrl, Shift or Alt
-
For focus, fit view and select, choose between a click and a double-click
The scroll wheel always zooms, this binding cannot be changed. If two actions end up on the same gesture, the conflict is highlighted so that you can fix it. Click Reset to return to the original bindings.
Your preset and its bindings are saved with your account, so you will find them again on any computer. The first time you open the 3D Application, a window asks how you would like to move around in 3D: it is this same selector, shown so that you can pick a preset before you start.
Keyboard shortcuts
The movement keys used by Fly and Walk are:
| Action | Default key |
|---|---|
| Move forward | W |
| Move backward | S |
| Strafe left | A |
| Strafe right | D |
| Move up | E |
| Move down | Q |
All of them can be changed. In the Navigation tab of the settings, scroll down to the Keyboard shortcuts section and open the Movement (Fly / FPS) group. Click the pencil next to a key, press the new key you want to use, and it is saved immediately. Press Esc to cancel. A key already used by another shortcut is flagged, so that you can pick another one.
The same section holds the global shortcuts, such as undo, redo, duplicate and delete, and the slice tool shortcuts. They are customized the same way.
In the event of a problem or difficulty, do not hesitate to contact the platform team.