Create a Project
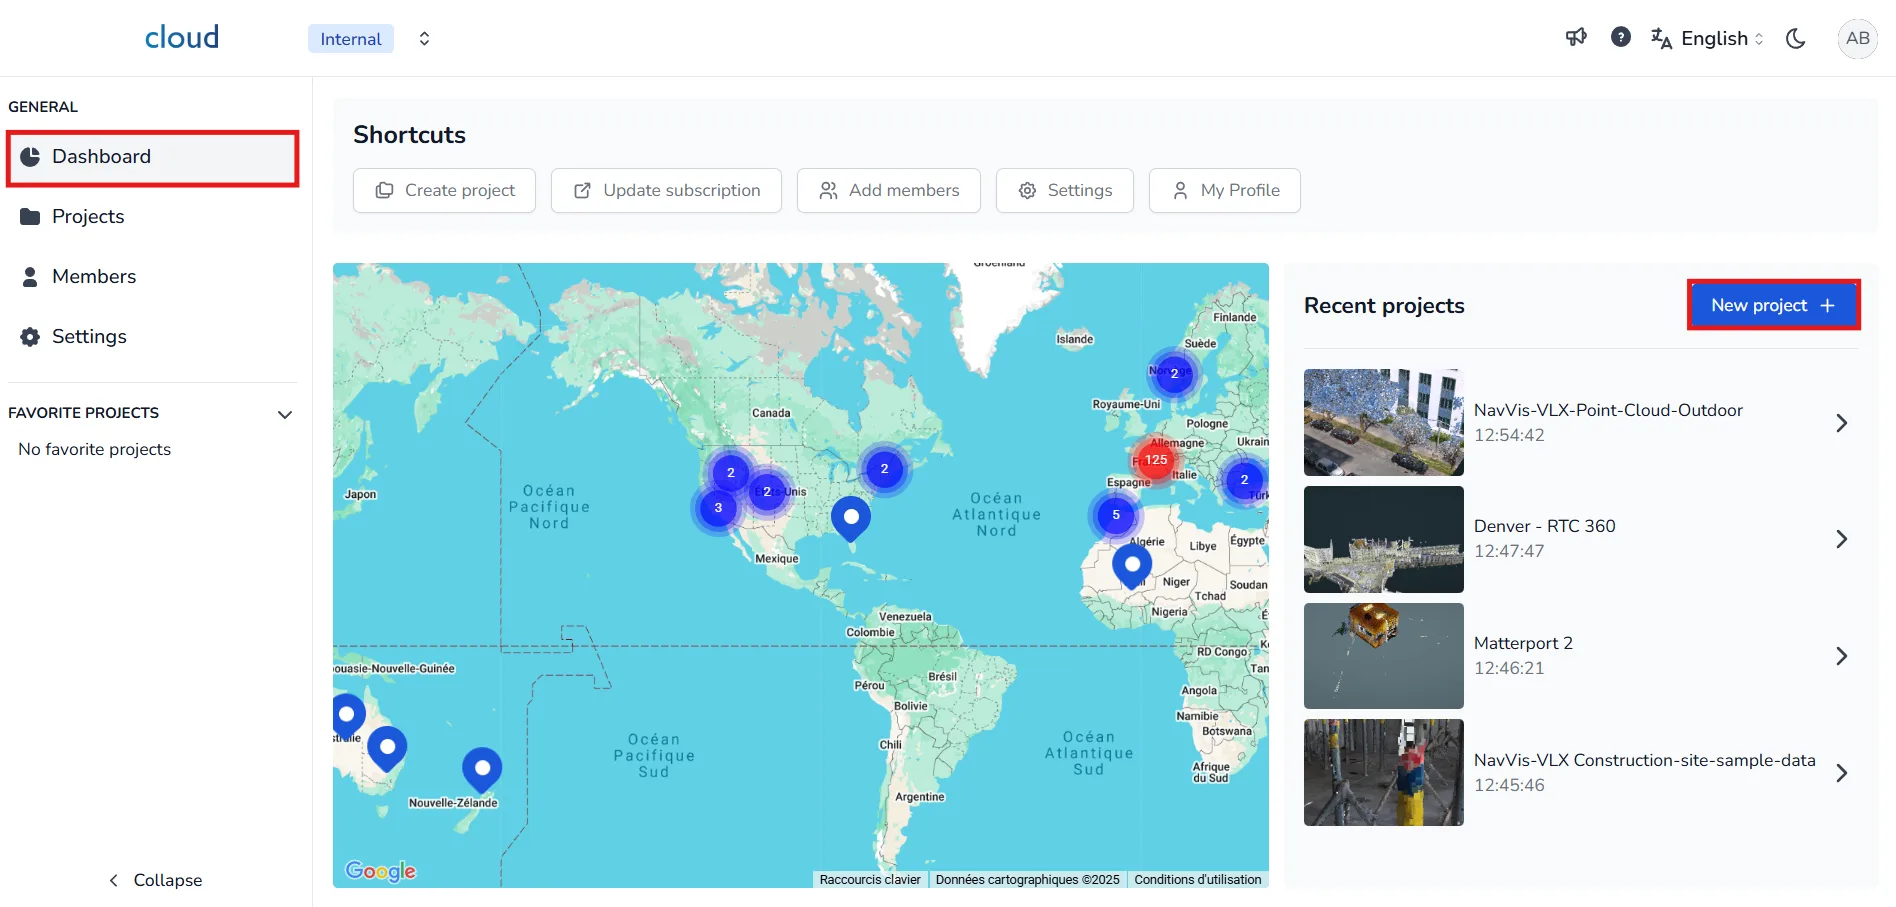
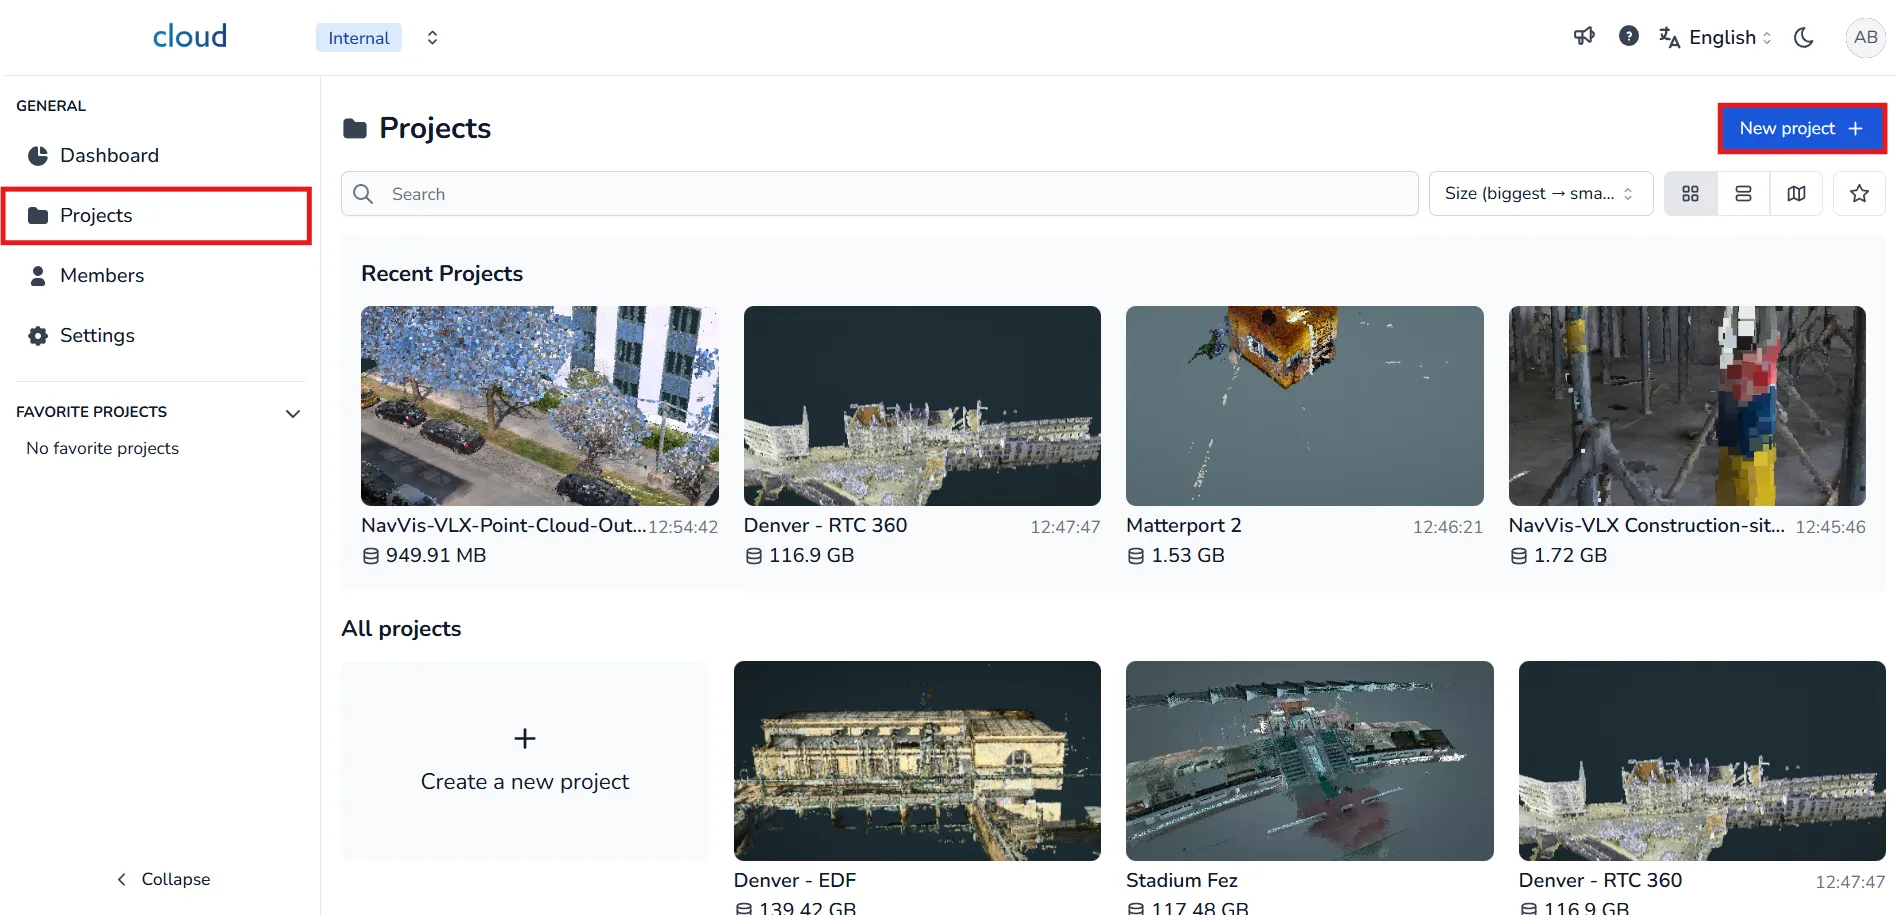
You must first access the project creation window, it is accessible through either the dashboard or the project page, just click the Create a project button on your favorite page.
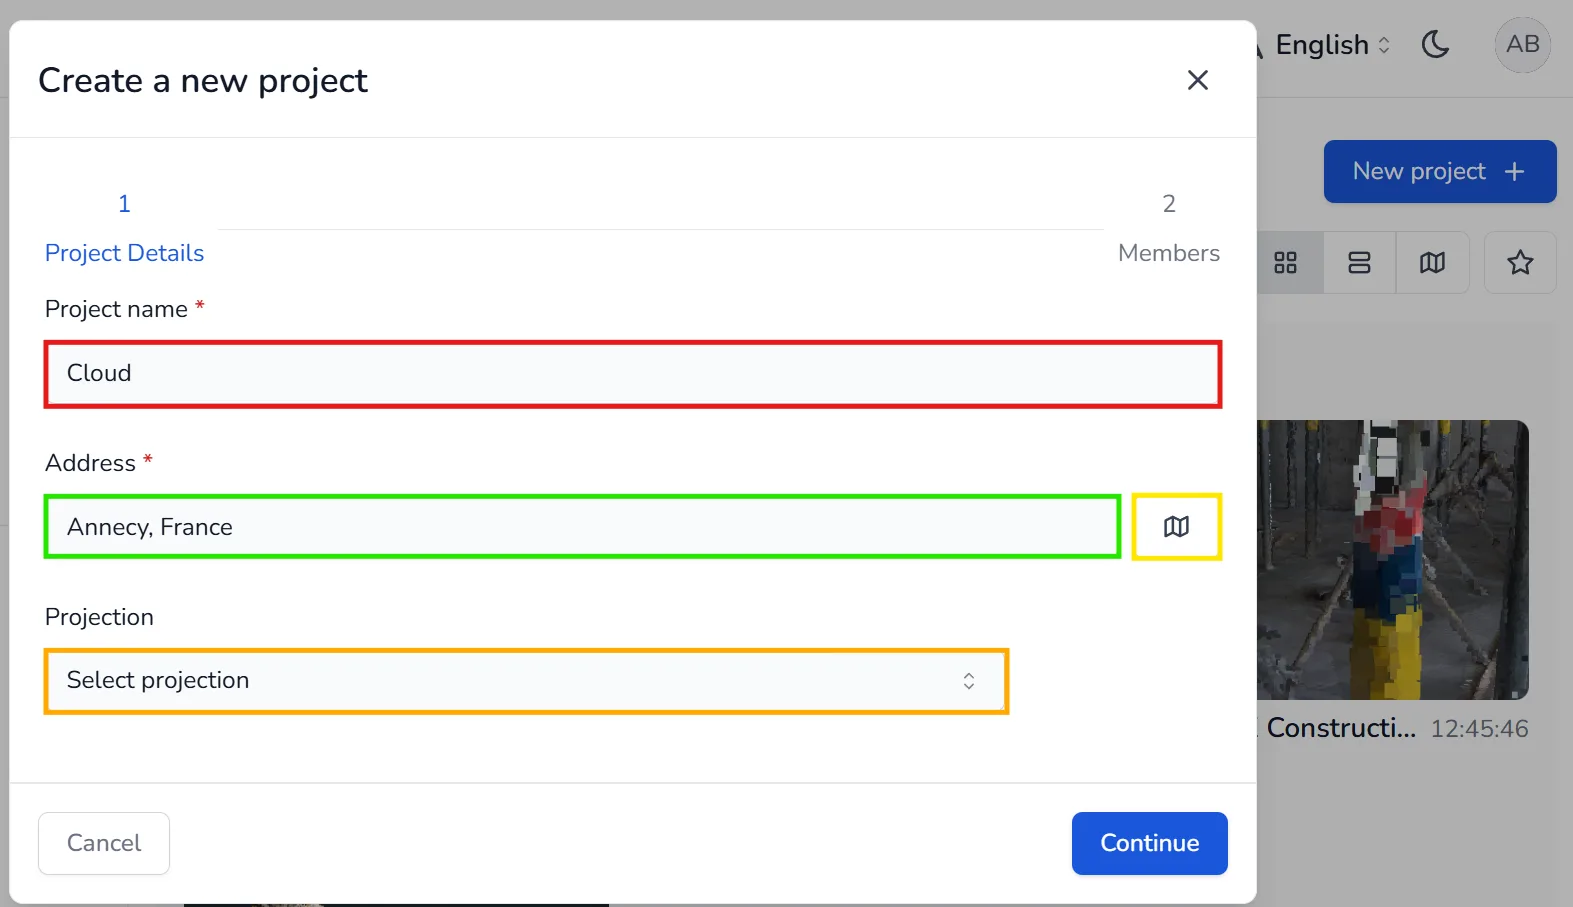
A creation window will appear asking for your project details:
- Project name: the name you want to assign to the project.
- Address: start typing the location or click the map icon to place a marker on the map.
- Projection: (optional) specify a spatial projection to enable map-based visualization in the 3D Application, visit the dedicated article if you want to have more information about this feature
Once you’ve filled in the required fields, click Continue.
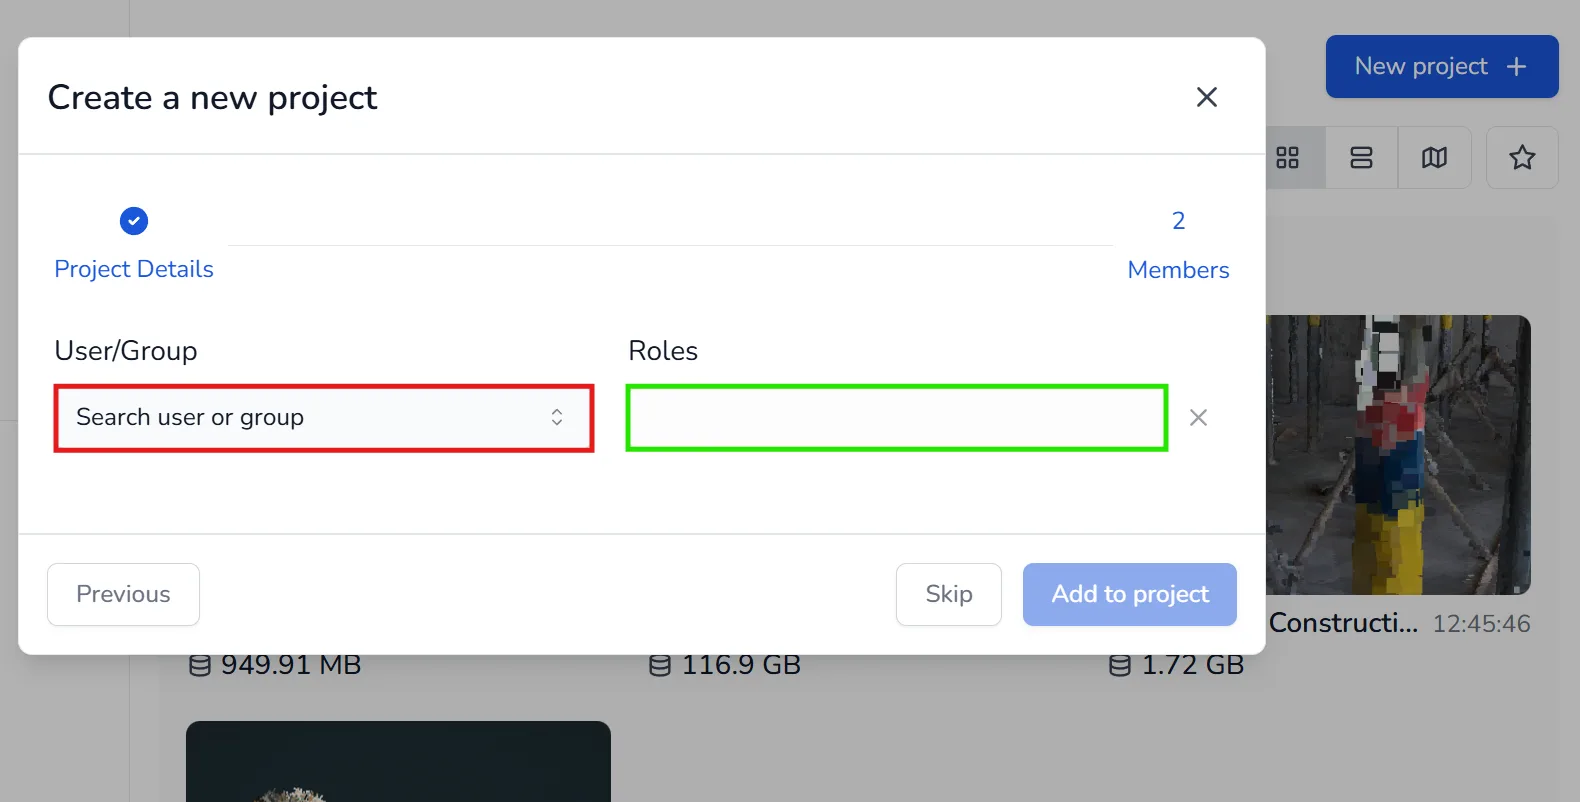
In the next step, you can assign users or groups to the project:
- In the User/Group field, search for a name.
- In the Roles field, define the role they will have on the project.
You can click Add to project to confirm, or Skip if you prefer to assign members later.
You will be able to change your project information once the project has been created.
If you have any problems or difficulties, please do not hesitate to contact us.