Grant Project Permission to Members
This article follows on from the article Grant project access to members.
Project roles grant members different permissions regarding the project, roles assigned in a project are only applied in that project, others are not affected by these changes, this allows you to work with your team in most conditions. You can decide exactly who can do what and where. Some roles can grant important permissions to your users, so be careful who you grant the roles to before doing so.
The available roles are:| Role | Description |
|---|---|
| Project owner | Automatically assigned to the member who created the project. Has all project permissions, like a Project admin. |
| Project admin | Gives access to all the authorizations concerning the project. |
| Project member | Default role given to every member added to a project: lets them view the project. |
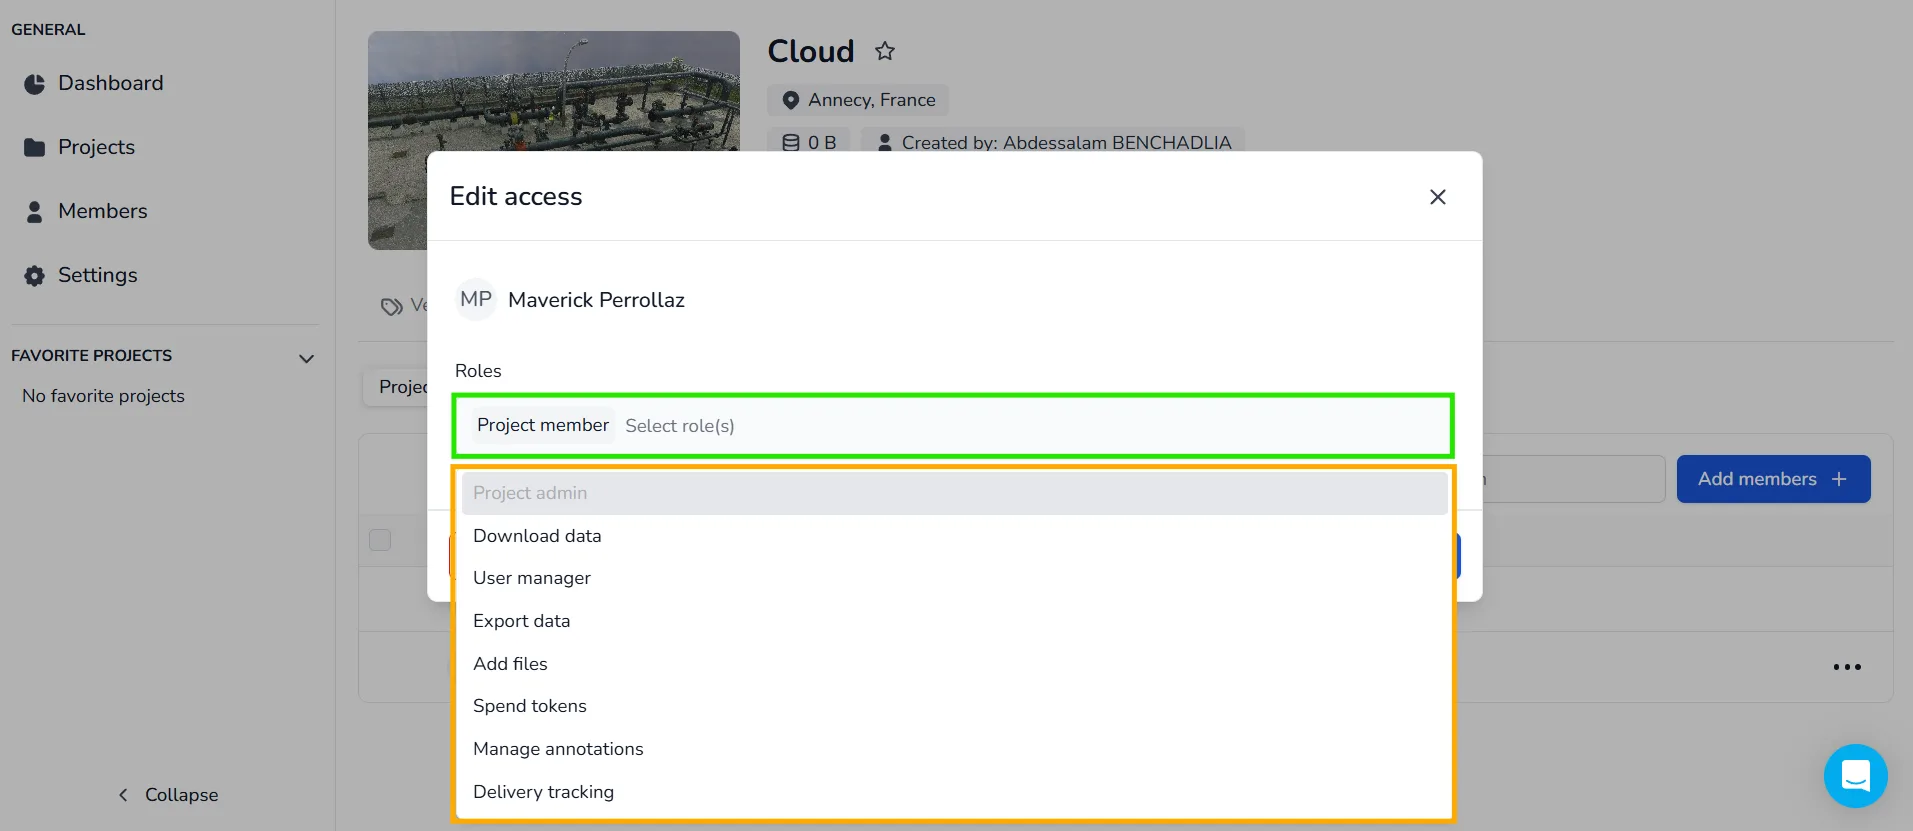
| Download data | Download the source files of the project (point clouds and 3D models). |
| User manager | Add new members to the project and assign them different roles. |
| Export data | Export new zones from the viewer (see this article for more information). |
| Add files | Import new files into the project, such as new point clouds or 3D models. |
| Spend tokens | Spend tokens on the project (see this article to learn how to buy and use tokens). |
| Manage annotations | View the annotation tab, plus modify, delete and import annotations, and access the annotation summary tab. |
| Delivery tracking | On a Delivery Note project, validate and/or reject files sent to the project. |
Permissions at a glance
Each row is a role, and each column is an action it unlocks. A ✅ marks the actions that role grants. Roles only add permissions: assigning several roles to the same member combines them, and a role never blocks what another one grants.
| Role ↓ / Action → | View project | Download data | Manage users | Export data | Add files | Spend tokens | Annotations | Delivery tracking |
|---|---|---|---|---|---|---|---|---|
| Project owner / Project admin | ✅ | ✅ | ✅ | ✅ | ✅ | ✅ | ✅ | ✅ |
| Project member | ✅ | |||||||
| Download data | ✅ | |||||||
| User manager | ✅ | |||||||
| Export data | ✅ | |||||||
| Add files | ✅ | |||||||
| Spend tokens | ✅ | |||||||
| Manage annotations | ✅ | |||||||
| Delivery tracking | ✅ |
The Project member role is automatically given to everyone added to a project and cannot be removed.
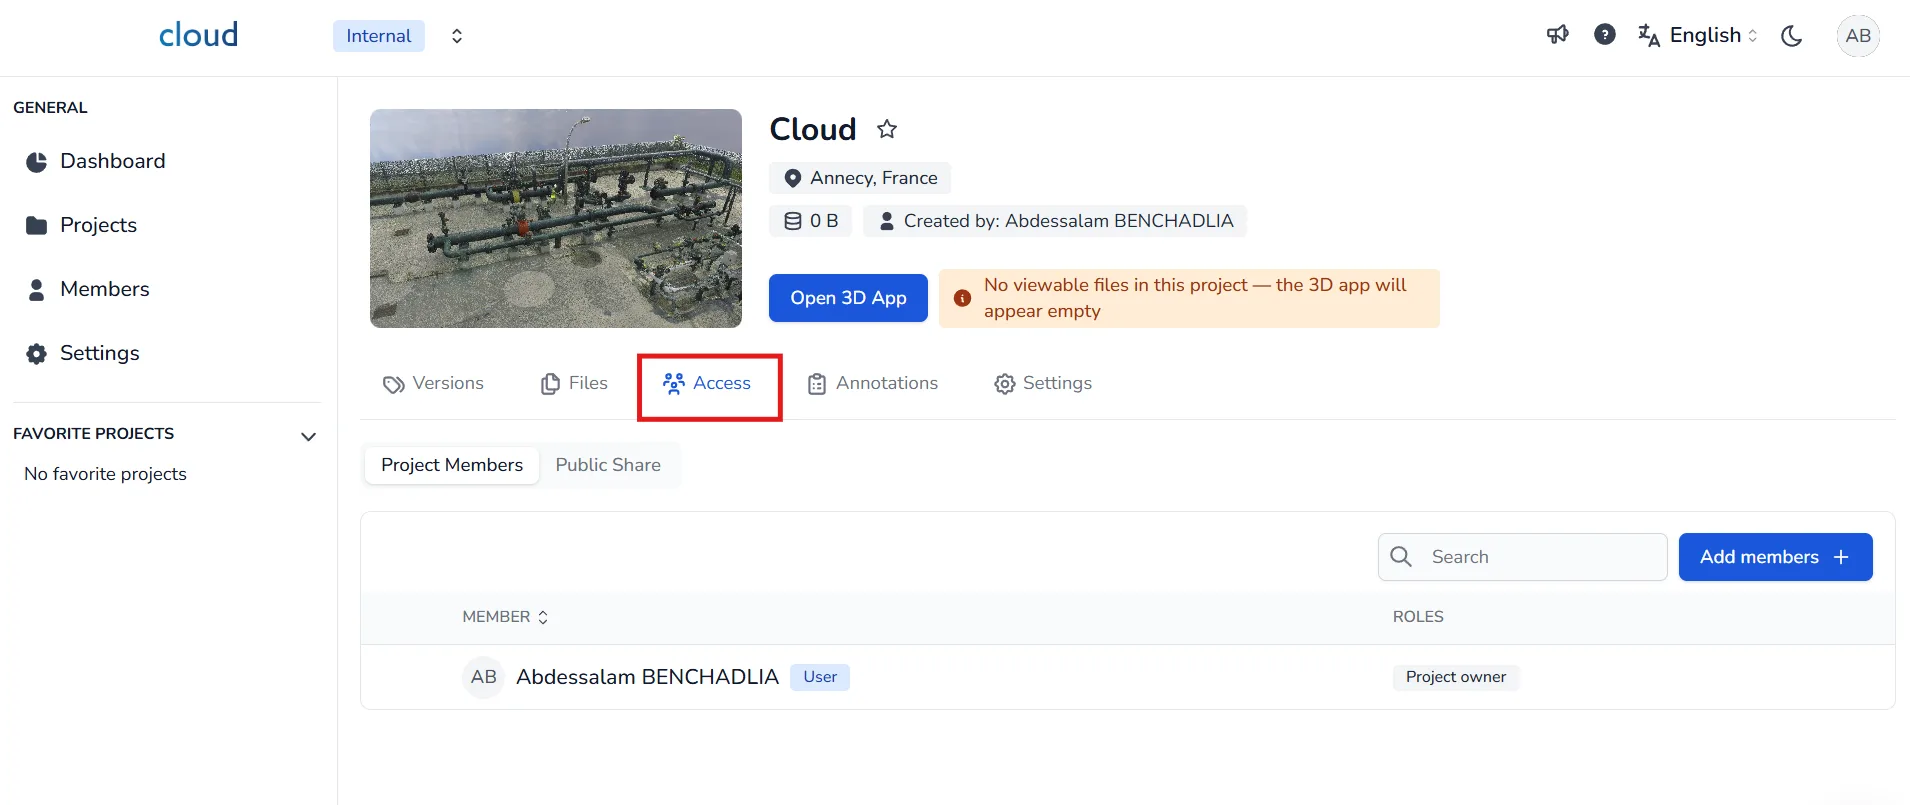
To assign roles, go to the Access tab of your project. You can find it by opening the Projects section, then clicking on the relevant project to access its workspace.
Please note that access to this tab depends on your permissions. If you don't see the tab or can't edit members, contact your group administrator.
How to Assign Roles
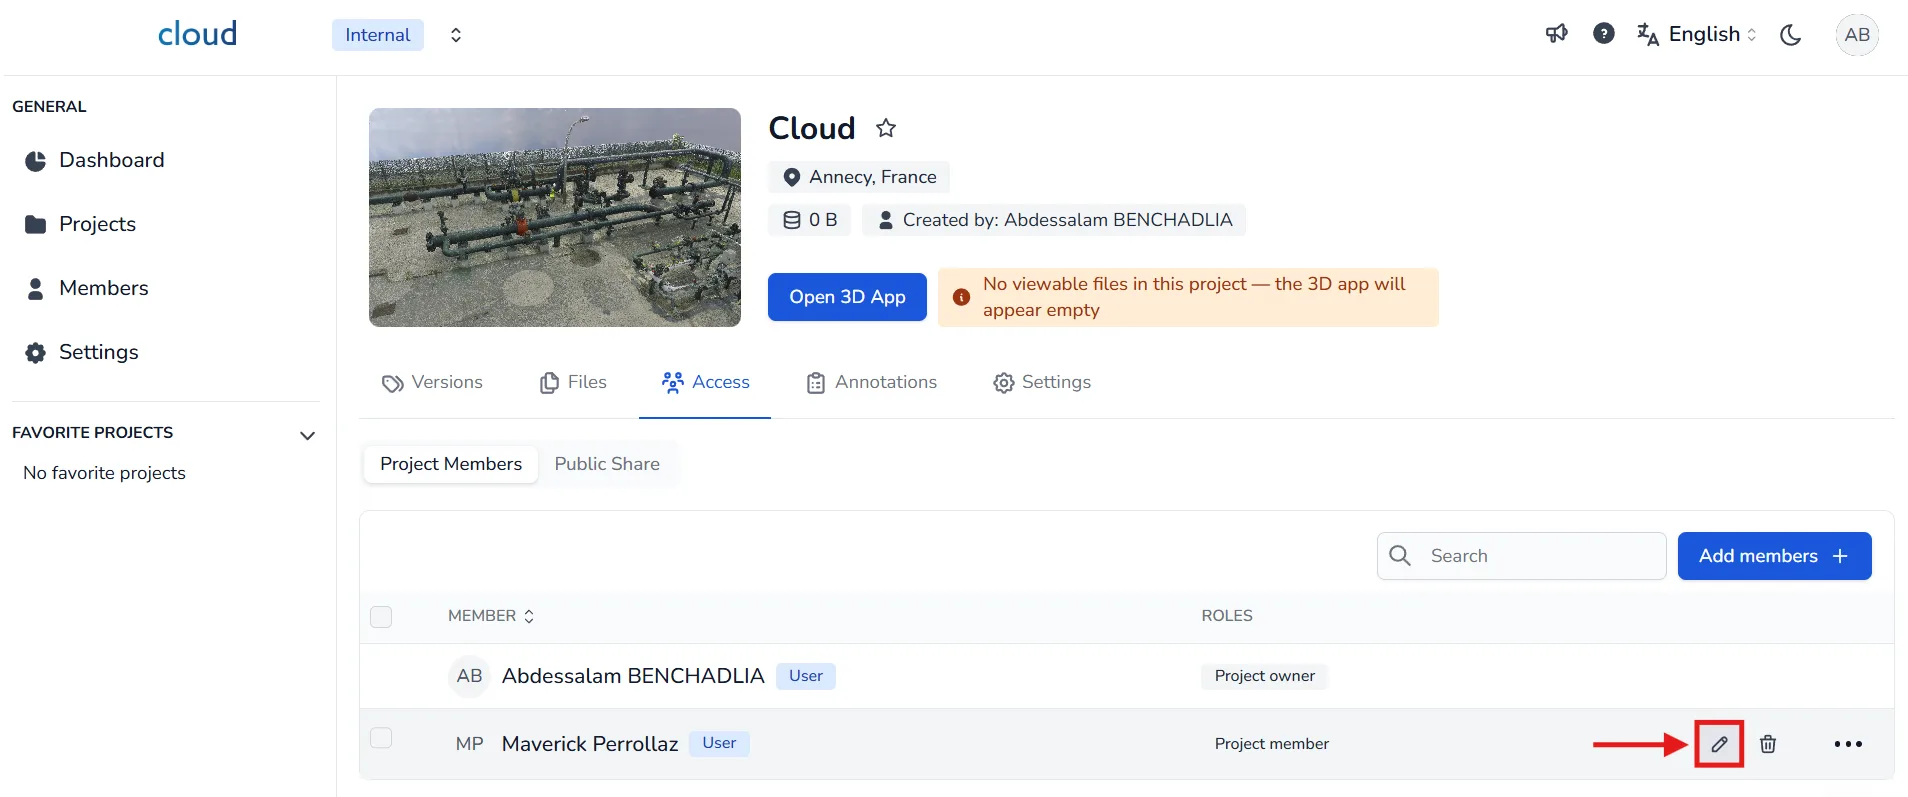
By default, when a user is added to a project, they receive the Project member role, allowing them to view the project.
To grant more permissions:
- Click the edit icon next to the member's or group name.
- In the edit window, you can select the roles you want to assign to the user or group. You can assign multiple roles to a single user or group.
- Click Confirm to apply changes.
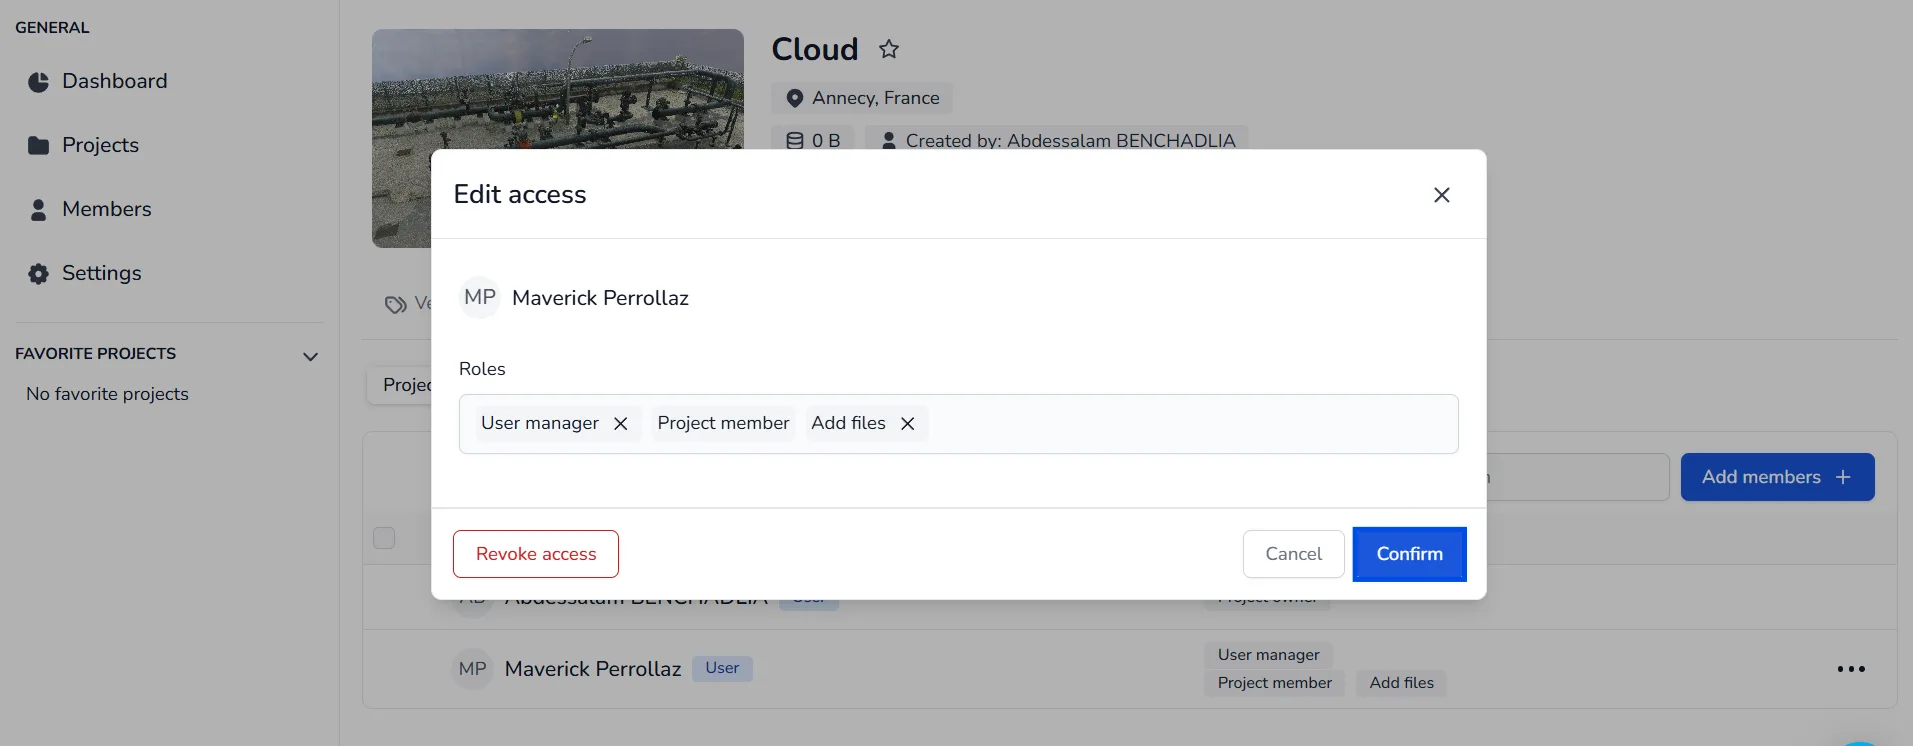
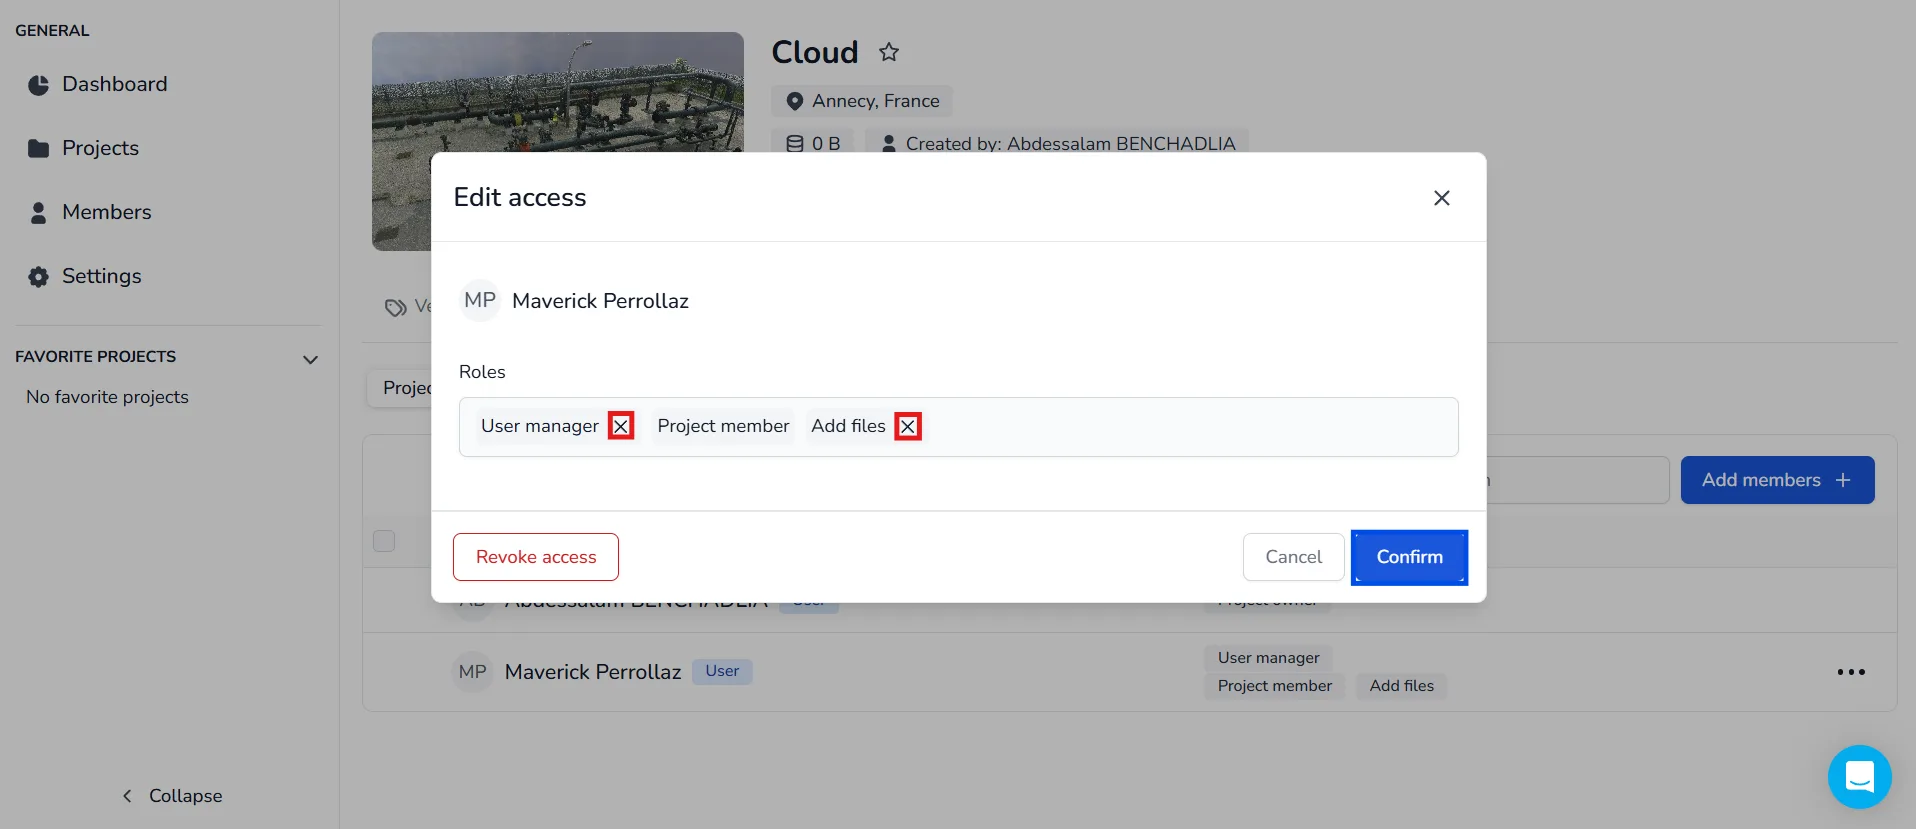
To remove roles:
- Click the edit icon for the user.
- Click the X next to each role you wish to remove.
- Click Confirm to save the changes.
In case of problem or difficulty, do not hesitate to contact the platform team.