Change Project Information
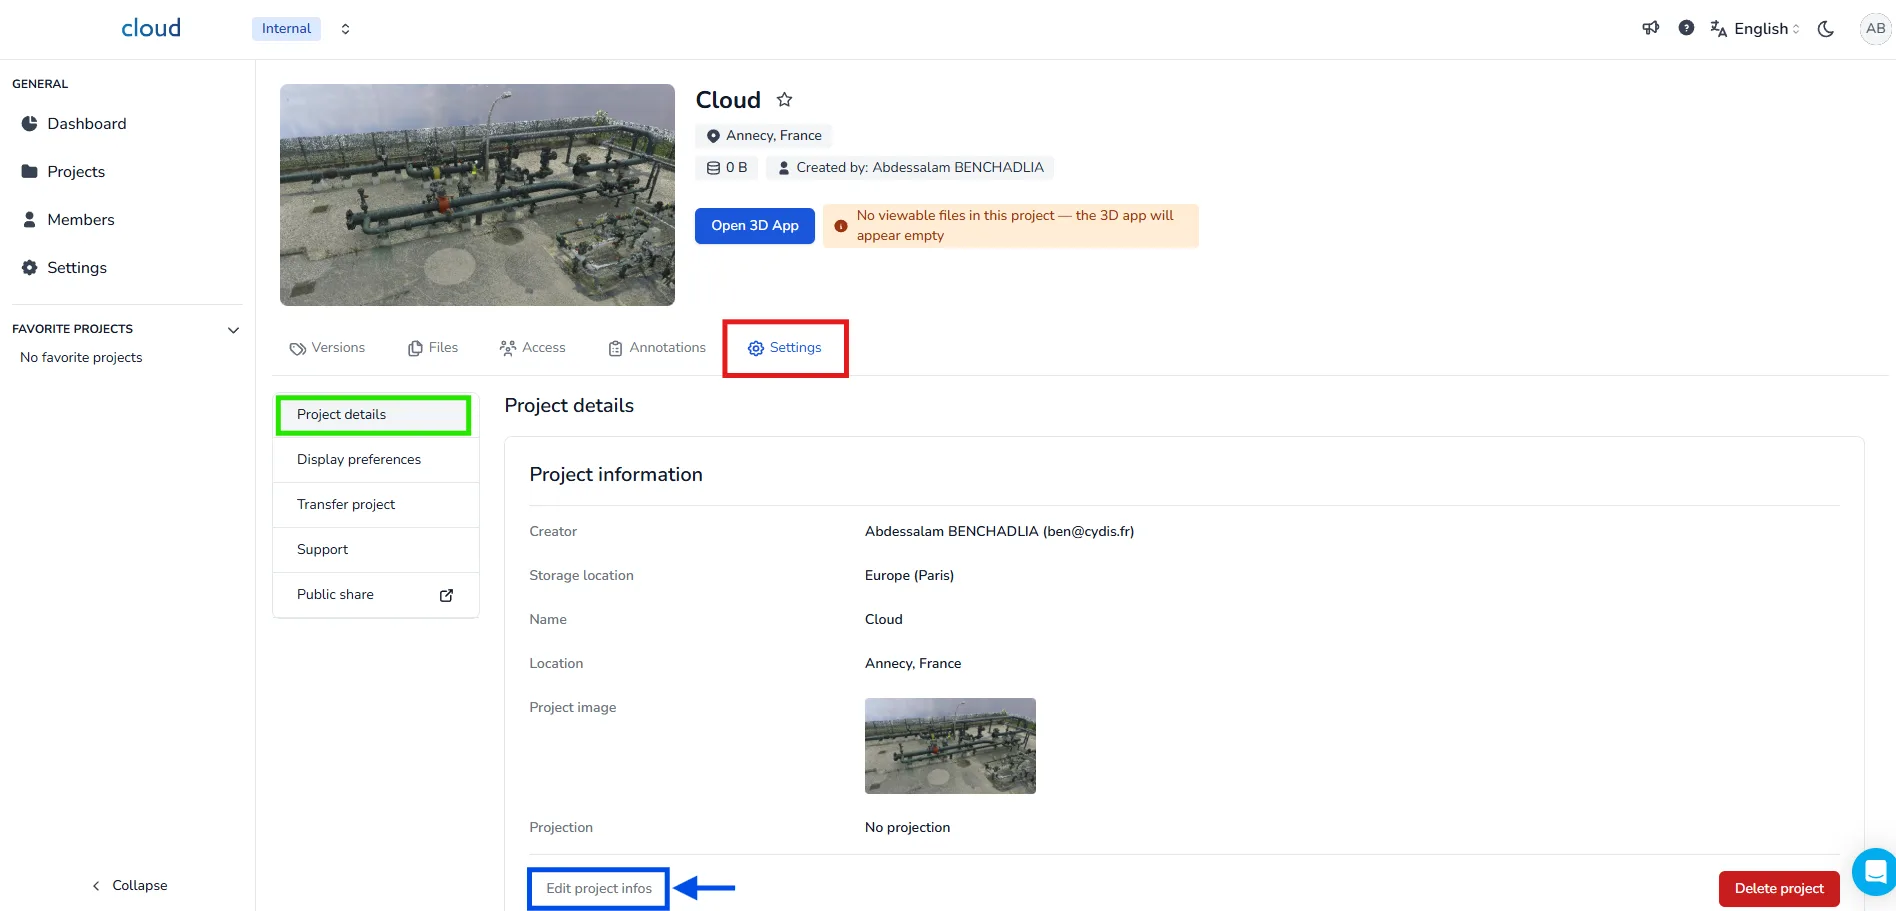
To update your project information, go to the settings tab of your project and select the project details section. Then, click on edit project infos.
⚠️ You might not be able to access the edition page of every project as it depends on your permissions. Some sections may also be hidden for the same reason. For more information, refer to the article “Grant project permission to members”.
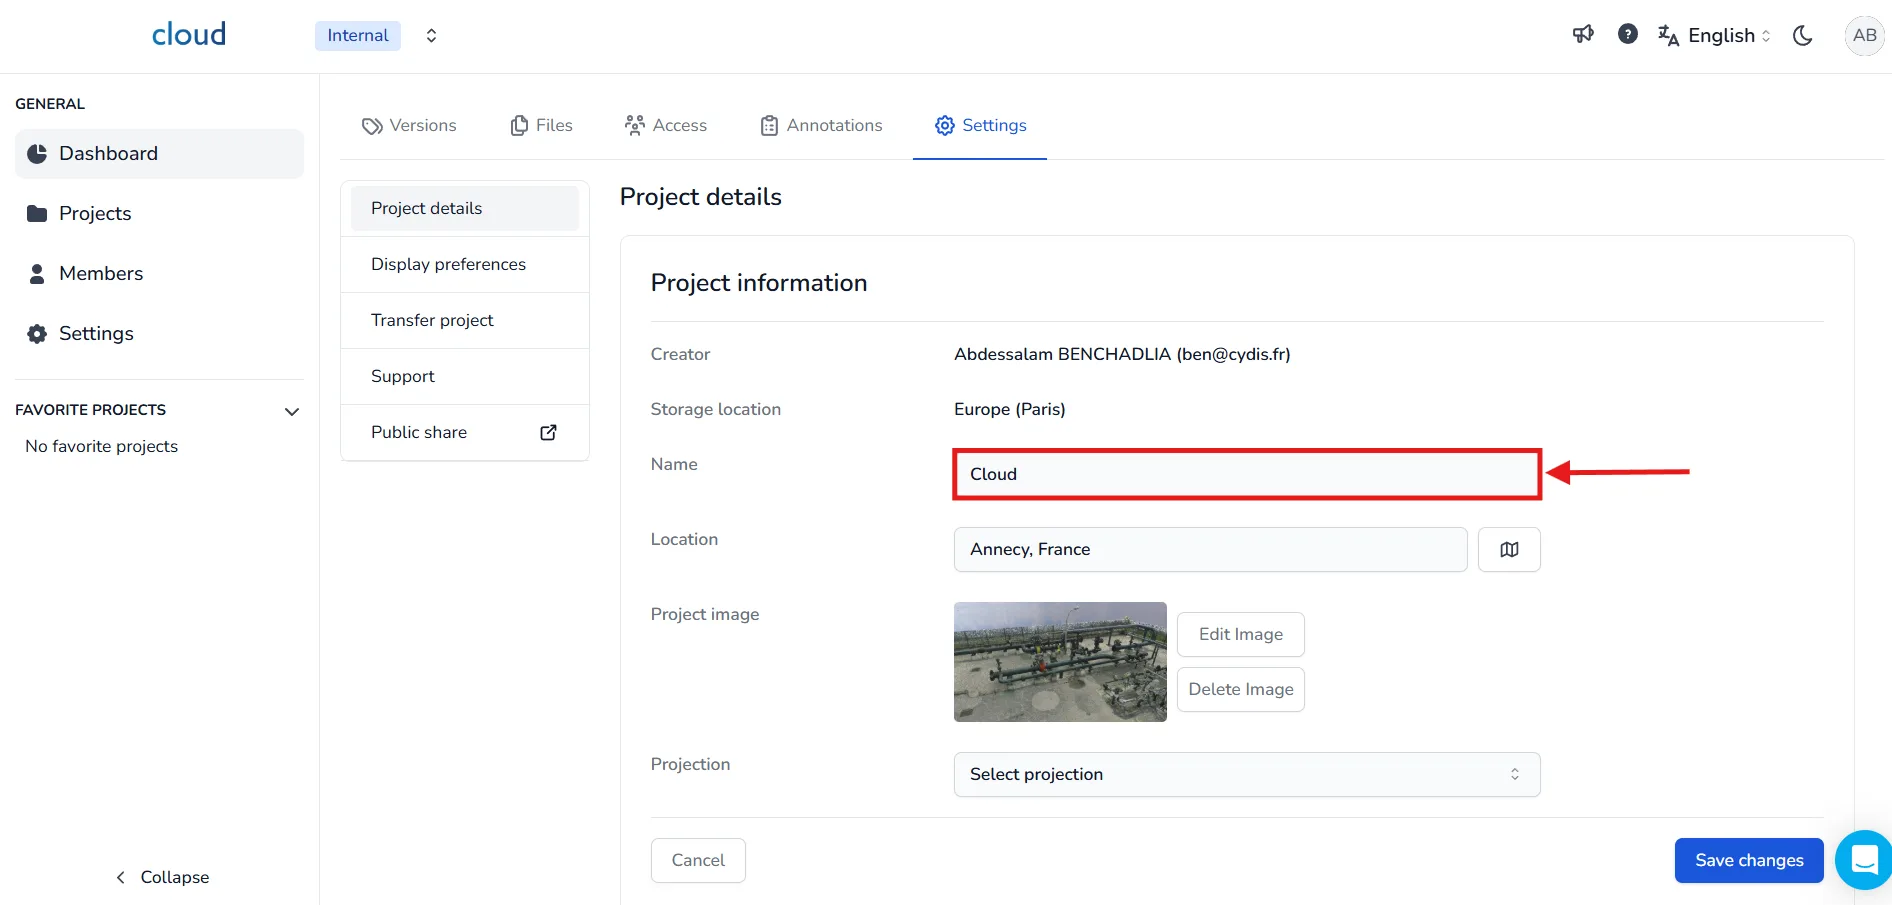
📝 Change the Project Name
To rename the project, simply type a new name in the Name field and click Save changes.
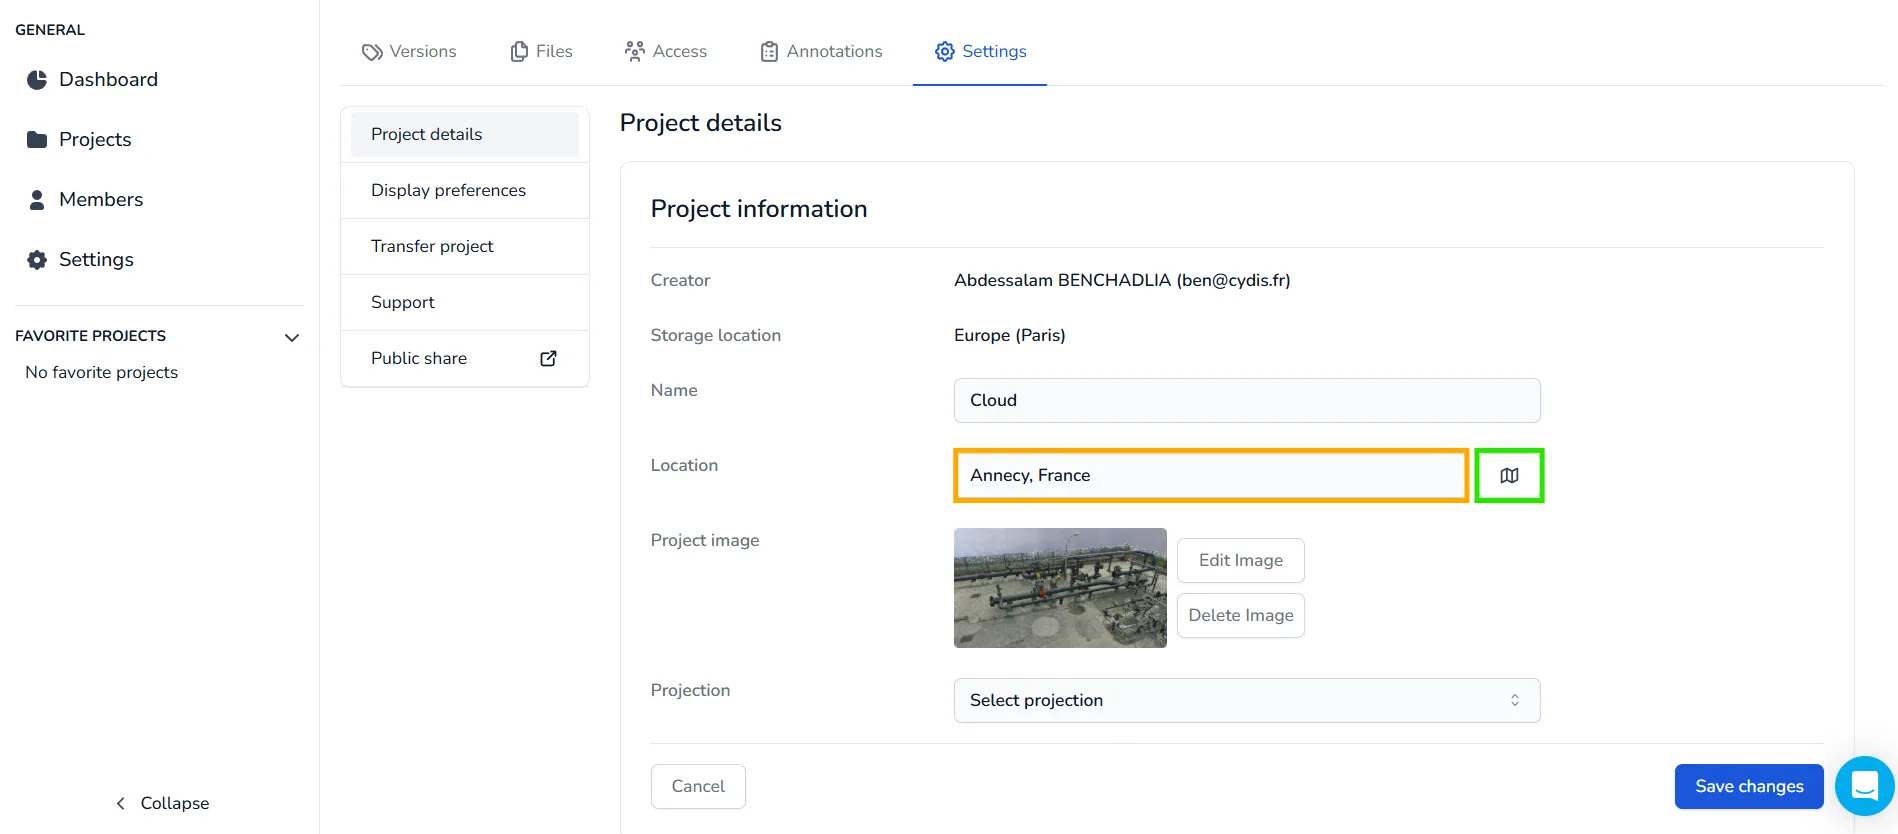
📍 Change the Project Location
You can update the location in two ways:
- Type the name of the location directly.
- Click the map icon 🗺️ to open the interactive map and select the exact location.
Then click Save changes to apply.
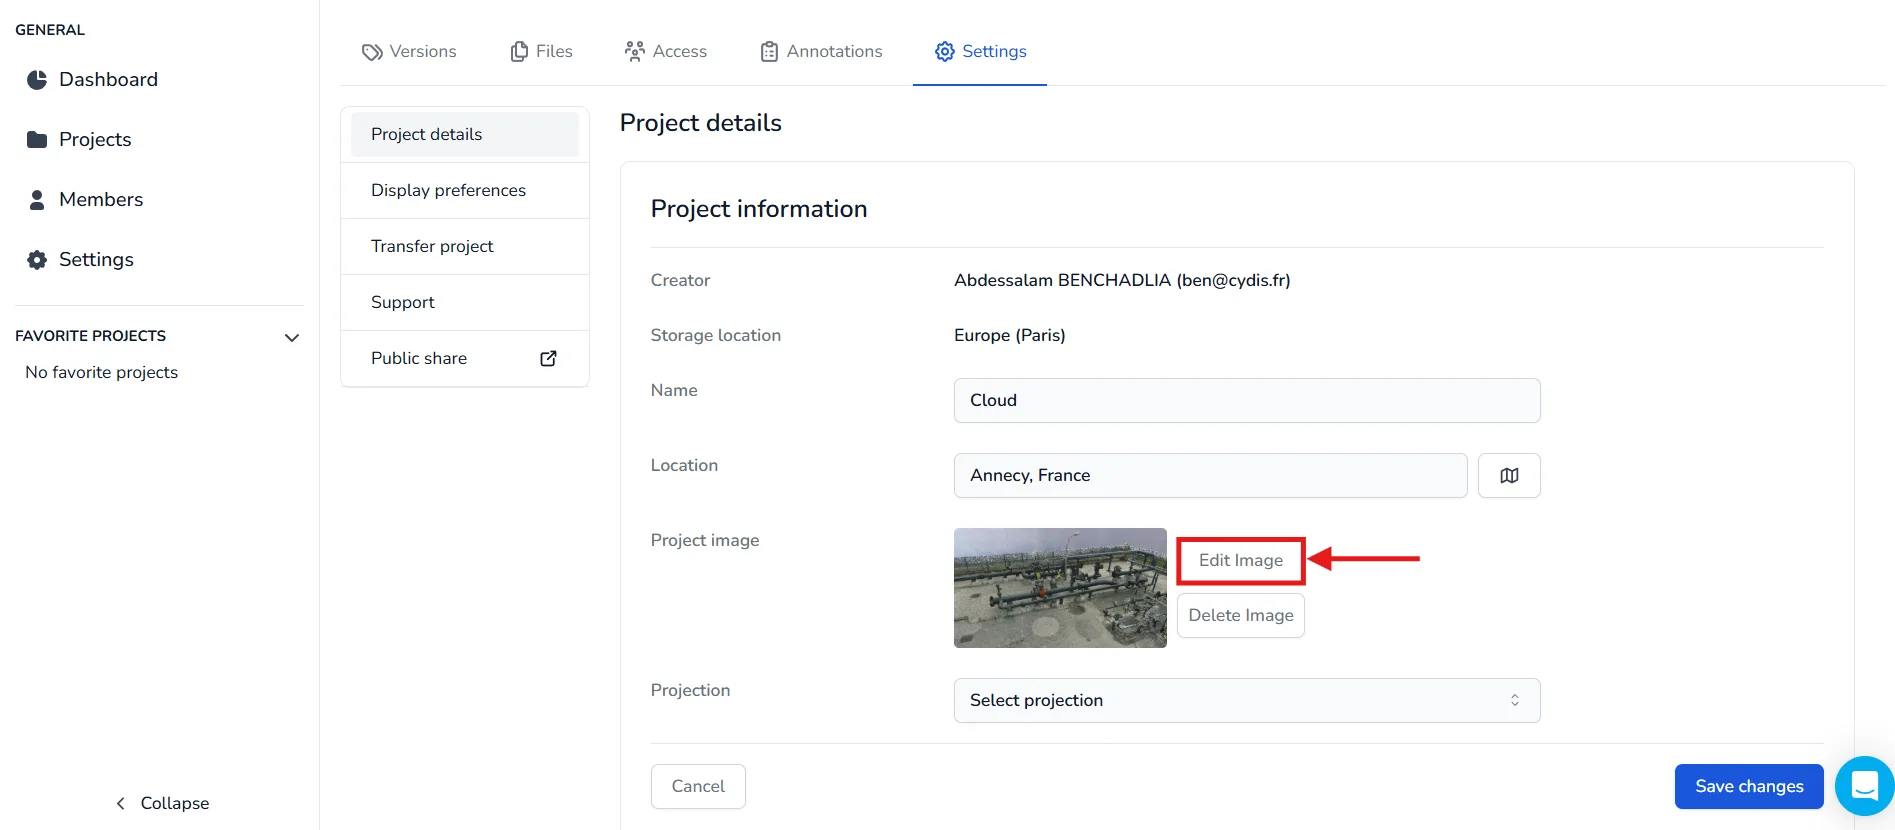
🖼️ Change the Project Image
The project image is set automatically the first time you open the 3D Application. However, you can change it at any time by clicking Edit image.
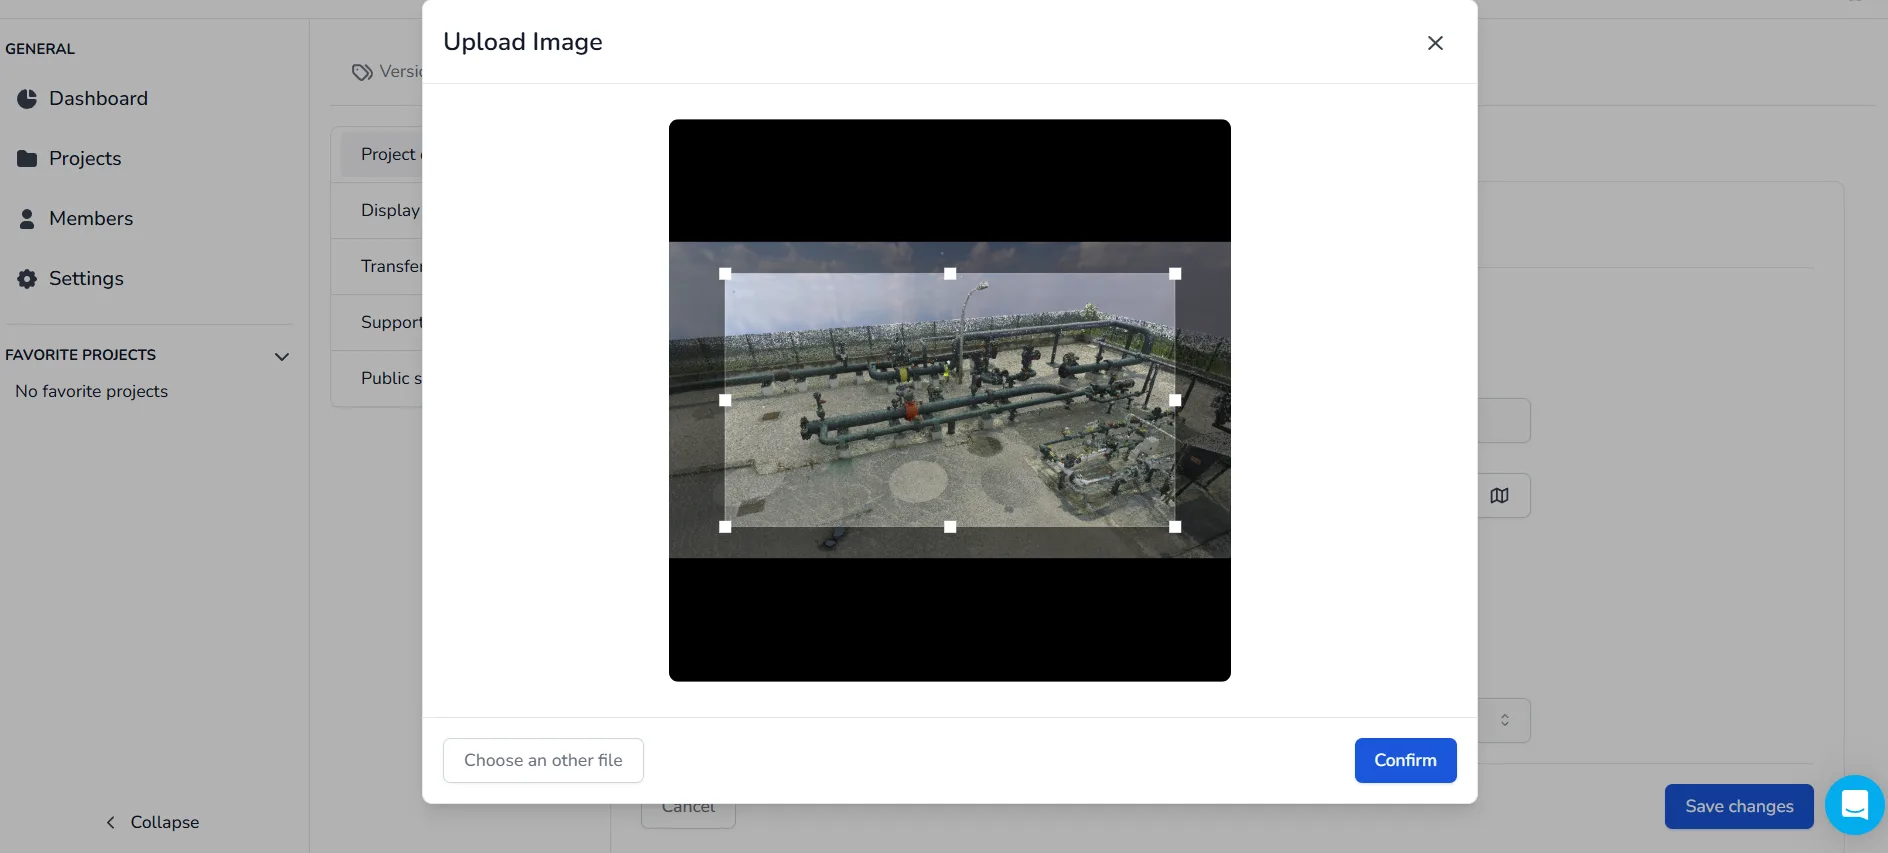
This will open a window where you can choose an image from your computer. Double-click on the image you want to use to proceed.
Next, use the cropping tool to select the portion of the image you want to keep. Once satisfied, click Confirm.
If you have any problem or difficulties, please do not hesitate to contact the platform's team.