Load point clouds
Point clouds are the raw material of the Scan-to-Plan and Scan-to-BIM workflows: load the scan, look at it in 2D and 3D, then let the analysis turn it into a plan or a model.
Load a cloud
Open the Point clouds panel (the Point cloud button in the Insert tab, or View > Palettes > Point clouds).
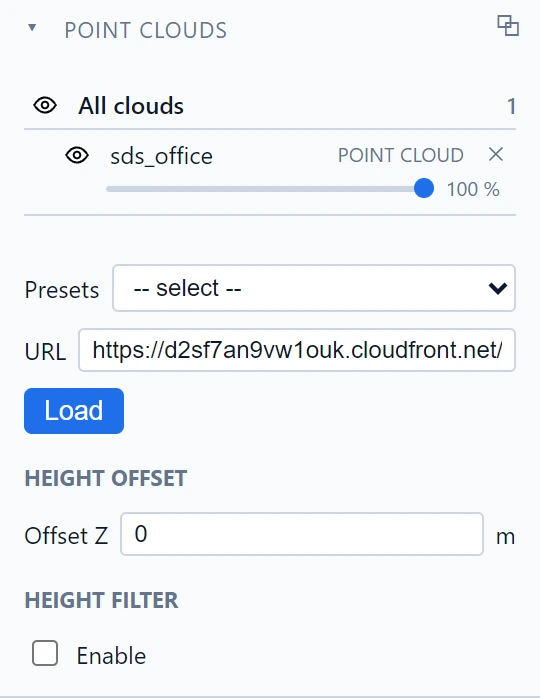
- Pick a dataset in the Presets list, or paste the URL of a hosted dataset.
- Click Load. The status bar confirms, and large clouds stream progressively: no need to wait for the whole dataset before working.
Loaded clouds appear in the panel's tree with an eye toggle per cloud.
Look at it
The cloud shows in both views with the usual navigation (see Navigate in 2D and 3D):
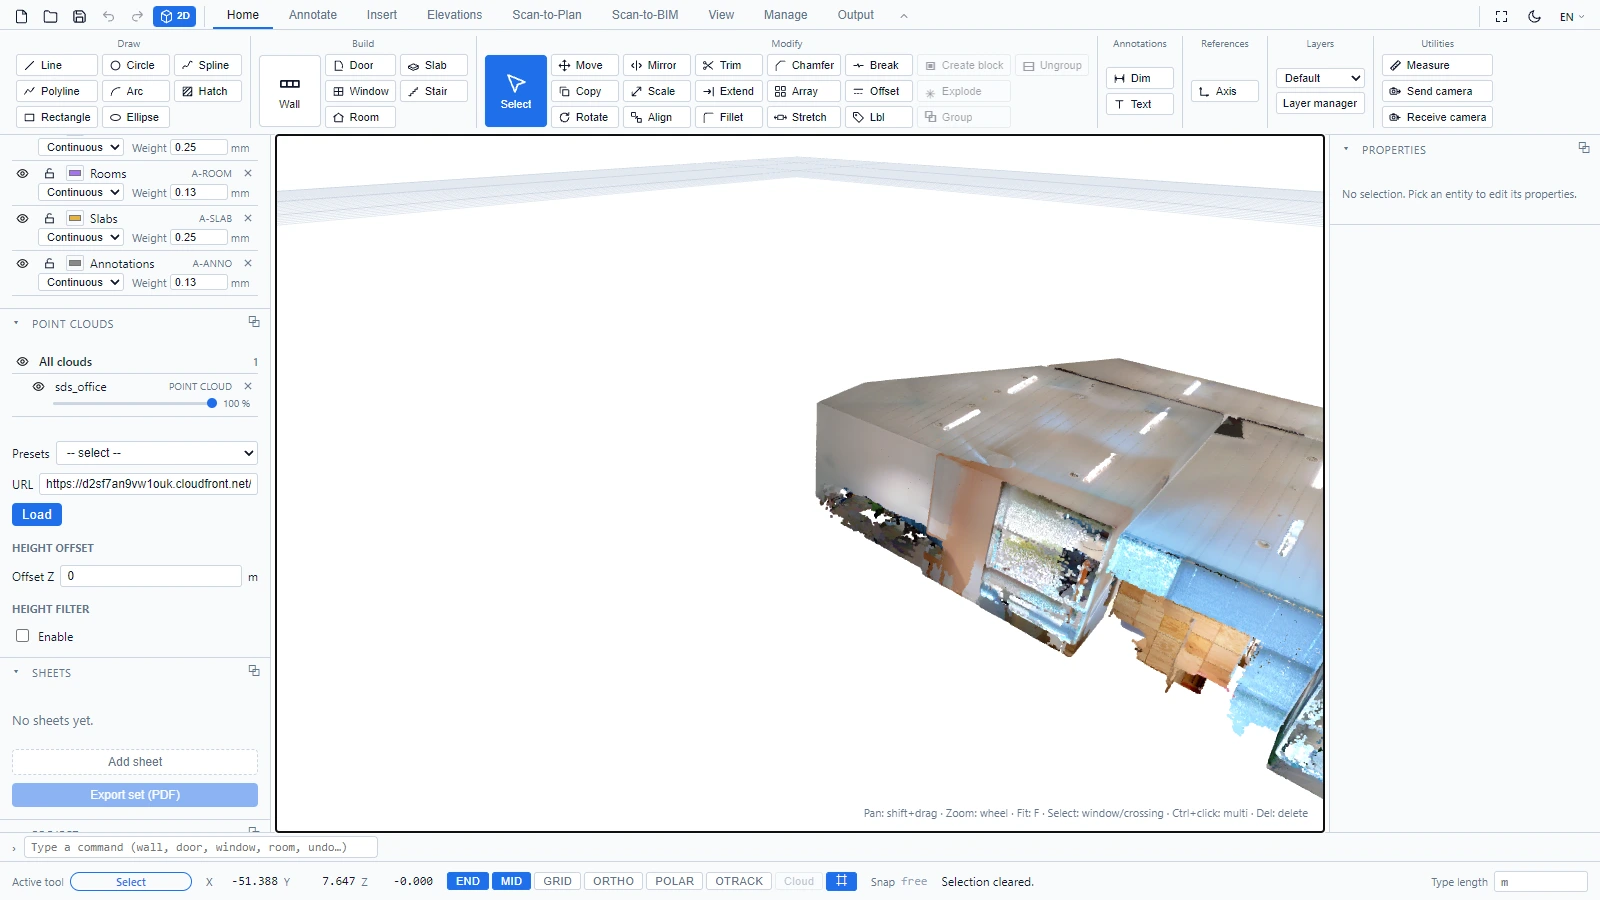
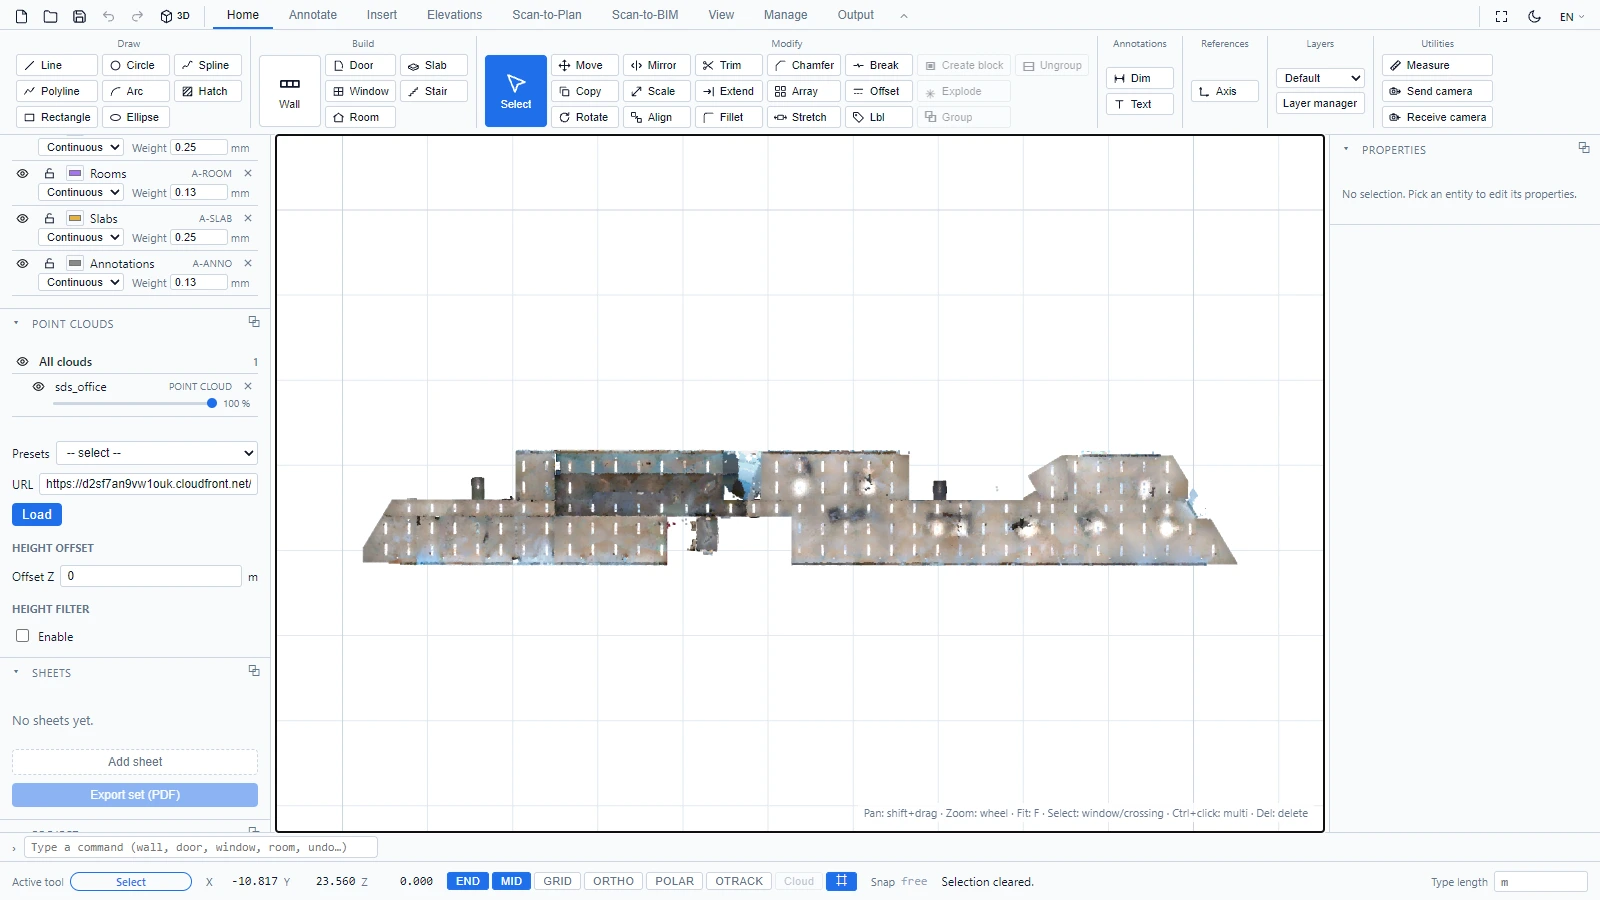
Seen from above in the 2D view, a scan already reads like a floor plan:
Adjust the display
Two controls in the panel help when a scan sits at an odd elevation or is cluttered:
- Height offset: shifts the whole cloud along Z, useful when the scan's zero does not match your project's.
- Height filter: shows only the points between a minimum and maximum height.
For real slicing work, use a work section instead (see Crop box, work sections and cloud snapping).
If you have any questions or need further information, please contact the technical team.