Import DWG and DXF files
Import a drawing
- Open the Insert tab.
- In the Import group, click Import DWG or Import DXF and pick your file (up to 200 MB).
- The status bar sums up what arrived, for example "DXF imported: 172 walls, 0 texts." Press F to frame the drawing.

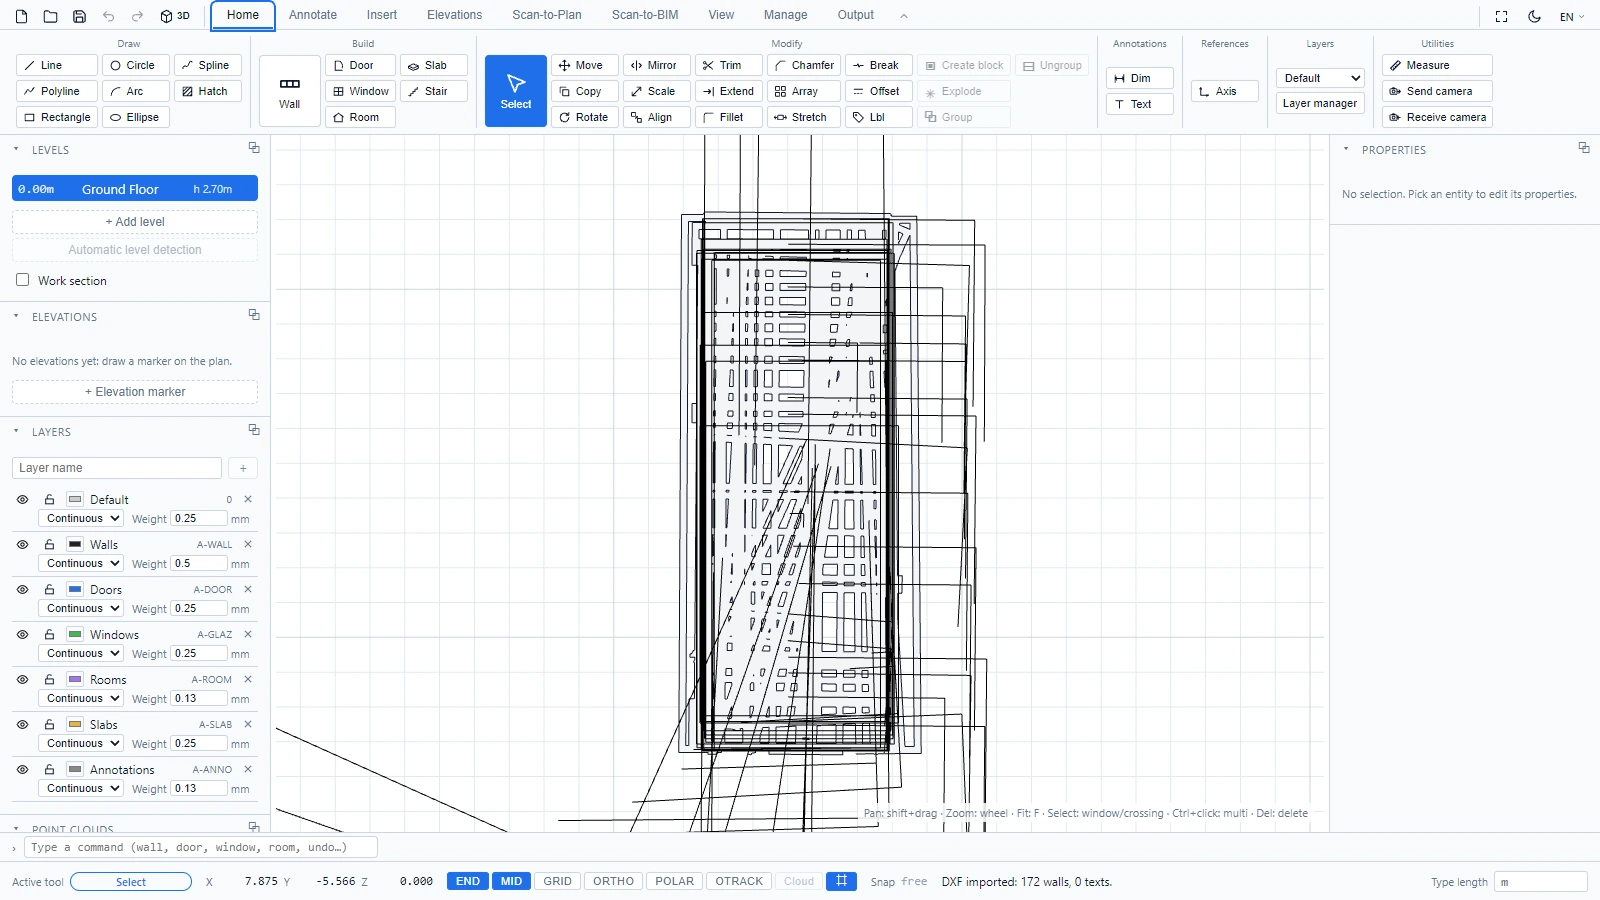
When the drawing comes in at the wrong size
DWG and DXF files declare their unit, but that declaration is often wrong in real files (a drawing tagged millimeters that was actually drawn in meters arrives 1000 times too small). That is what the Unit selector is for:
- Auto trusts the file (and detects the unit where possible).
- Or force mm, cm, m, inch or foot, then import the file again. Use a known distance, a door of about 0.9 m for example, to sanity-check the scale, or measure it directly (see Measure).
What happens to layers and objects
- Layers arrive with their names, colors and states. A layer that was off or frozen in AutoCAD stays hidden here, and a locked layer stays visible but not selectable, exactly like a native one (see Layers).
- Dimensions are reconstructed as editable dimension entities whenever the type maps (linear, aligned, radius, diameter, angular). The remaining ones keep their original look as block instances: use Explode to open one up if you need to edit it (see Groups and blocks).
- Blocks arrive as instances, ready to copy or explode.
Your imported drawing is a regular ATIS.cad document from that point on: draw walls over it, annotate it, or re-export it (see Export DWG and DXF).
If you have any questions or need further information, please contact the technical team.