Levels
A project starts with one level, Ground Floor at elevation 0.00 m with a height of 2.70 m. The Levels panel at the top left is where storeys live.
Add a level
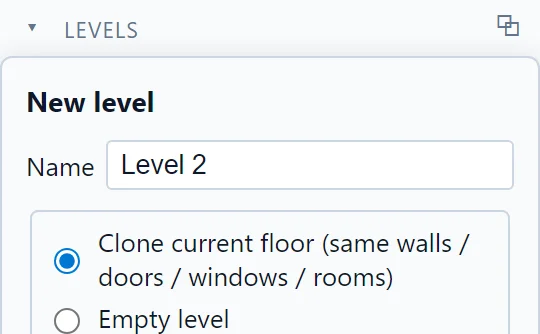
Click + Add level. The New level dialog asks for a name and how to start:
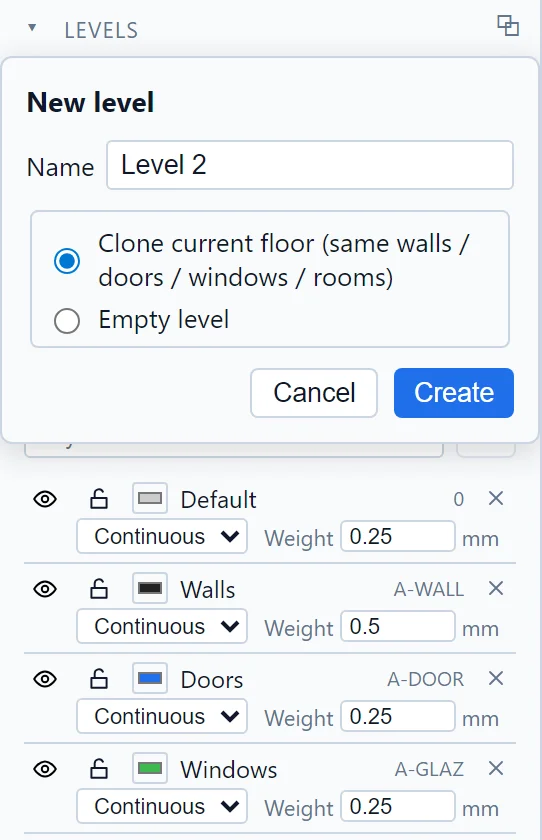
- Clone current floor: the new level starts as a copy of the active one, walls, doors, windows and rooms included. The fastest way to stack similar storeys.
- Empty level: a blank floor plate.
Work level by level
Click a level to make it active: the plan view shows that storey, and everything you draw belongs to it. Each level row displays its elevation on the left and its height on the right; select the level to adjust them.
The 3D view assembles all levels into the full building, which is where cloned storeys and stairs meet (see Stairs).
Levels from a point cloud
The Automatic level detection button analyzes a loaded point cloud and proposes the storeys it finds. It belongs to the Scan-to-BIM workflow, covered in its own section of this help center.
If you have any questions or need further information, please contact the technical team.