Layers
ATIS.cad layers work the way AutoCAD users expect, with industry standard names: A-WALL for walls, A-DOOR for doors, A-GLAZ for windows, A-ROOM, A-SLAB and A-ANNO for annotations. Objects land on the layer that matches their type, so the discipline is there before you think about it.
The Layers panel
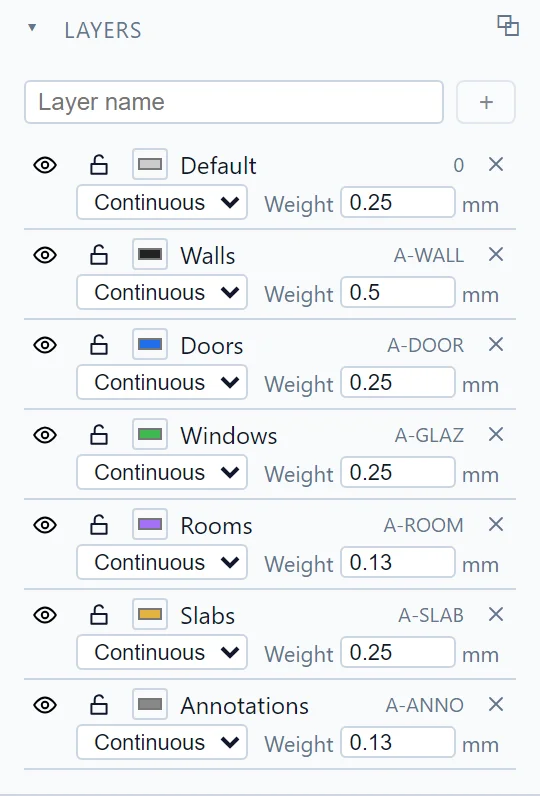
Each row gives you, from left to right:
- The eye: show or hide the layer.
- The padlock: lock the layer. A locked layer stays visible but its objects cannot be selected. Clicking a locked wall picks what is under it instead, for example the room.
- The color swatch, the linetype and the line weight in millimeters.
- The x deletes the layer.
Type a name in the field at the top and click + to create a layer. The current layer for new sketch geometry is picked in Home > Layers, next to the Layer manager button that shows or hides this panel.
A practical example
Hide the Doors layer and every door disappears, wall openings included, without touching the model:
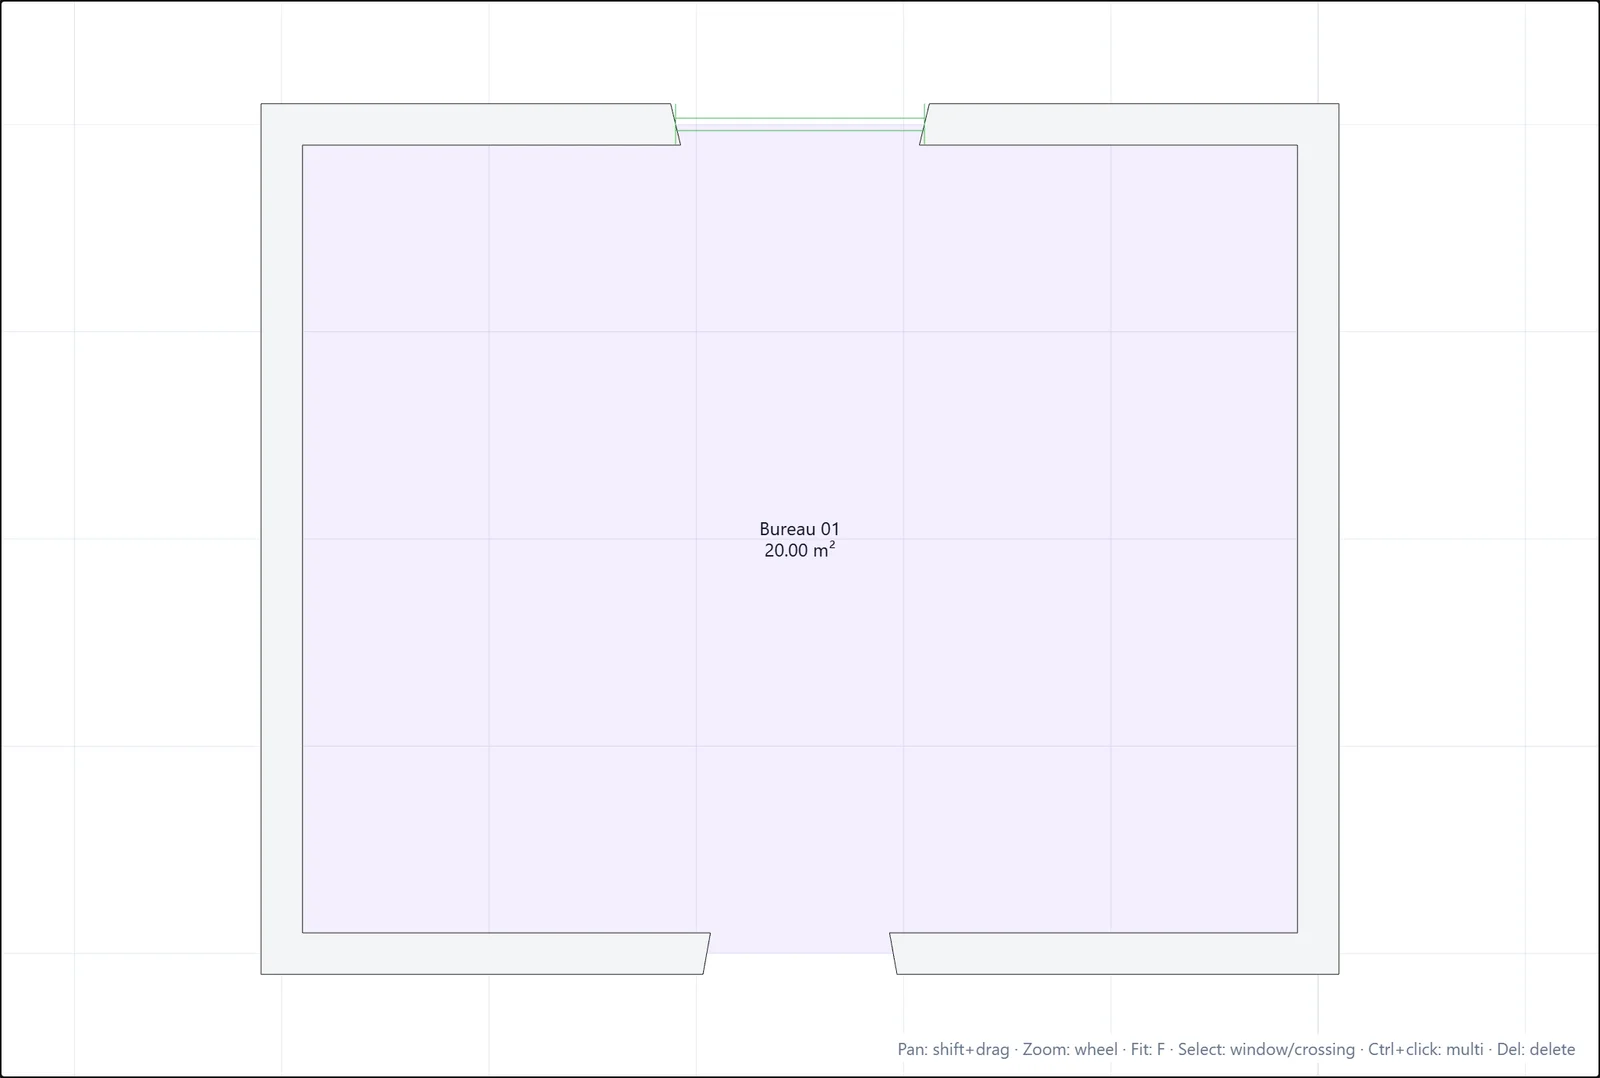
Typical uses: freeze the annotation layer while you rework walls, lock imported reference linework so you can trace over it without grabbing it, or print-prepare a plan by hiding what does not belong on it.
If you have any questions or need further information, please contact the technical team.