Draw walls
Start a wall chain
- In Home > Build, click Wall (or type
wallin the command line, or press W). - Click the start point in the drawing area.
- Click the end point. The wall is created and a new one starts from there, so you can chain segments without re-clicking the tool.
- Press Escape to finish.
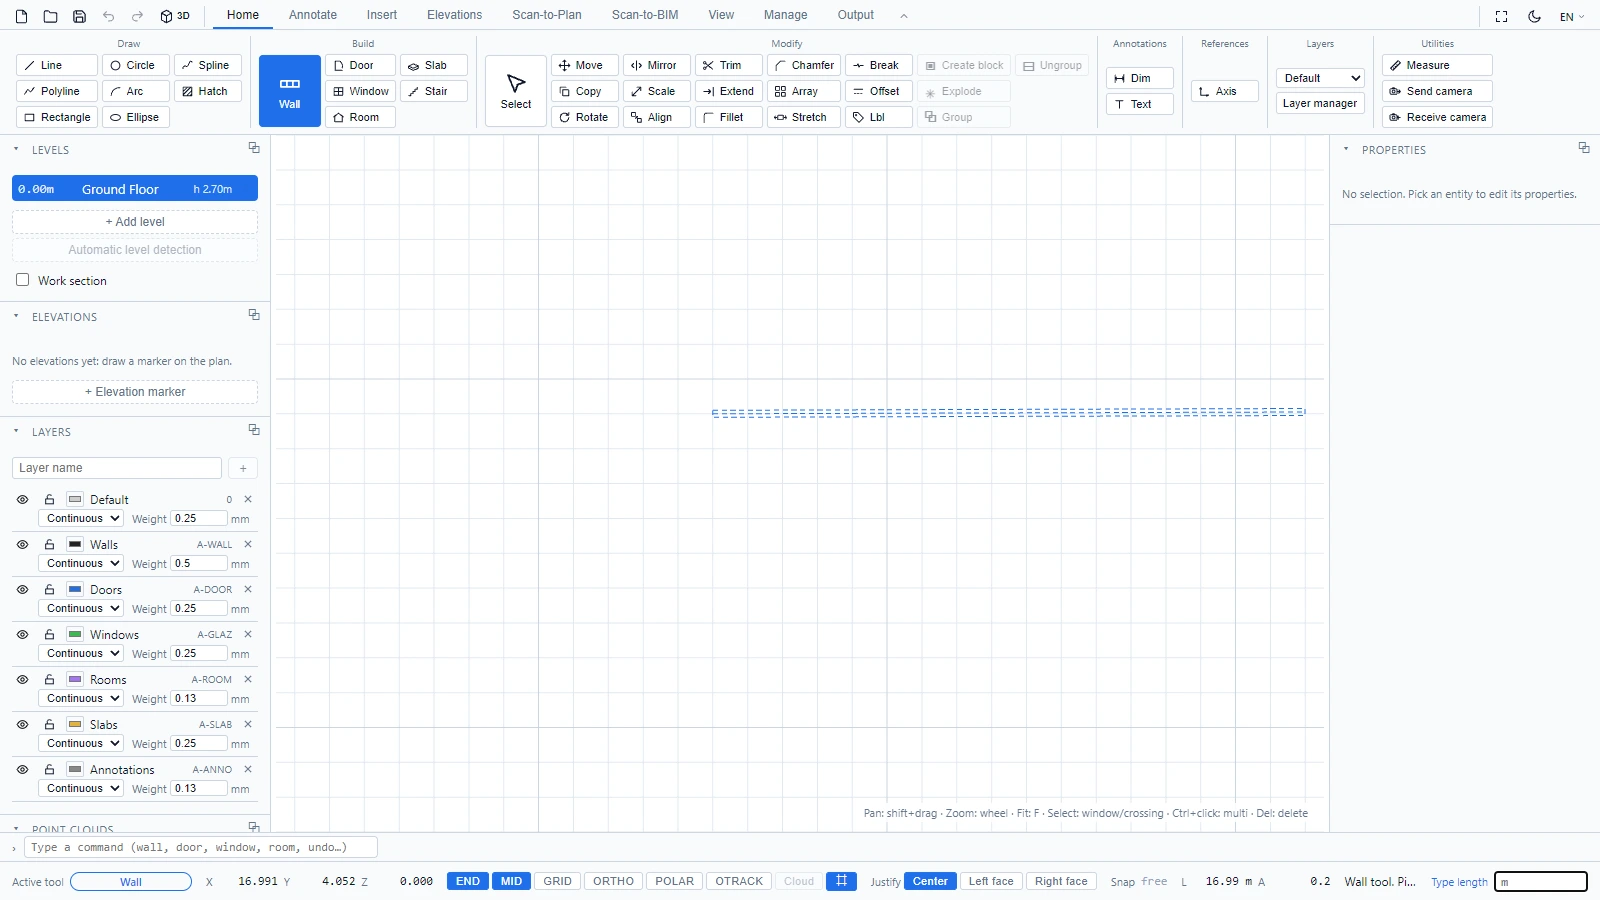
While you draw, the status bar is your copilot:

- L shows the live length of the segment you are about to place.
- Instead of clicking the end point, type an exact length and press Enter. The wall is drawn at that length in the direction of the cursor.
- ORTHO keeps your walls horizontal or vertical. END and MID snap the cursor to endpoints and midpoints of existing geometry.
- Justify chooses which line of the wall follows your clicks: Center, Left face or Right face. Use it to draw along an existing face, for example when tracing a surveyed plan.
Close the loop, get a room
When a wall chain closes a contour, the room inside is detected automatically: it gets a name, a floor fill and a live area. You do not need to trace anything twice.
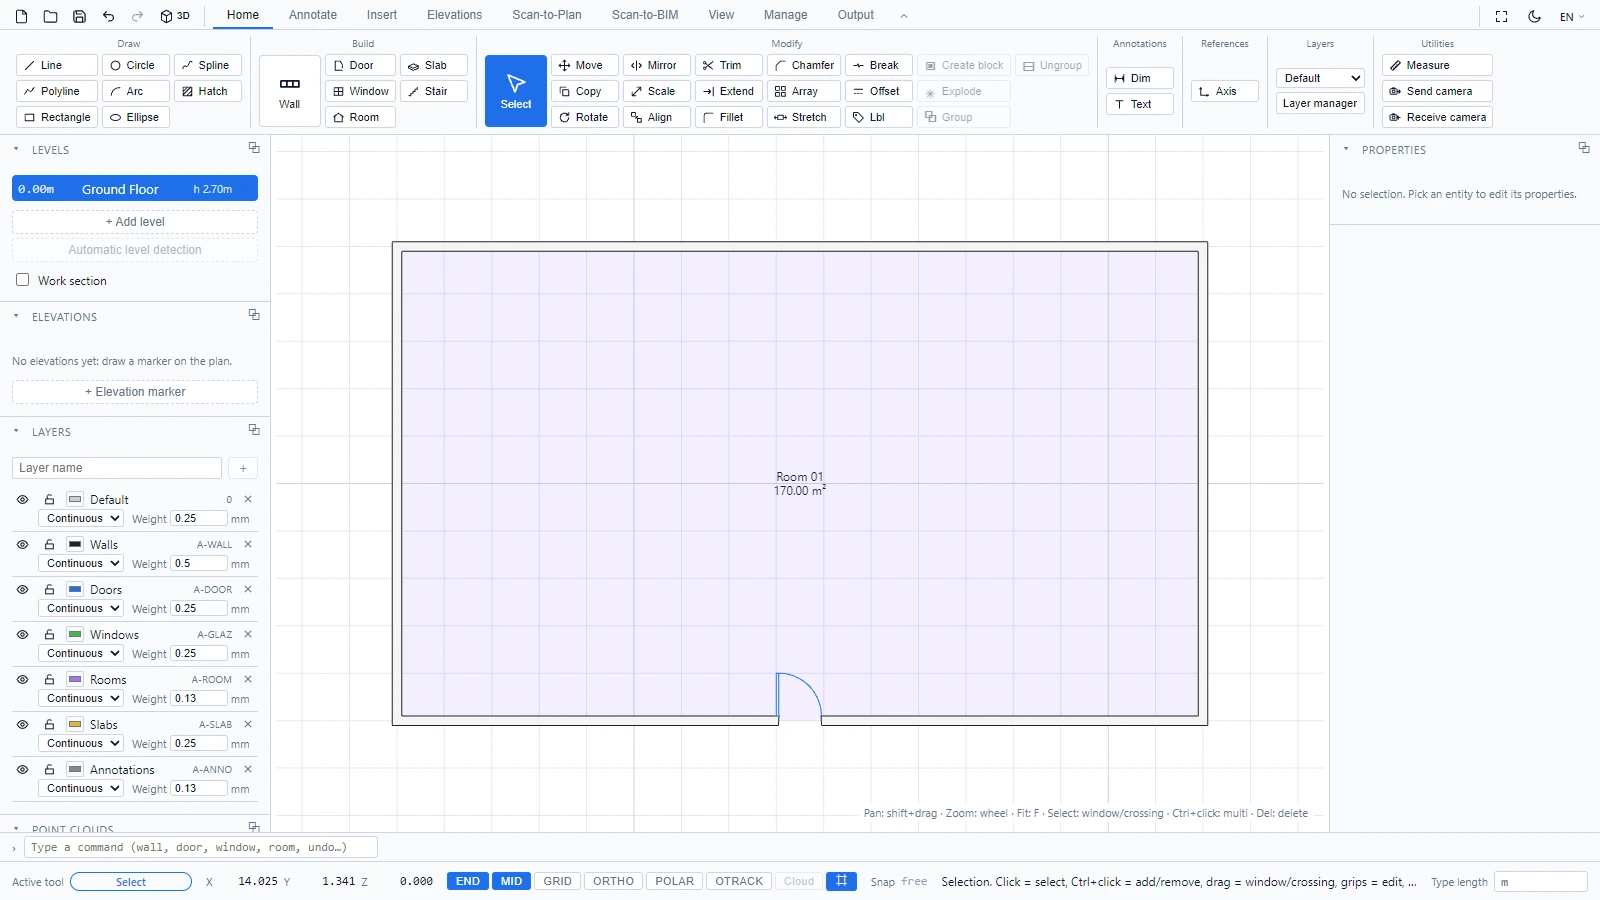
Corners are joined and cleaned automatically, in 2D and in the 3D model.
Change what a wall is
Select any wall to edit it in the Properties panel: family, thickness, height, Interior or Exterior type, location line and material. See Select and edit objects.
If you have any questions or need further information, please contact the technical team.