Export an e57 file with 360° images from RiSCAN Pro
If you want to import your point cloud with 360° images into your project, it's essential to export it in the correct format using RiSCAN Pro.
Below are the steps to follow to ensure compatibility and optimal display:
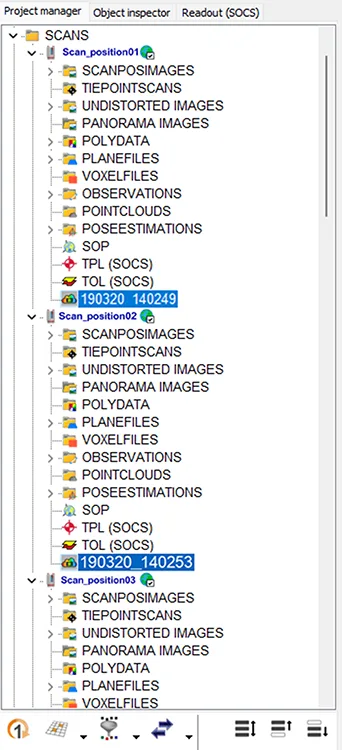
Step 1: Select the point clouds to export
From the Project Manager pane, expand the folder structure under SCANS, and select the scan positions you want to export.
Step 2: Open the export tool
There are two ways to launch the export process:
-
From the Quick Access bar: Click the arrow icon and choose Export pointcloud(s)....
-
From the context menu: Right-click on a scan or scan group and select Export pointcloud(s)....
If no pointclouds were pre-selected, a list will appear where you can manually choose which ones to export.

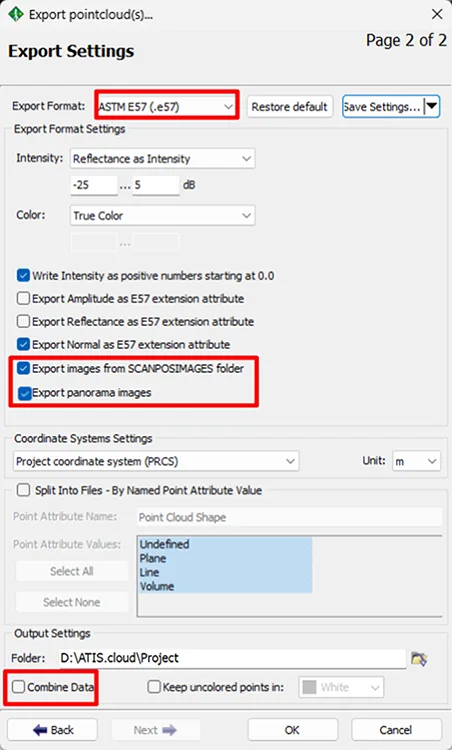
Step 3: Set export parameters
Choose the following settings in the Export Settings window:
- Export Format → Select the E57 format
- Check Export images from SCANPOSIMAGES folder and Export panorama images
- Uncheck Combine Data (recommended)
- Click OK to start the export.
This ensures that both the scan position photos and panorama 360° images are embedded into the .e57 file.
Once the file is exported, you can upload it in your project.
➡️ Follow this this article to learn how to import files correctly.
If you have any problem or difficulties, please do not hesitate to contact the platform's team.