Creating Groups
In your workspace, you can create user groups and add members to them in order to build a better structure and simplify user permission management on projects.
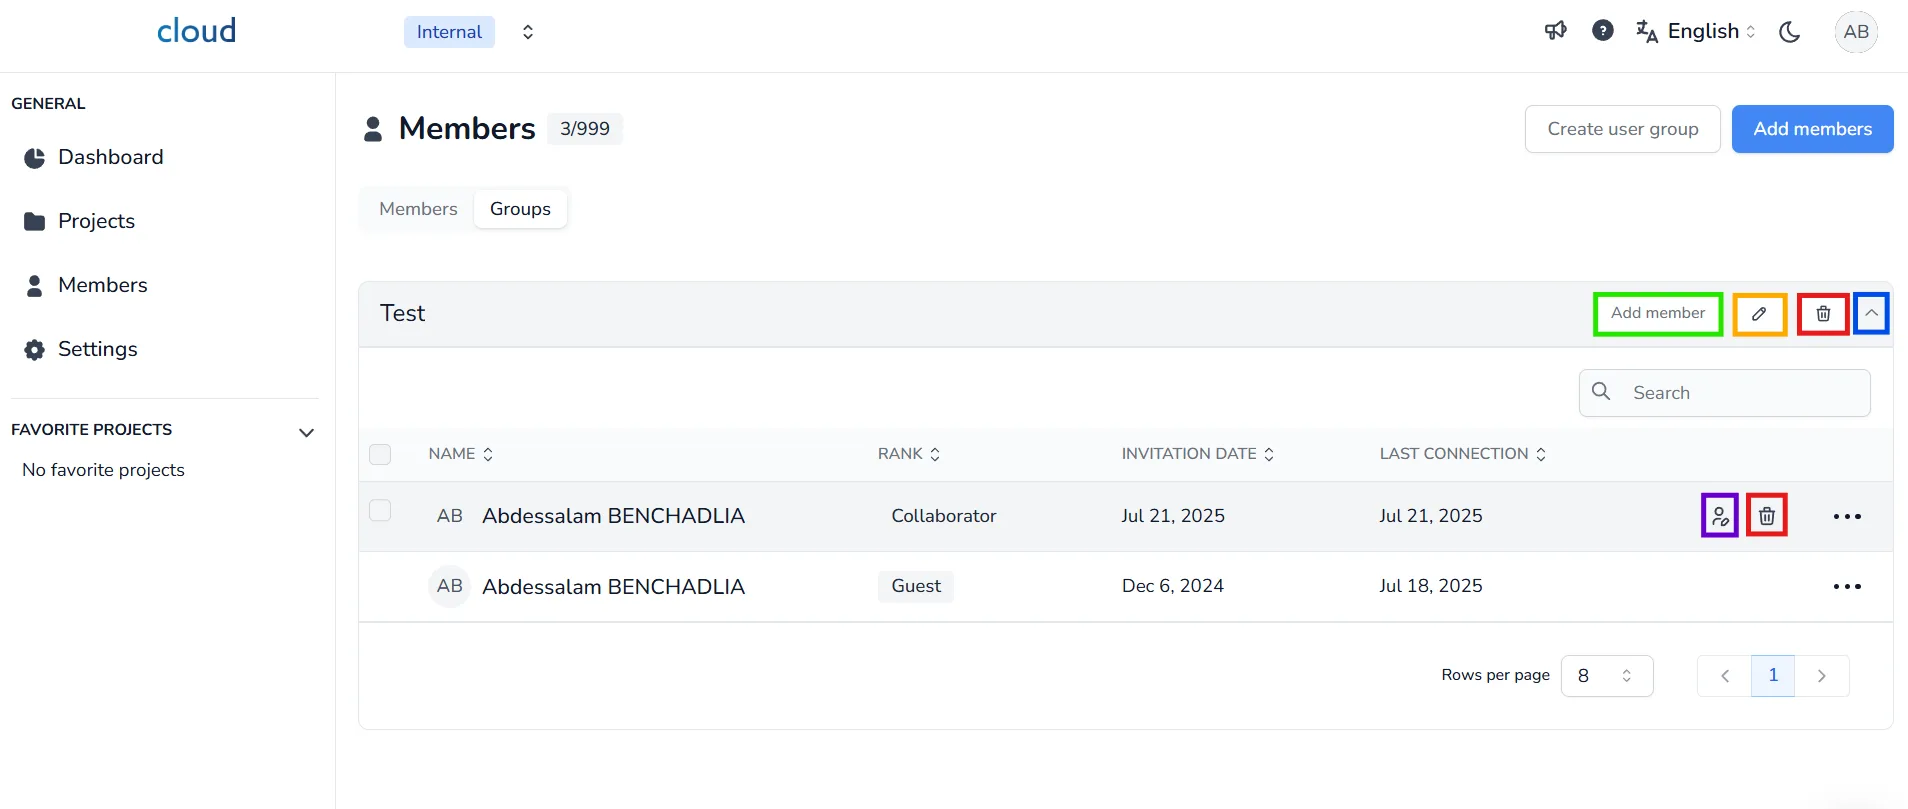
To create a group, go to the Members tab from the left-hand menu. Once you're on the Members page, click on the Groups section to access group management.
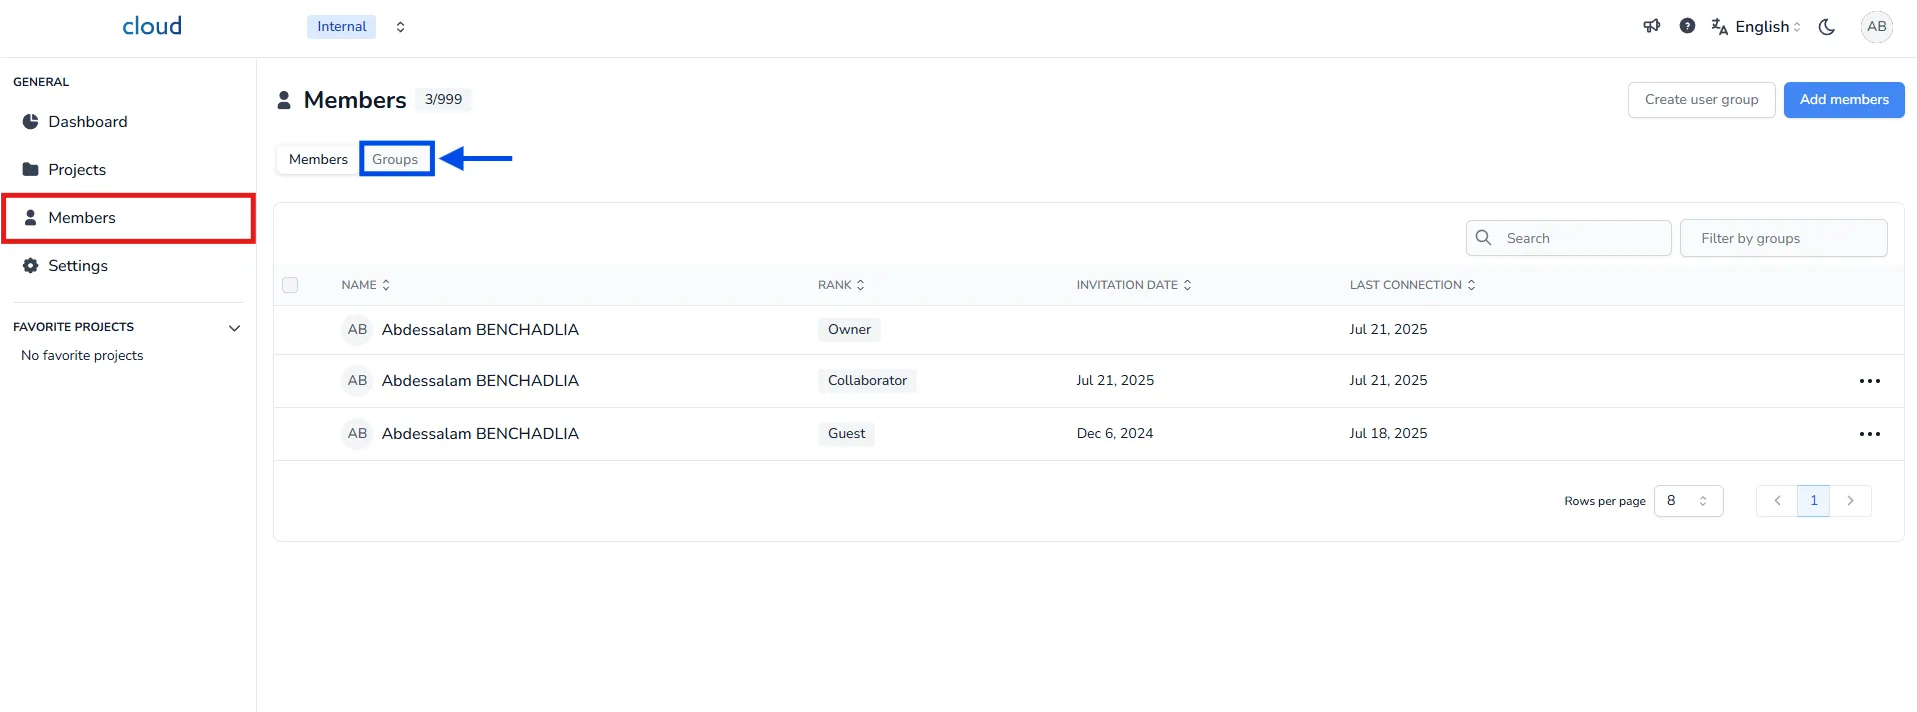
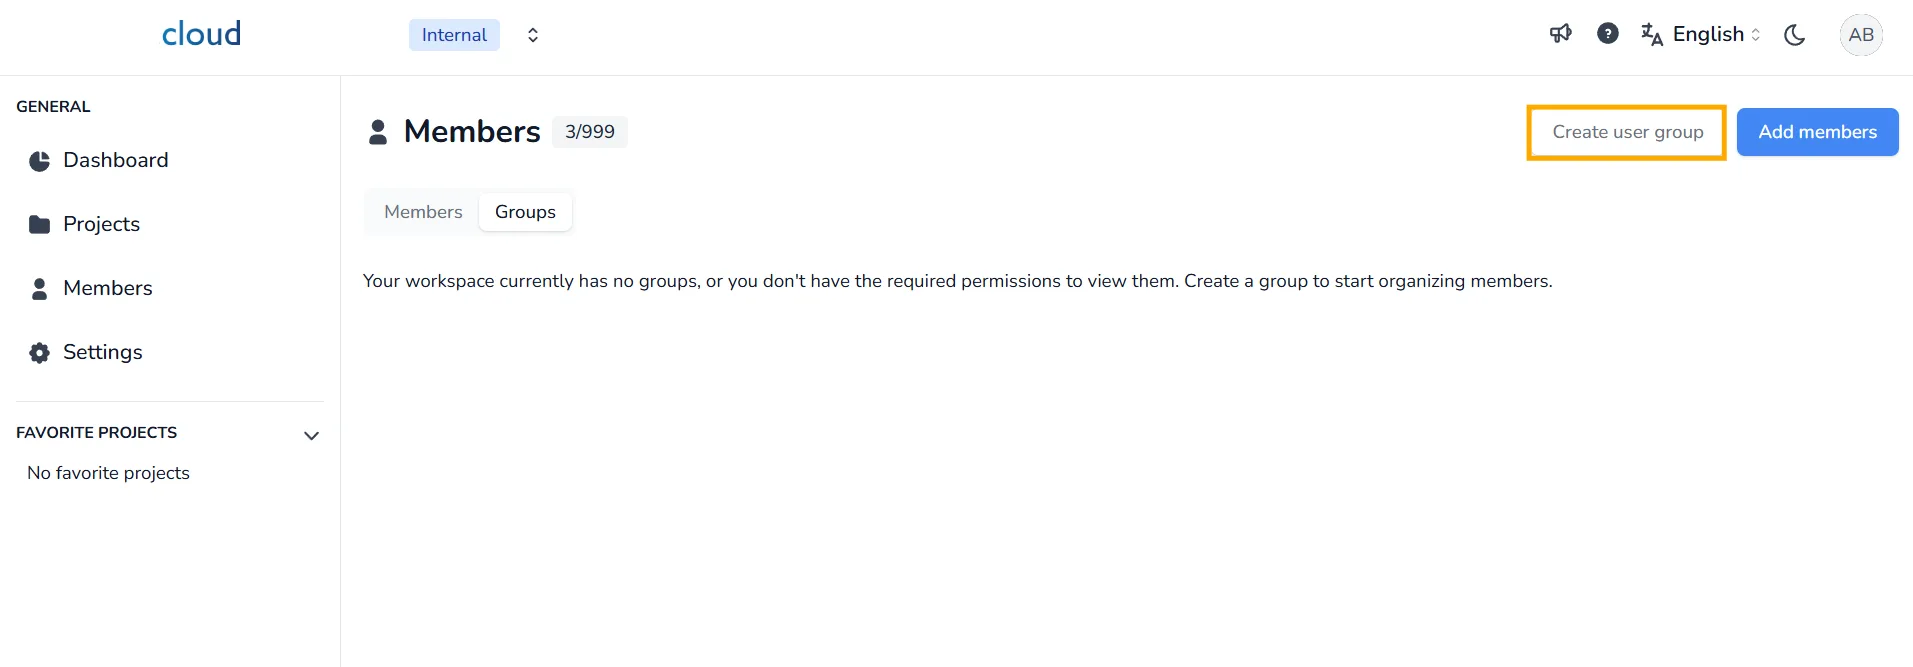
There, you will find all the groups you’ve created and manage them easily. Since we don’t have any groups yet, let’s start by creating one:
Click on Create user group
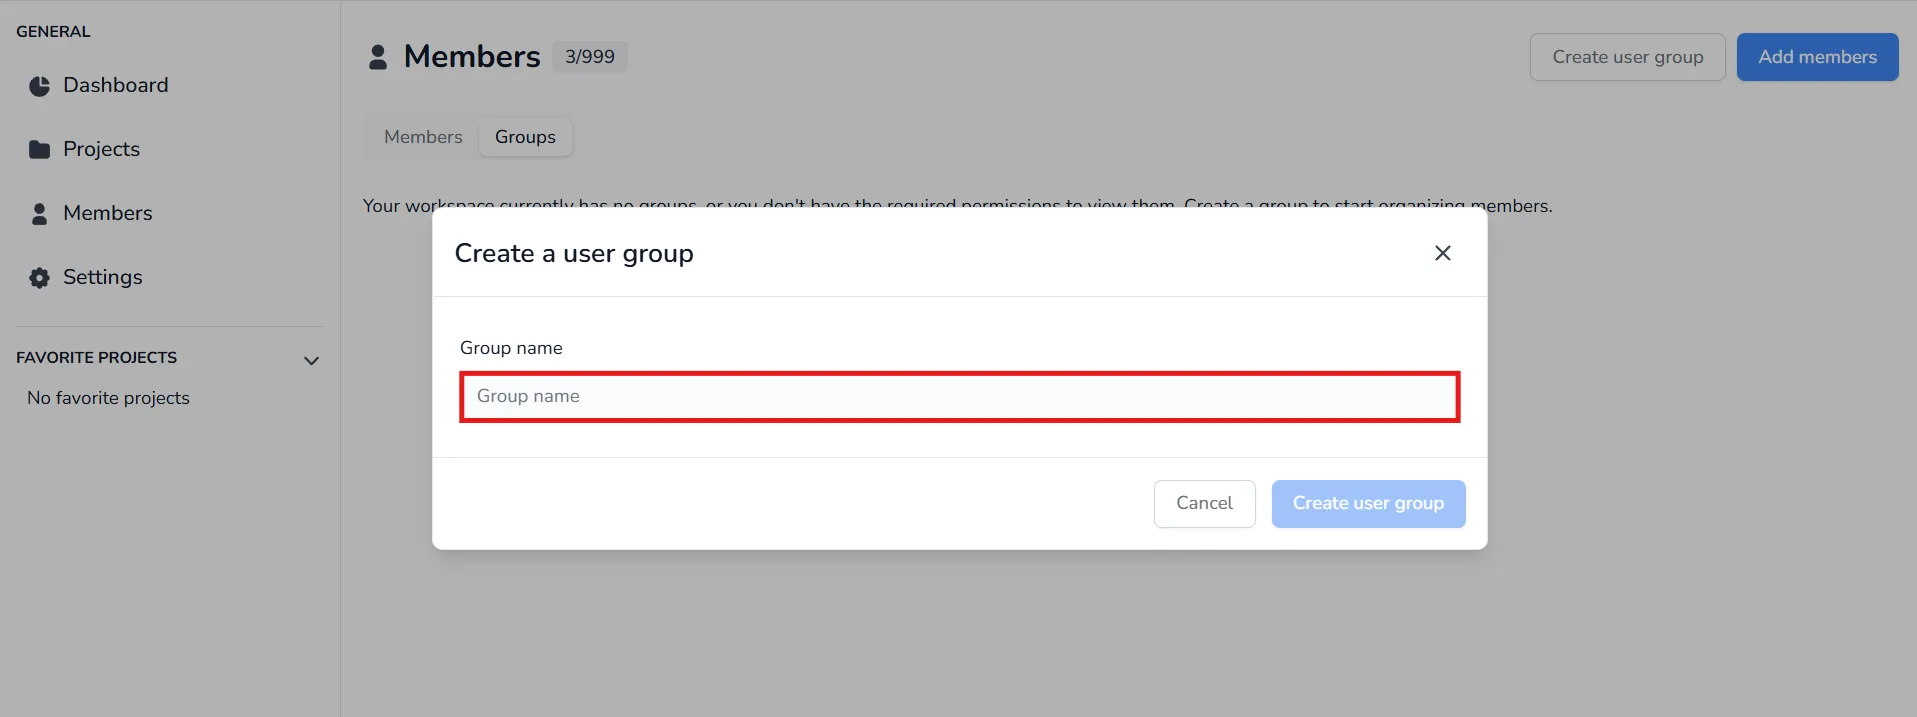
A popup will appear asking you to name your group, enter the name and confirm by clicking Create user group
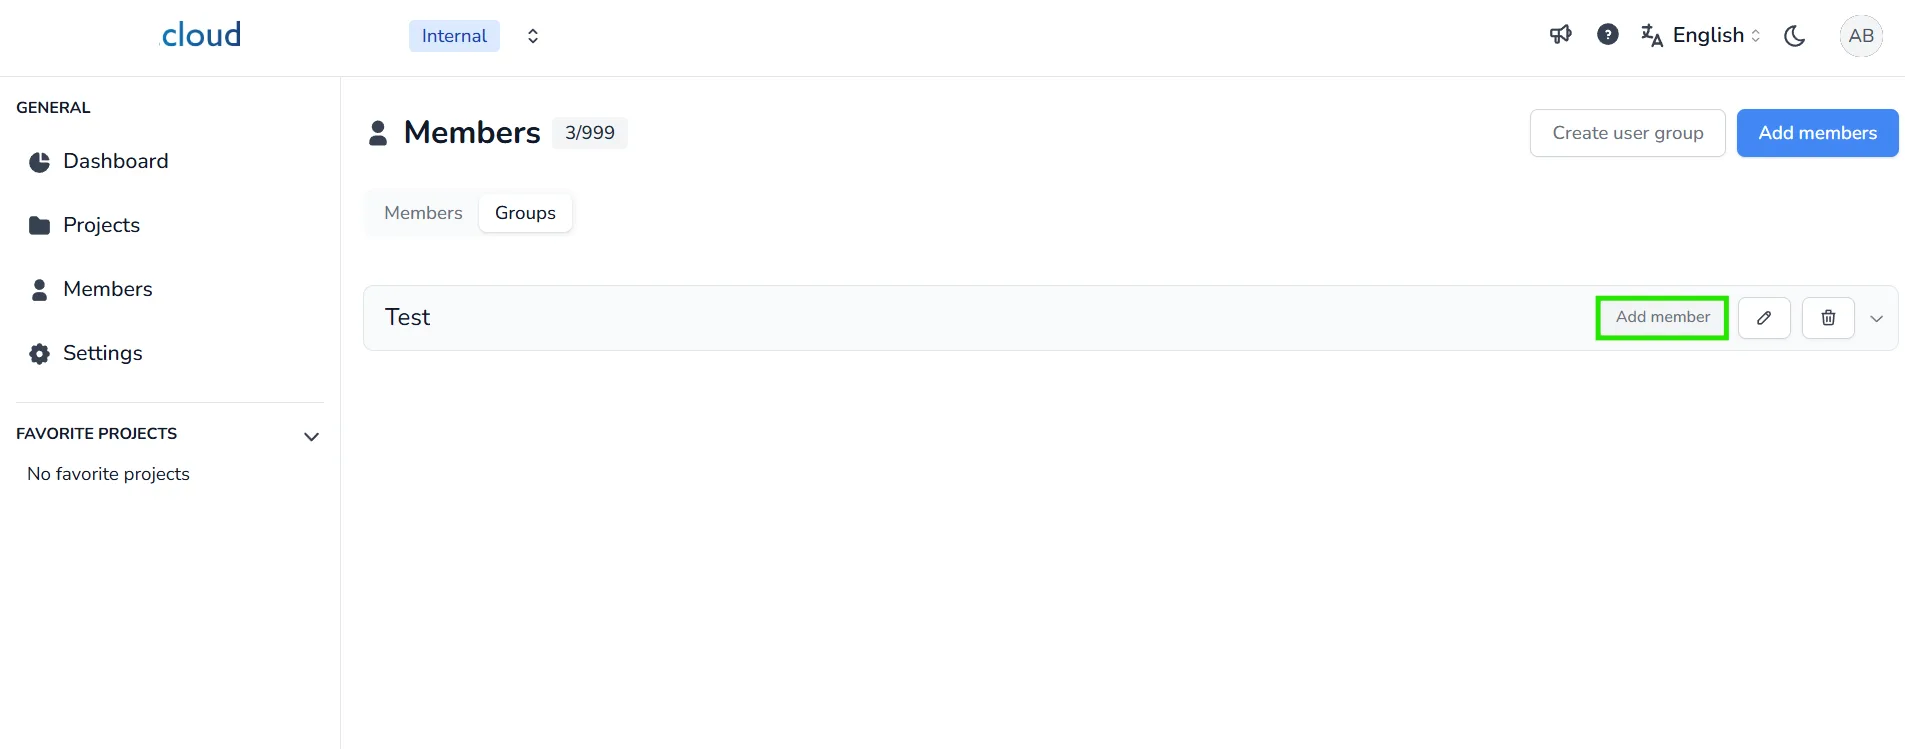
Once the group is created, you can start adding members to organize your teams more efficiently and simplify project access rights:
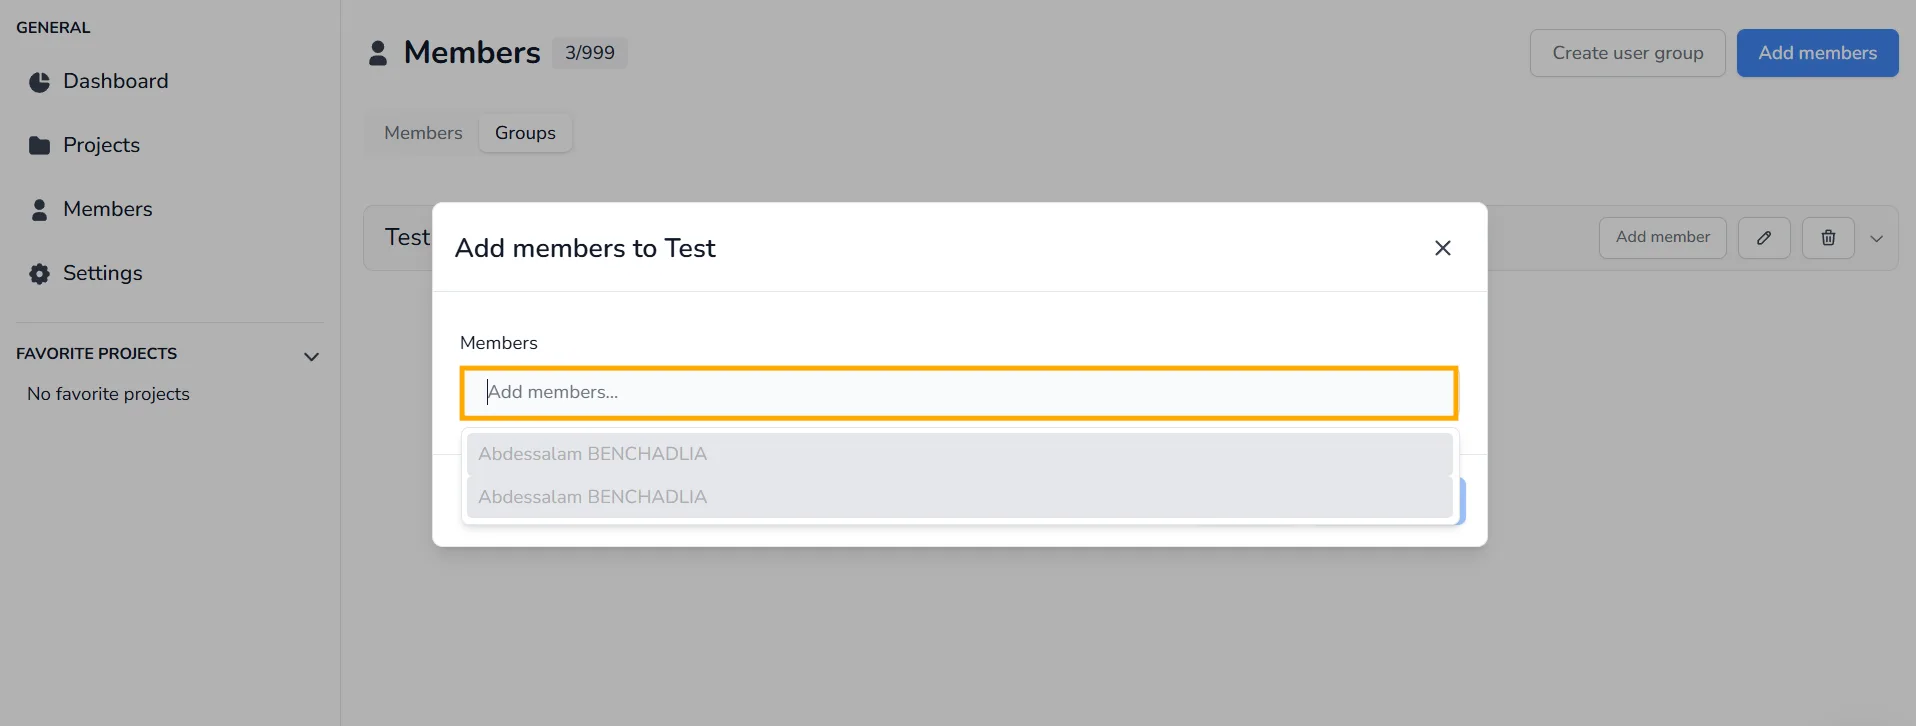
Click Add member to open the member selection window.
Search and select the members you want to add, you can quickly locate any user by typing part of their name.
After creating your group and adding members, you can also:
- Edit the group name
- Delete the group
- Expand the group with the arrow icon to see its members
From the expanded view, you can:
- Change a member’s group
- Remove a member
✅ Creating groups allows you to assign access to an entire group at once instead of inviting each user individually.
In case of any problem or difficulty, please do not hesitate to contact the platform's team.