
General information
NavVis provides mobile mapping systems to generate high-quality data with survey-grade accuracy at speed and scale. They have different scanner types that help you capture the environment really fast.
Depending on the scanner type of NavVis that you are working, the output result might be slightly different after you have finished the surveying.
NavVis tools, whether on command lines or via their interface, starts from data that should be stored in an initial directory "datasets_rec". In this directory, there is one subdirectory per dataset whose name is composed as follows: YYYY-MM-DD_HH.MM.SS.
Inside these datasets, you can find the raw data from the various lidars (low files unusable as it is) and wide-angle unit photos that will need to be assembled.
Post-processing dataset
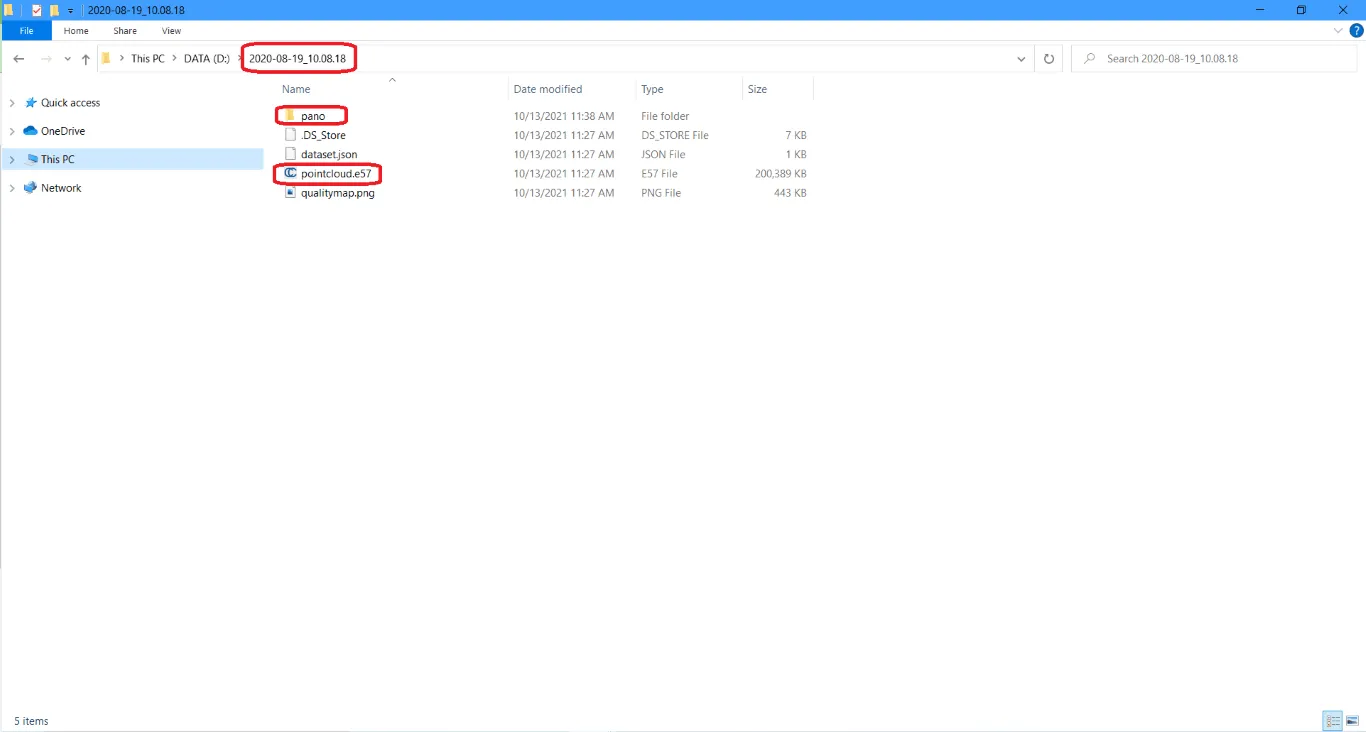
1. You need to post-process the dataset and determine the point cloud output format .las or .e57 (by default it will generate a .ply point cloud. For the cloud it is recommended to use .las or .e57 since .ply is used for 3D models). Note that you can process multiple datasets or a single dataset.

This navvis-postprocessing command will generate a point cloud per dataset as well as equirectangular panoramic photos of 8192 x 4096 pixels named xxxxx-pano.jpg (where xxxxx is a 5-digit index, for example 00000-pano.jpg for the first image) as well as a CSV file indicating the position of the center of each of these panoramic images in the local coordinates of the dataset in question (pano-poses.csv file).
Please note that, the output of the NavVis data cannot be a structured e57 because there are no stations inside the e57.
2. Now that you have the point cloud, verify in the folder "pano" that you have the panoramic images and a CSV file indicating the position of the center of each of these panoramic images in the local coordinates of the dataset in question (pano-poses.csv file).

3. Zip the pano folder (with panoramic images and the csv file)
4. Now that you have the point cloud and the panoramic images, you can add them to the project on the cloud. You only need to upload the point cloud and the zip file.
To find out how to upload a file to a project, please read the article "Add files to project" and for panoramic images read the article "Add 360° images".
If you have any question or need any further information, please contact the technical team.