
Note that this tool is not free to use, for each use you will have to redeem tokens, to buy tokens go to your trade management page. The tool is also limited to 10,000 pixels in width/height for the final result.
With our platform you can export an orthoimage directly from the viewer, this allows you to get a flat representation of your point cloud, it can be done horizontally or vertically and you can choose the part you want to export. The exported image will display a measurement scale in meters and feet.
Let's open the analysis menu, for this click on the magnifying glass in the left menu, then click on the square icon to access the orthoimage menu.

Let's start by closing the window that just opened.

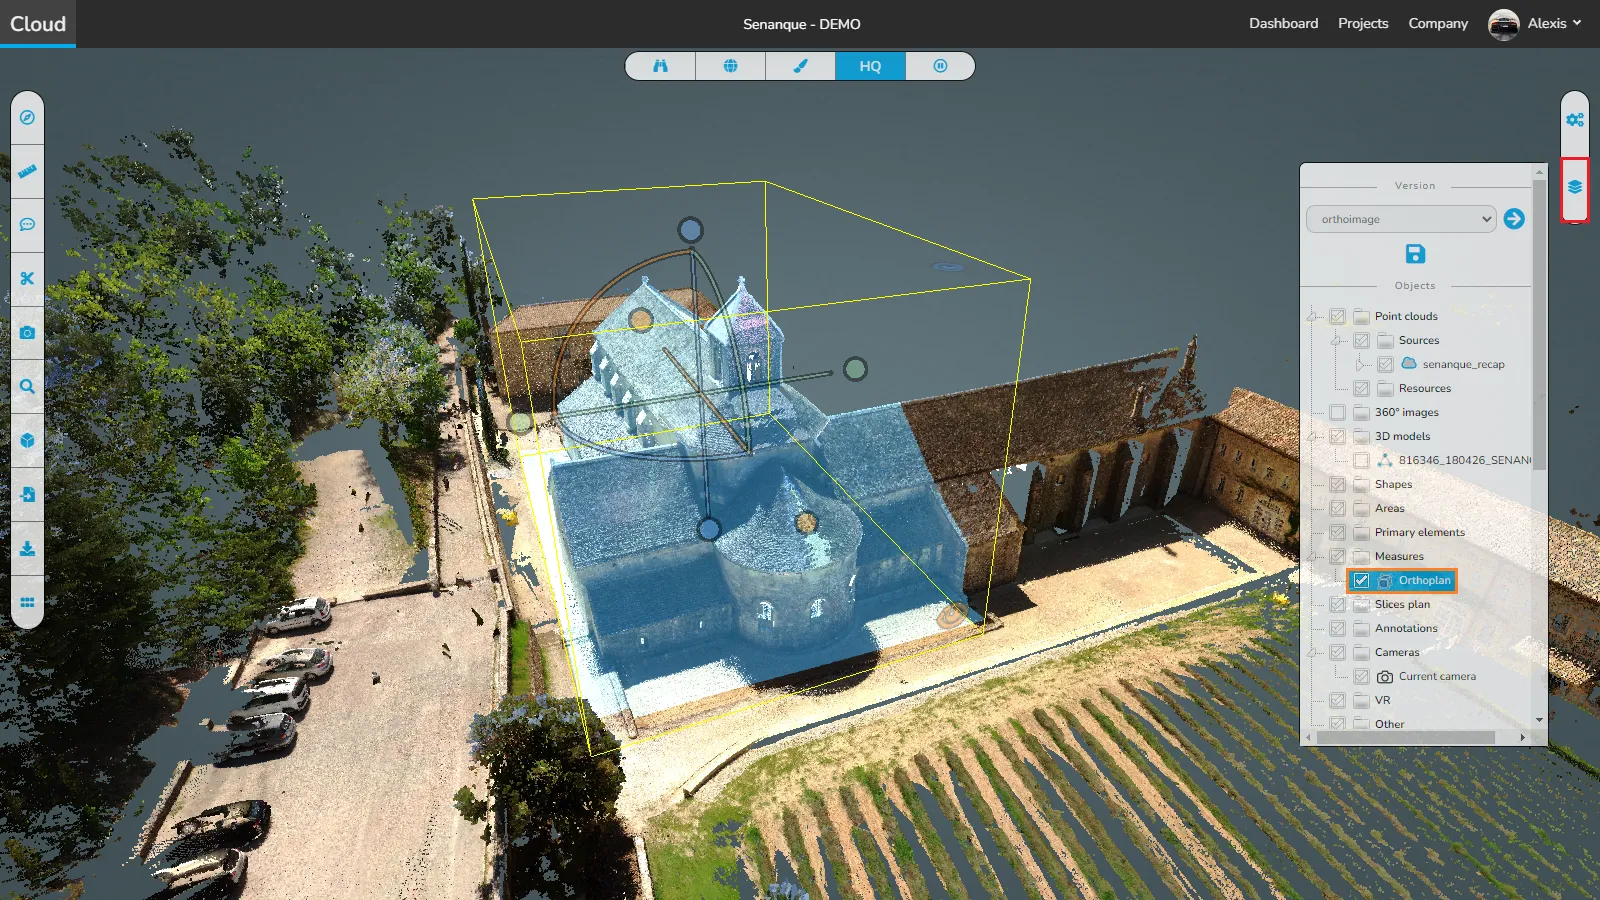
Now that the way is clear, let's place the box as you wish. To move the box you have a point at the end of each axis, grab and drag these points to change the size of the box, you can also see 3 quarter circles, grab and drag them to rotate the box. Please note that the size of your box must be related to the resolution you choose later. A low resolution will allow you to reduce the size of the box, a higher resolution will force you to increase the size of the box.
Once you are happy with the position of your box, open the scene menu and click export your box, then scroll down and press the orthoimage button to reopen the window.

In this window, you will need to perform the following steps:
- Select the viewpoint from which to create the orthoimage
- You can decide which mode to use, RGB (colorized), Elevation, Analysis (only to be used if the point cloud has already been analyzed), X-Ray (our personal recommendation)
- Select a preset resolution from 720p to 8K
- or Select a custom resolution
- Decide if you want to display a grid and its spacing (the example at the bottom of the article has one)
- Decide on file names
- Start export

It will take a few minutes to export the image and download it directly to your computer, during the process you can click the Finish button. If you click it once, the orthoimage will finish loading the current depth and then export the image, click it a second time to stop the process immediately and download the image as is.

Here's what it will look like using the current settings:

In case of problem or difficulty, do not hesitate to contact the platform team.